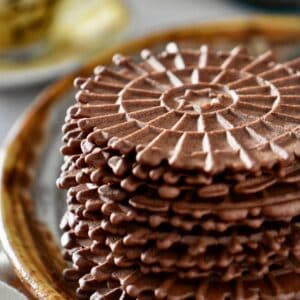
This chocolate pizzelle recipe is a variation of the classic Italian treat. Uncover the secret ingredient that adds a rich and irresistible chocolate flavor to these delicate, wafer-thin cookies.
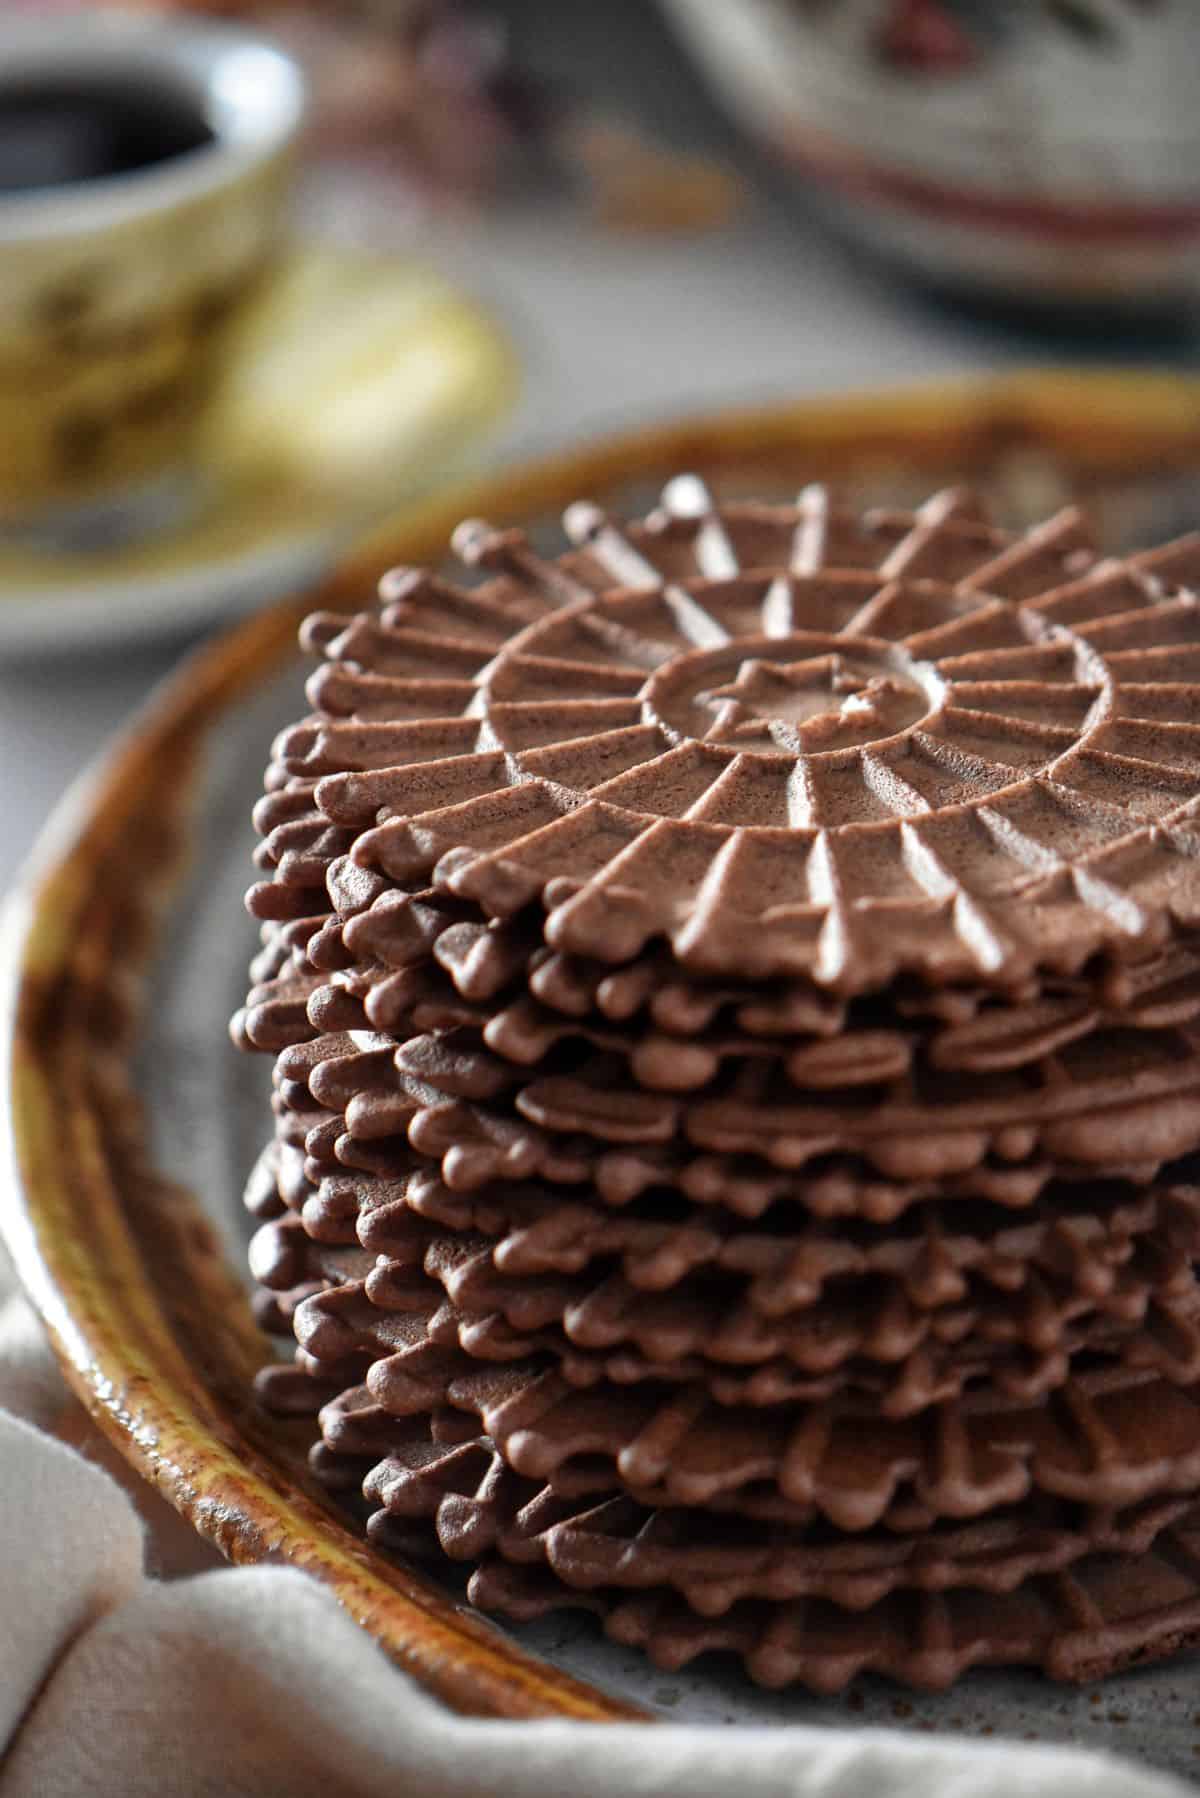
As someone with a passion for baking and a deep appreciation of my Italian culinary traditions, I can attest to the joy that making and sharing chocolate pizzelle can bring.
I’ve been making a chocolate variation of my Nonna’s pizzelle recipe my entire adult life.
Chocolate pizzelle is a delightful twist on the classic Italian cookie, bringing a rich cocoa flavor to the traditional recipe cherished by families over generations.
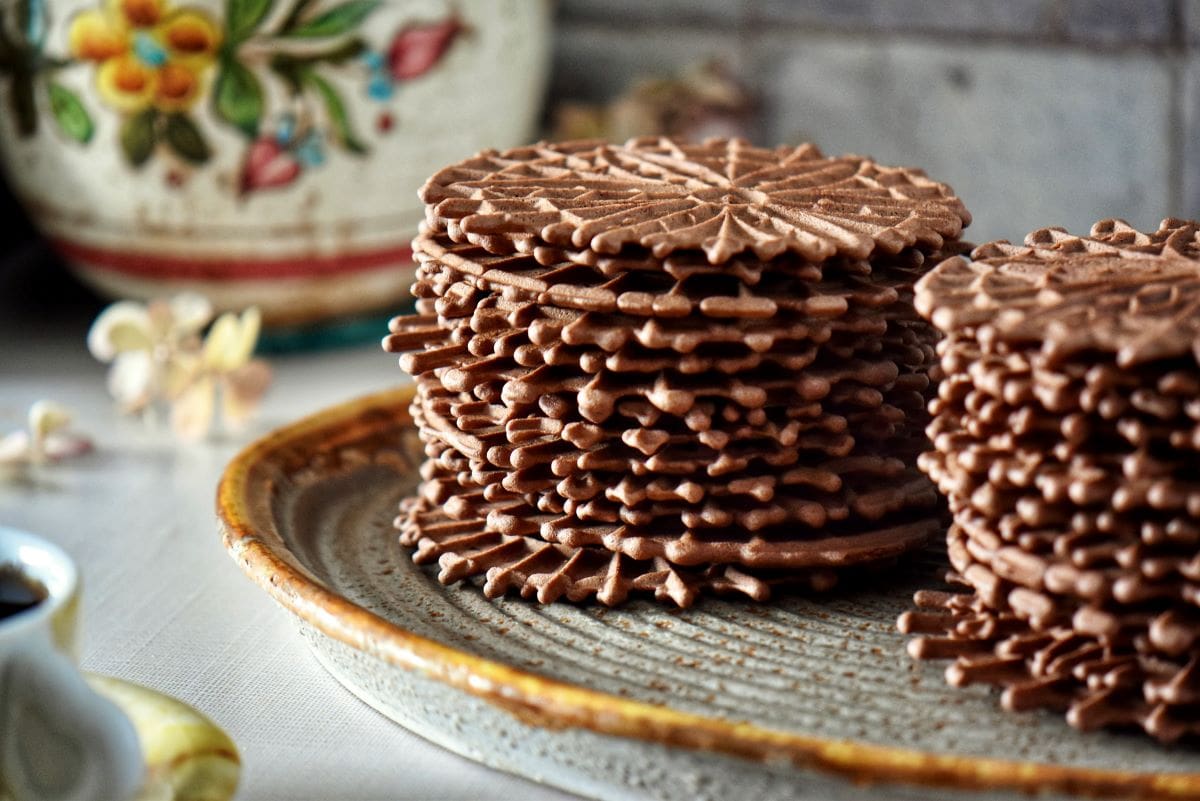
Made using a special iron that imprints a characteristic snowflake pattern, these thin, waffle-like cookies are a sophisticated addition to any dessert table.
Their versatility makes them perfect for any occasion, from holiday gatherings like Christmas and Easter to simple coffee breaks.
What sets this pizzelle recipe apart is a secret ingredient that elevates the chocolatey goodness to new heights – espresso powder.
You can achieve that signature crispness with a chocolatey depth that pleases the palate through carefully balancing ingredients and the proper mixing technique.
Whether continuing a family tradition or trying out pizzelle making for the first time, these cookies are guaranteed to leave a lasting impression.
Jump to:
Ingredients
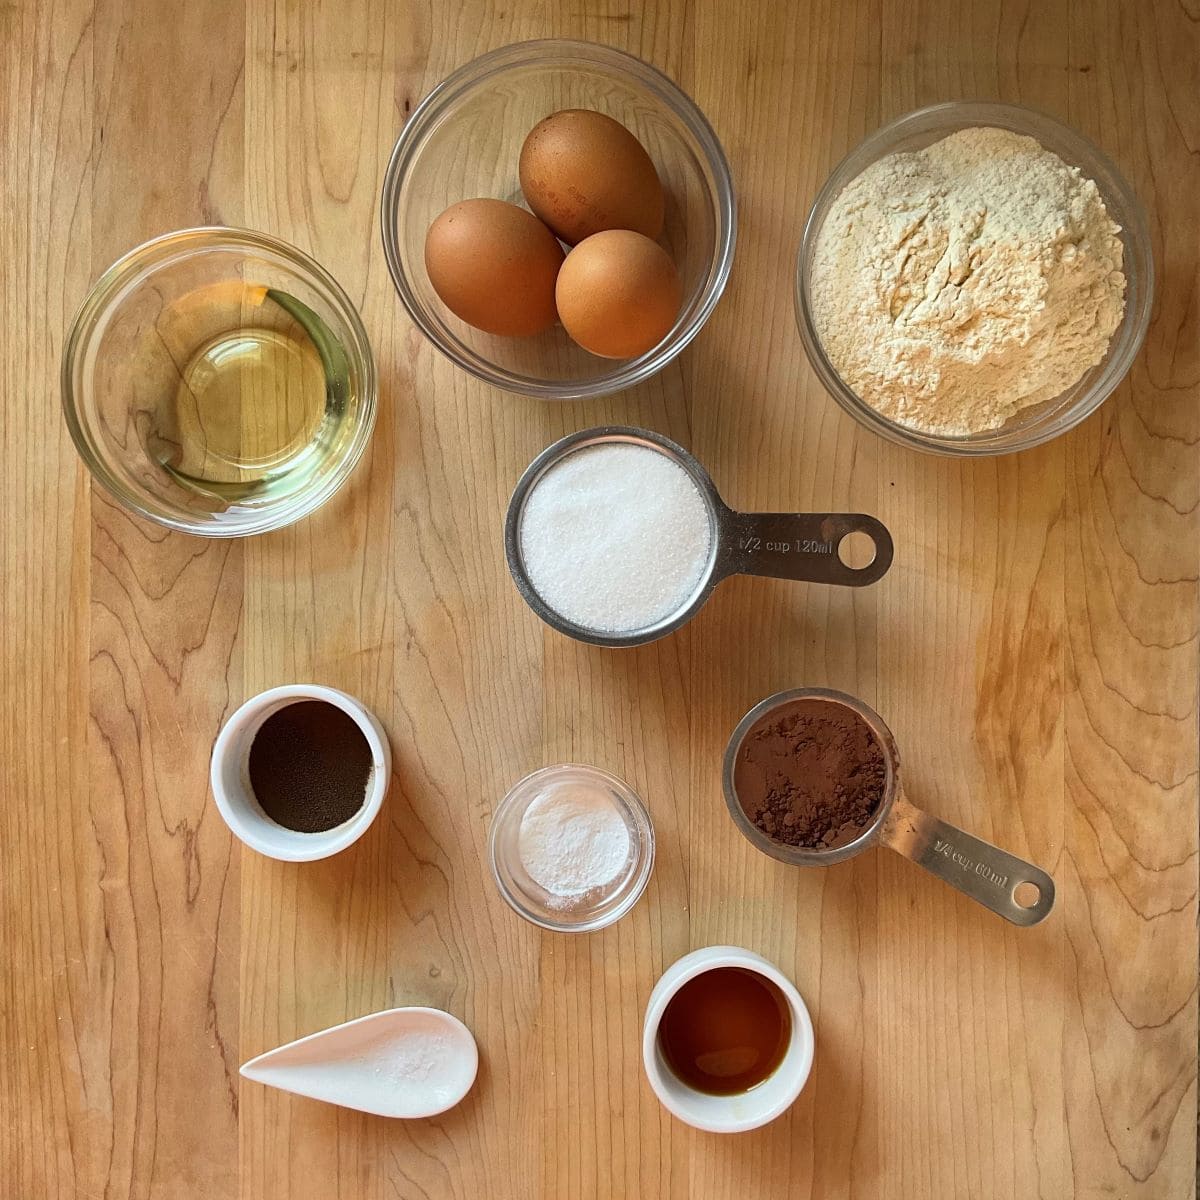
- All-Purpose Flour: The foundation of the pizzelle provides structure and texture to the cookies.
- Unsweetened Cocoa Powder: The star ingredient imparts a rich chocolate flavor, transforming the classic pizzelle into a decadent treat.
- Espresso Powder: The secret ingredient that adds depth and enriches the flavor of chocolate.
- Baking Powder: A leavening agent that helps the pizzelle achieve its characteristic thin and crispy texture.
- Pinch of Salt: Enhances the flavor profile.
- Eggs: Contribute to the structure and moisture of the pizzelle, ensuring a tender and light texture.
- Sugar: Sweetens the batter, providing the right level of sweetness to complement the chocolate flavor.
- Vegetable Oil: Adds moisture and helps achieve the thin and delicate texture of the pizzelle.
- Vanilla Extract: Enhances the overall flavor and aroma, adding a touch of sweetness and warmth.
Special Equipment
Creating the perfect chocolate pizzelle requires a pizzelle iron, which can be either electric or stovetop. This specialized appliance ensures those distinctive snowflake patterns and the thin, crisp texture that defines this Italian cookie.
How to Make
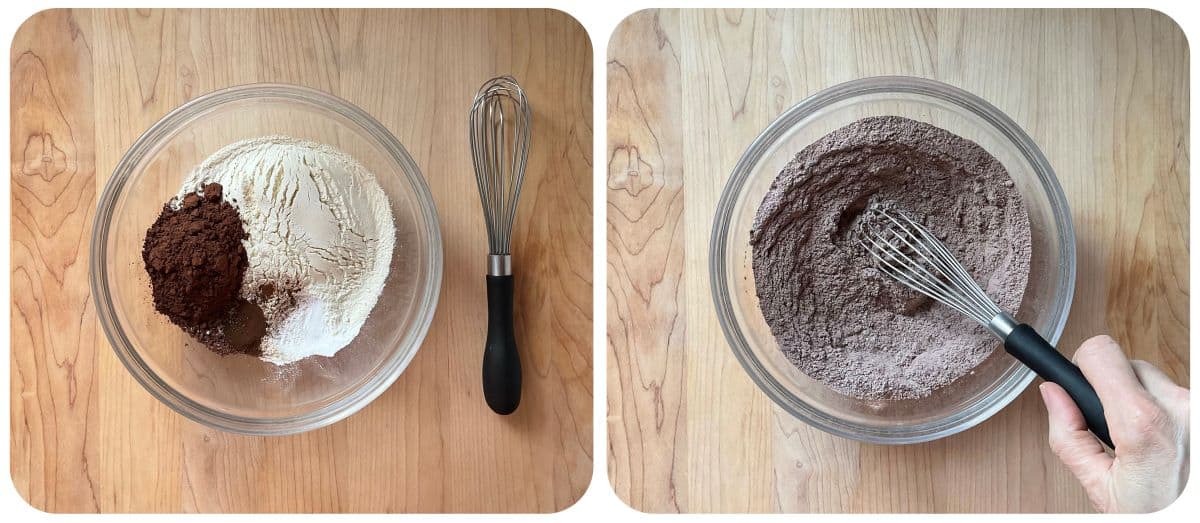
Sift dry ingredients: In a large mixing bowl, sift or whisk together 1 cup of all-purpose flour, ¼ cup unsweetened cocoa powder, ¾ teaspoon of baking powder, ½ teaspoon of espresso powder, and a pinch of salt. This ensures even distribution of these ingredients. Set aside for now.
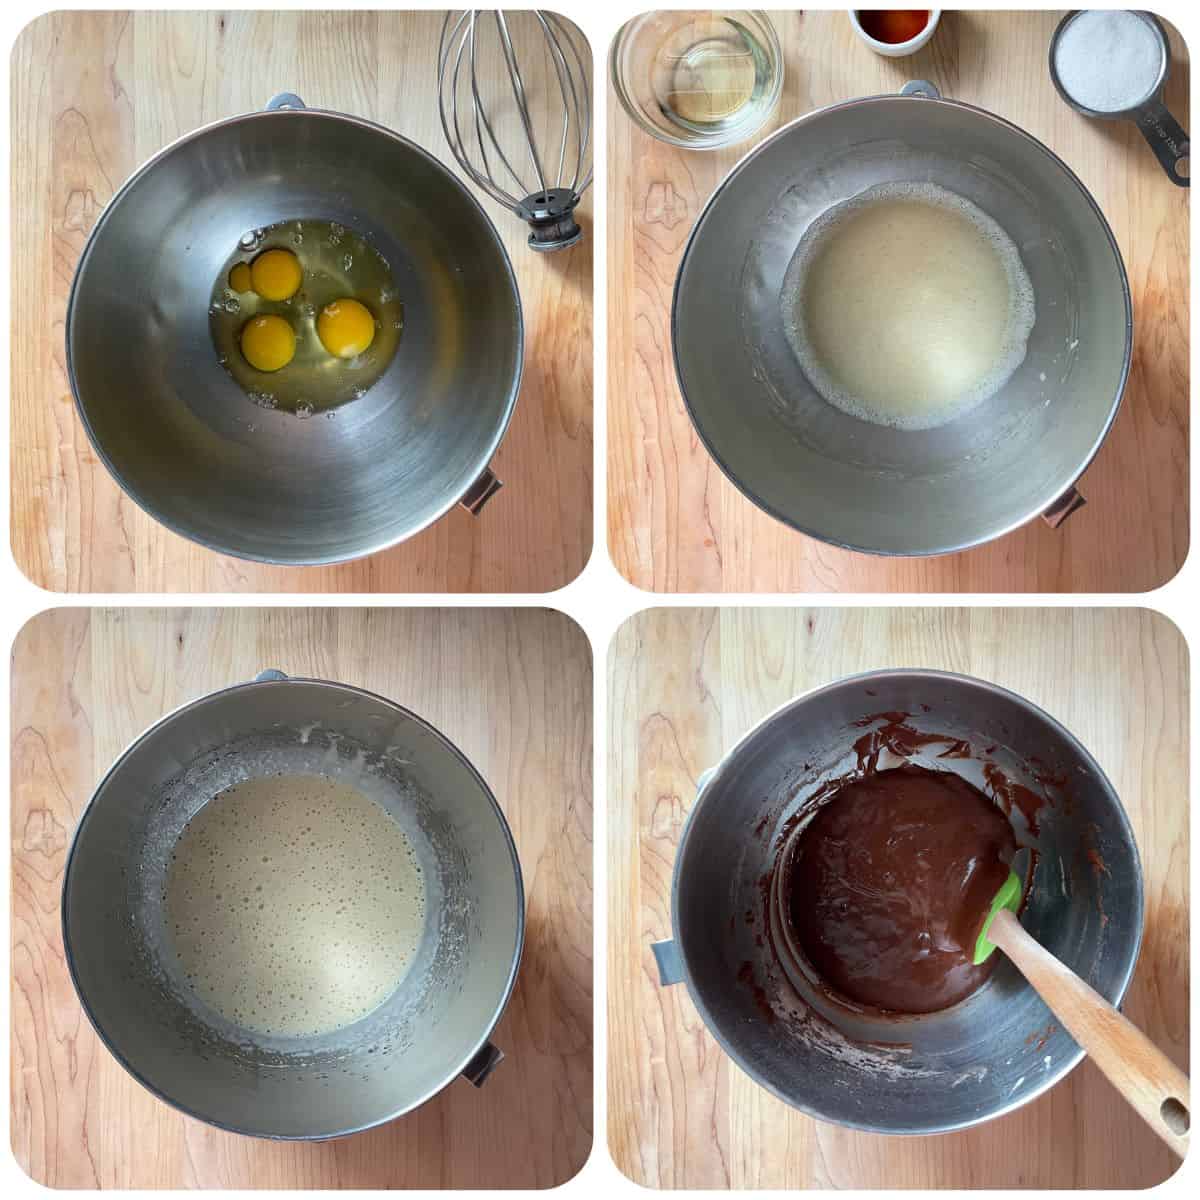
Combine wet ingredients: In the bowl of a stand mixer, whisk 3 eggs until frothy and beginning to thicken (about 2-3 minutes). Add ½ cup of granulated sugar. Continue whisking until the mixture thickens (about 2-3 minutes). Gradually add ¼ cup of vegetable oil and 1 teaspoon of vanilla extract. Whisk for 30 seconds until well combined.
Incorporate dry ingredients: With the stand mixer running at a low speed, gradually add the sifted dry ingredients to the wet ingredients. Allow the mixer to combine the ingredients. Use a rubber spatula to scrape down the sides and bottom of the bowl.
Preheat the pizzelle iron: Preheat your pizzelle iron according to the manufacturer’s instructions.
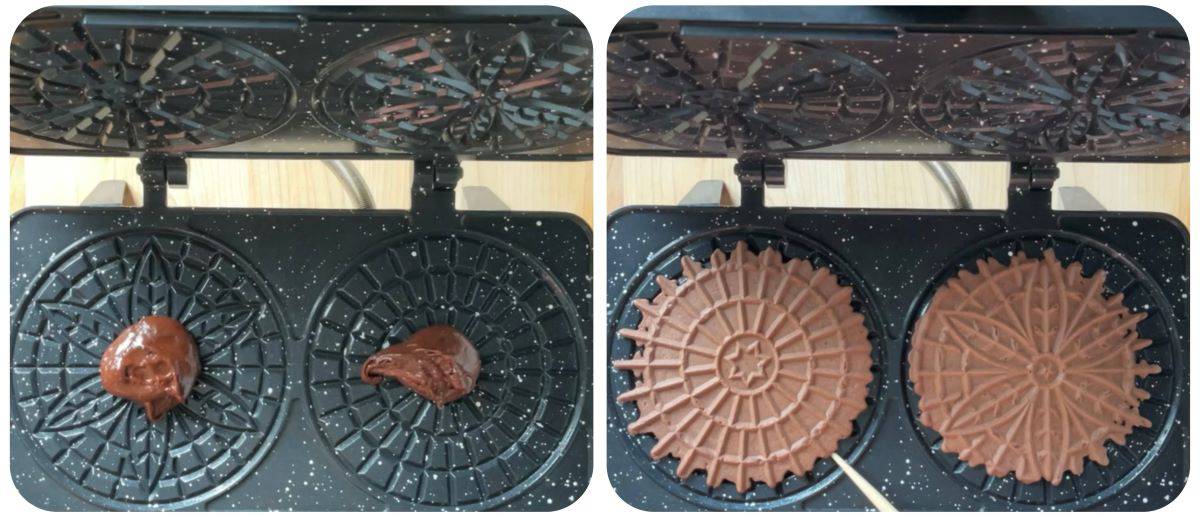
Spoon batter onto the iron: Once the pizzelle iron is adequately heated, spoon a tablespoon of the chocolate batter onto the center of each pattern on the iron. Close the lid and cook according to the appliance’s guidelines until the pizzelle is golden brown. This is usually between 30-45 seconds.
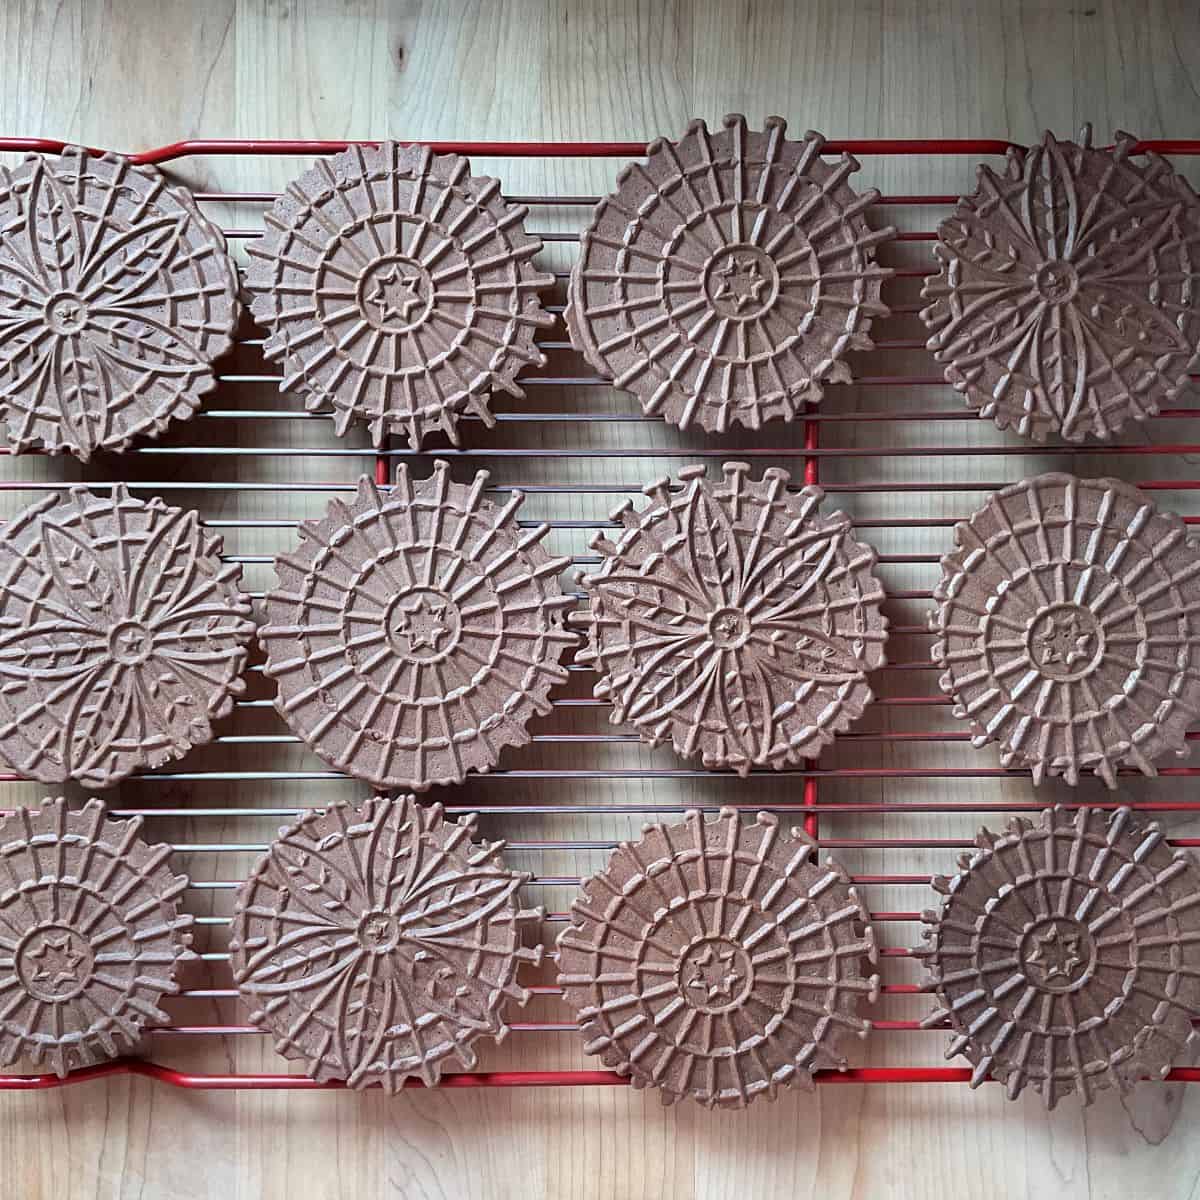
Remove and cool: Carefully remove the pizzelle from the iron using a wooden dowel and transfer them to a wire rack to cool completely. Repeat the process until all the batter is used.
Serve and enjoy: If desired, dust them with powdered sugar before serving for an extra touch of sweetness. I prefer to enjoy them as is with my favorite hot beverage.
Tips
- Use a small ice cream scoop to portion the pizzelle batter into the mold for uniform sizing and shape.
- To prevent cakey and soft pizzelle, avoid overfilling the mold with batter. Opt for a smaller amount of batter to achieve crisp and light pizzelle.
Storing and Freezing Pizzelle for Freshness
When it comes to storing pizzelle to maintain their crispness, consider the following:
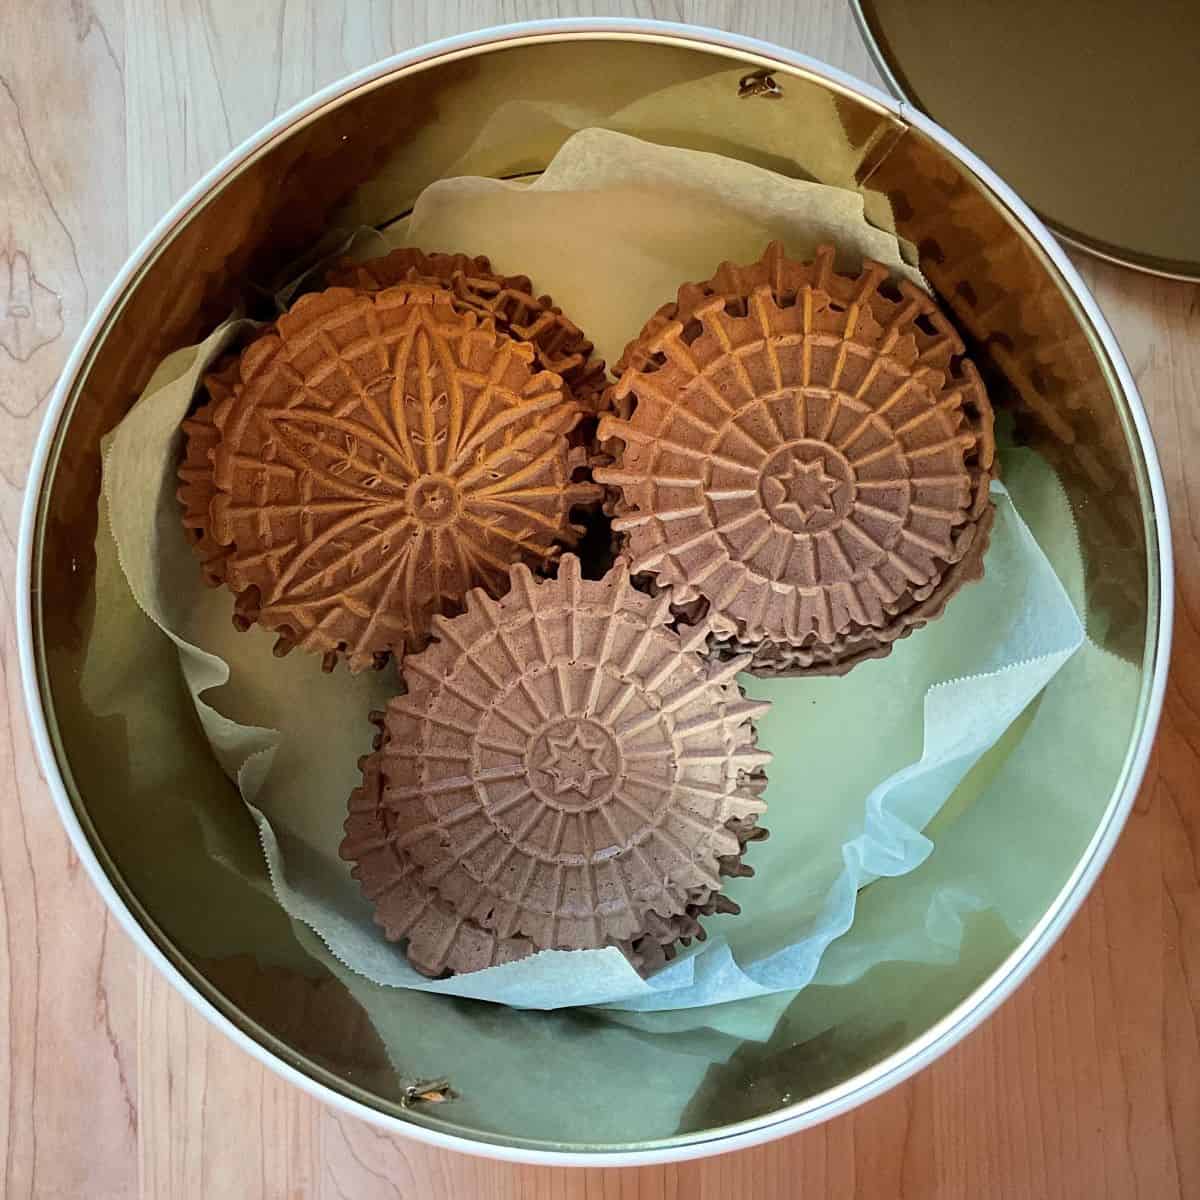
- Storing at room temperature: You can store them in cookie or coffee tins or use paper bags. You can also wrap them in aluminum foil. They can last up to 2 weeks using these methods. Avoid using plastic or airtight containers, as these can cause the pizzelles to become soft over time.
- Freezing Technique: To freeze pizzelle for up to 3 months, wrap them in groups of 4-5, first in plastic wrap and then in aluminum foil to prevent freezer burn. Afterward, place them in a freezer container to prevent them from being crushed. Don’t forget to label the container before freezing.
Following these storage and freezing guidelines ensures that your pizzelles stay fresh and delicious for an extended period.
Traditional Italian Cookies
Are you looking for more authentic Italian cookies?
If you like old-school Italian cookies and you enjoy dunking your cookies in your caffè latte, I have a few family favorites I would love to share with you. These recipes will transport you into an Italian nonna’s kitchen whenever you make them.
I hope you enjoy them as much as my family does.
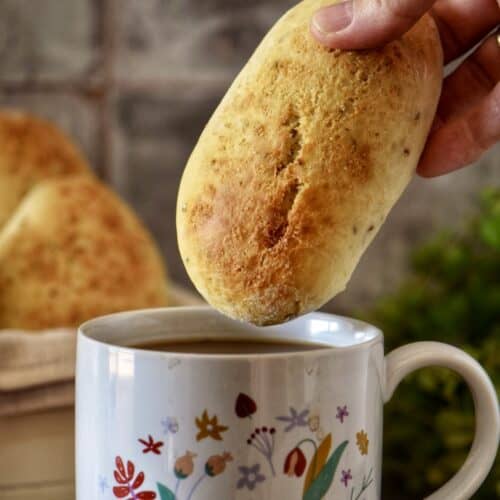
Italian Anise Cookies: These have a spongy interior and are lightly sweetened… perfect with that morning coffee!
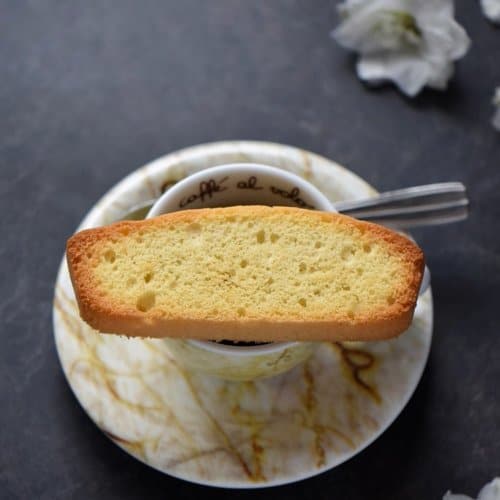
Anise Biscotti: This nut-free biscotti is baked in a loaf pan! Intrigued? Come and take a look at how easy this is!
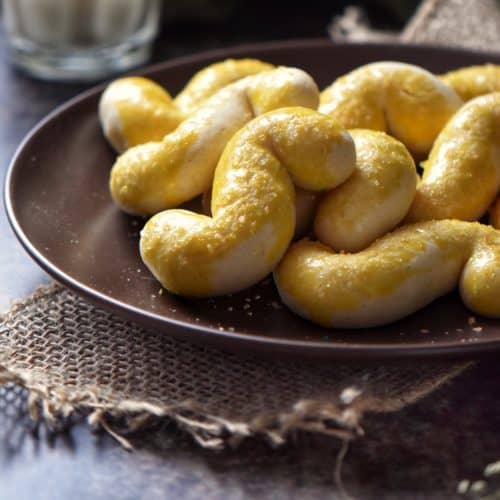
Italian S Cookies: The perfect cookie for dunking!
Italian Wine Biscuits: An authentic recipe originating from the region of Naples.
Recipe Inspiration
In my family, these traditional Italian waffle cookies represent a cherished variation created from my culinary explorations. Inspired by my Italian roots and my nonna’s cherished recipe for “ferratelle,” or pizzelle, I introduced this chocolate twist.
After a couple of years of experimenting with adding espresso powder to my chocolate recipes, I’m excited to update and share this discovery with all of you.
I can’t help but reminisce about when my nonna would create her anise pizzelle, calling for a dozen eggs. Yes, a dozen! Imagine the bustling kitchen filled with laughter and anticipation, especially as they were made one at a time with a stovetop pizzelle maker.
Sharing this variation is more than just offering a recipe; for me, it’s a continuation of a family legacy. My grandmother was born in 1908 in a small Italian village. Despite all the hardships she experienced, she learned to read and write and shared invaluable lessons with her grandchildren and great-grandchildren.
As I share this recipe for Chocolate Pizzelle with you, I hope you feel the warmth of tradition and the joy of creating something truly special.
Just for you! A printable baking checklist to help you keep track of all your baking needs.
If you love to bake, this is for you! Simply subscribe to my weekly newsletter and receive this FREE BAKING CHECKLIST PRINTABLE!
This way, you won’t miss any of my new recipes, and it’s FREE!
THANKS SO MUCH for following and being part of the She Loves Biscotti community, where you will find Simple & Tasty Family-Friendly Recipes with an Italian Twist.
Ciao for now,
Maria
★★★★★ If you have made this recipe for chocolate pizzelle, I would love to hear about it in the comments below and be sure to rate the recipe!
Recipe
The Best Chocolate Pizzelle Recipe
Equipment
- Pizzelle Maker
WANT TO SAVE THIS RECIPE?
Ingredients
Dry Ingredients:
- 1 cup all-purpose flour 142 grams
- ¼ cup unsweetened cocoa powder 21 grams
- ½ teaspoon espresso powder
- ¾ teaspoon baking powder
- pinch salt
Wet Ingredients:
- 3 eggs room temperature
- ½ cup sugar 100 grams
- ¼ cup vegetable oil
- 1 teaspoon vanilla extract
Instructions
- In a mixing bowl, sift or whisk together the dry ingredients. Set aside for now.
- In a large mixing bowl or the bowl of an electric mixer fitted with the whisk attachment, beat the eggs until frothy and beginning to thicken (about 2-3 minutes).
- Add sugar. Continue to whisk until well thickened, about 3-4 minutes.
- Add the oil and extract. Mix well together.
- Slowly add the dry ingredients at low speed until well combined -the dough will be soft and sticky. Use a rubber spatula to scrape down the sides and bottom of the bowl.
- Preheat your pizzelle iron according to the manufacturer’s instructions.
- Drop 1 tablespoon of batter on hot pizzelle press. You can also use a small cookie scooper.
- Close the lid and cook for 30-45 seconds or until slightly golden.
- Carefully remove the chocolate pizzelle from the iron using a wooden dowel and transfer them to a wire rack to cool completely.
- Repeat the process until all the batter is used.
- WATCH THE VIDEO ON THE RECIPE CARD TO SEE HOW EASY THIS RECIPE IS TO MAKE!
Video
Notes
- Use a small ice cream scoop to portion the pizzelle batter into the mold for uniform sizing and shape.
- To prevent cakey and soft pizzelle, avoid overfilling the mold with batter. Opt for a smaller amount of batter to achieve crisp and light pizzelle.



Billie
First time making chocolate pizzelles. Excellent recipe. Very easy.
Maria
So happy to read this! Thanks so much for sharing Billie!
Miska Knezevic
EXCELLENT
Maria
Thank you kindly Miska!