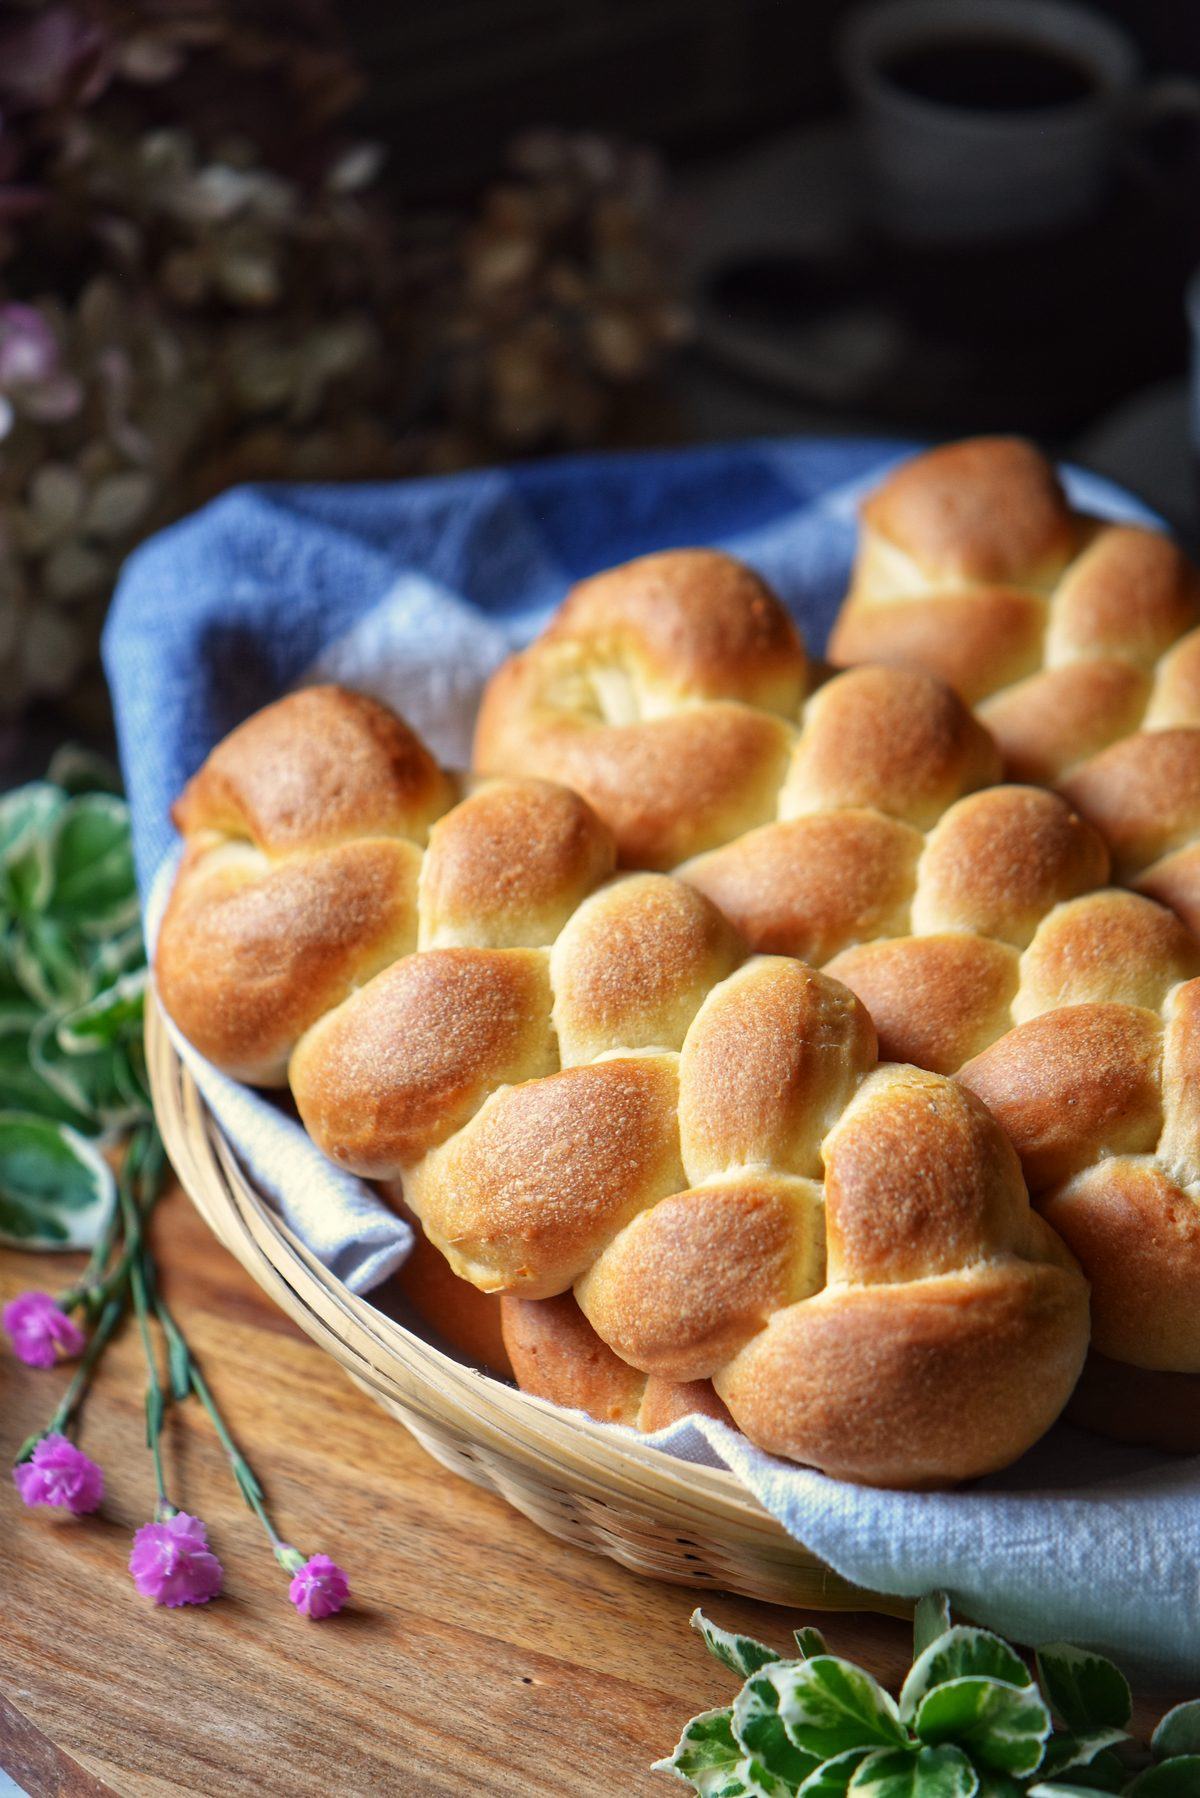
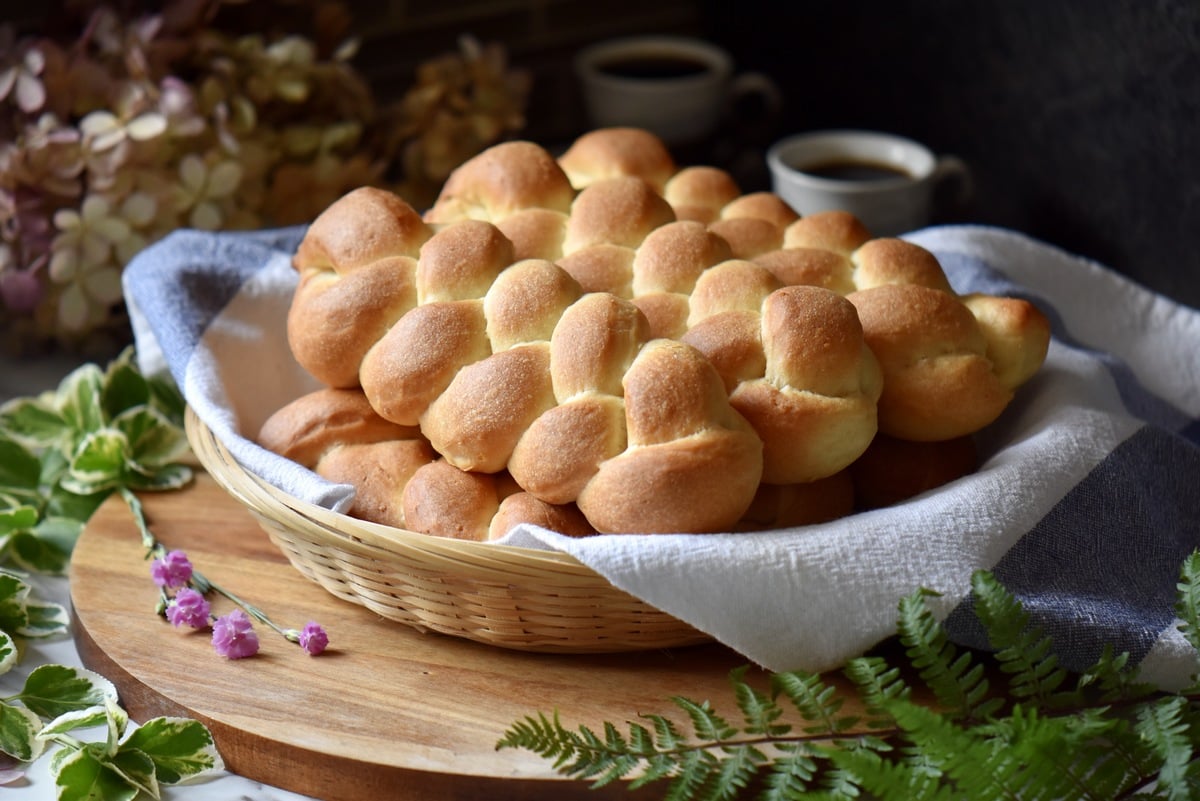
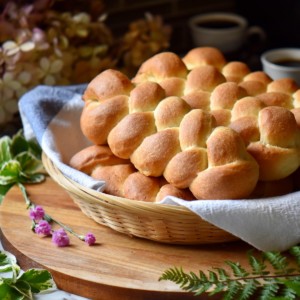
This braided sweet yeast bread recipe features a mildly sweet, light, and fluffy texture. The addition of buttermilk imparts a hint of tanginess. Elevate your bread game today!
WANT TO SAVE THIS RECIPE?
Indulging in the sweet, pillowy texture of freshly baked yeast bread is one of life’s simple joys, wouldn’t you agree?
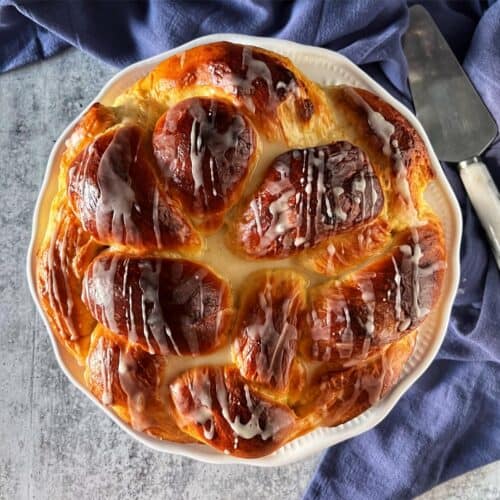
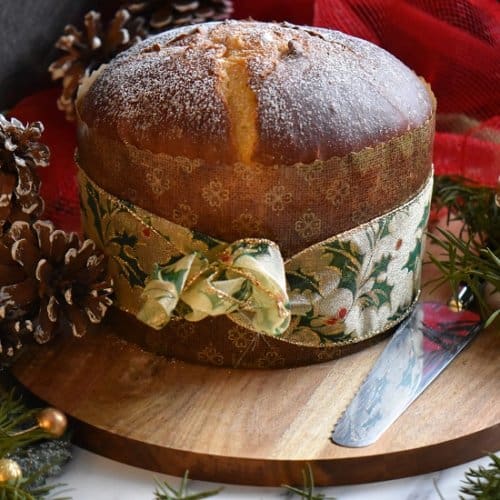
Whether it’s the aromatic allure of Italian Easter Bread or the decadent richness of Panettone, there’s something truly magical about creating a sweet yeast bread recipe from scratch.
Today, I’m excited to share one of my favorite recipes that not only honors the tradition of sweet bread but also adds a nourishing twist to the mix.
By substituting traditional ingredients with wholesome alternatives, such as reducing the egg count to just one and forgoing butter, we’ve created a lighter, more health-conscious version that doesn’t skimp on flavor or texture.
And the best part? This recipe remains remarkably simple to master. With just a few basic steps, you’ll make your braided yeast bread like a seasoned artisan baker. Trust me, the ease of preparation will leave you pleasantly surprised!
Here’s how to make them from scratch. You won’t believe how easy they are to make!
Jump to:
Instructions
Proofing the yeast: Heat ¼ cup of water to 105°F-115°F. Transfer to a bowl. Add one package of active dry yeast (8 grams or 2¼ teaspoons ) and 1 teaspoon of sugar from the overall amount. Stir together. Set aside for 5 minutes for the yeast to activate.
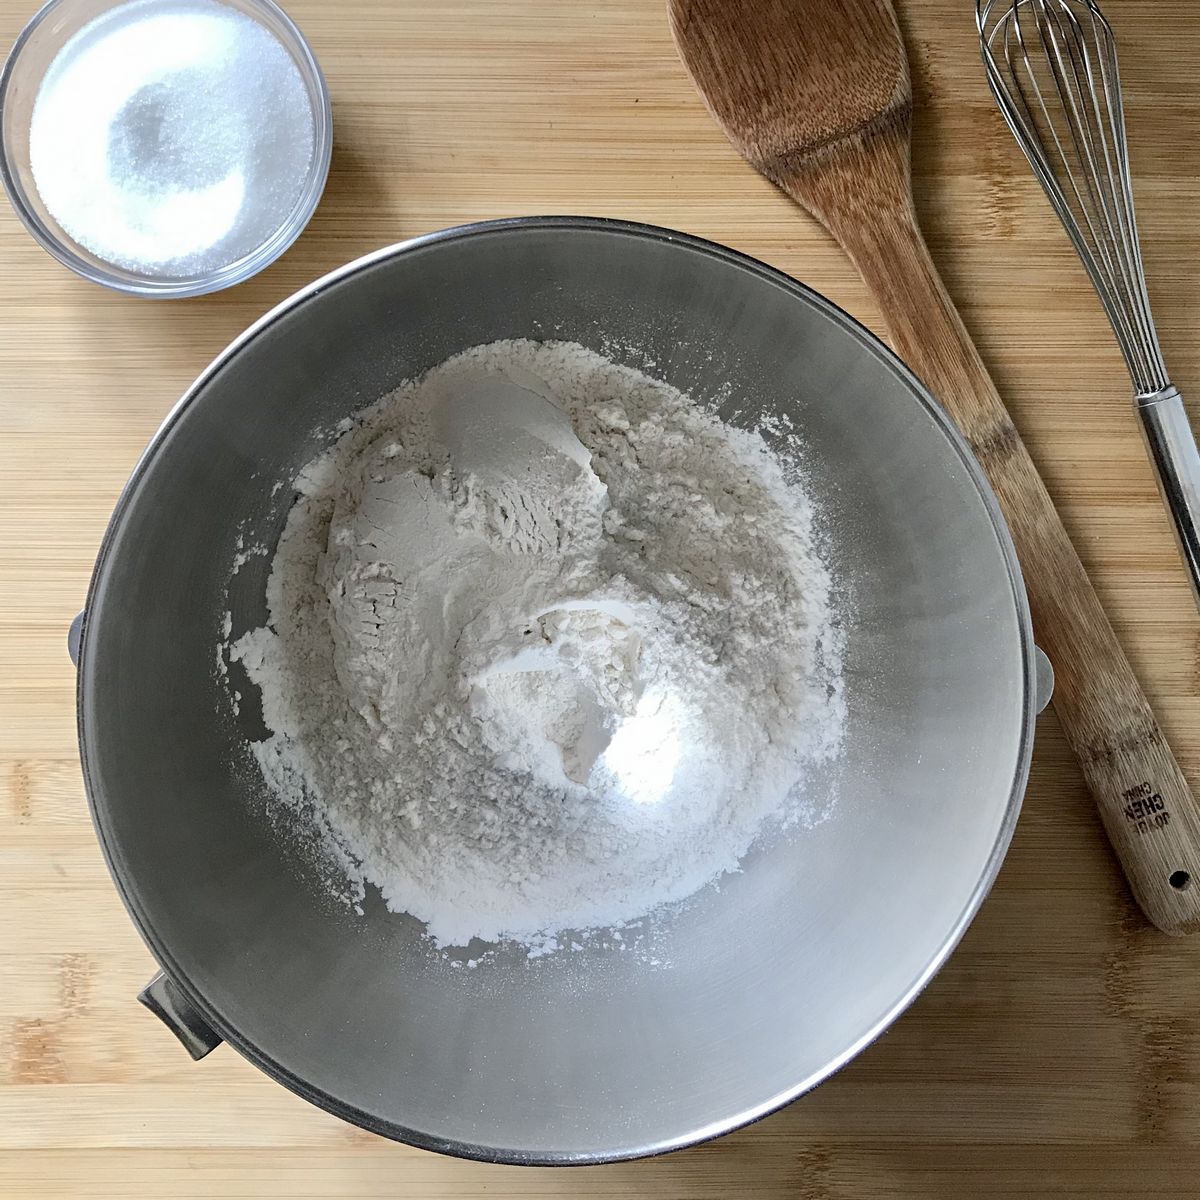
Whisking the dry ingredients: While waiting, in the mixing bowl of a stand mixer, whisk together the 3 ½ cups of flour and ½ cup of sugar (minus the 1 teaspoon of sugar used for the yeast). Set aside.
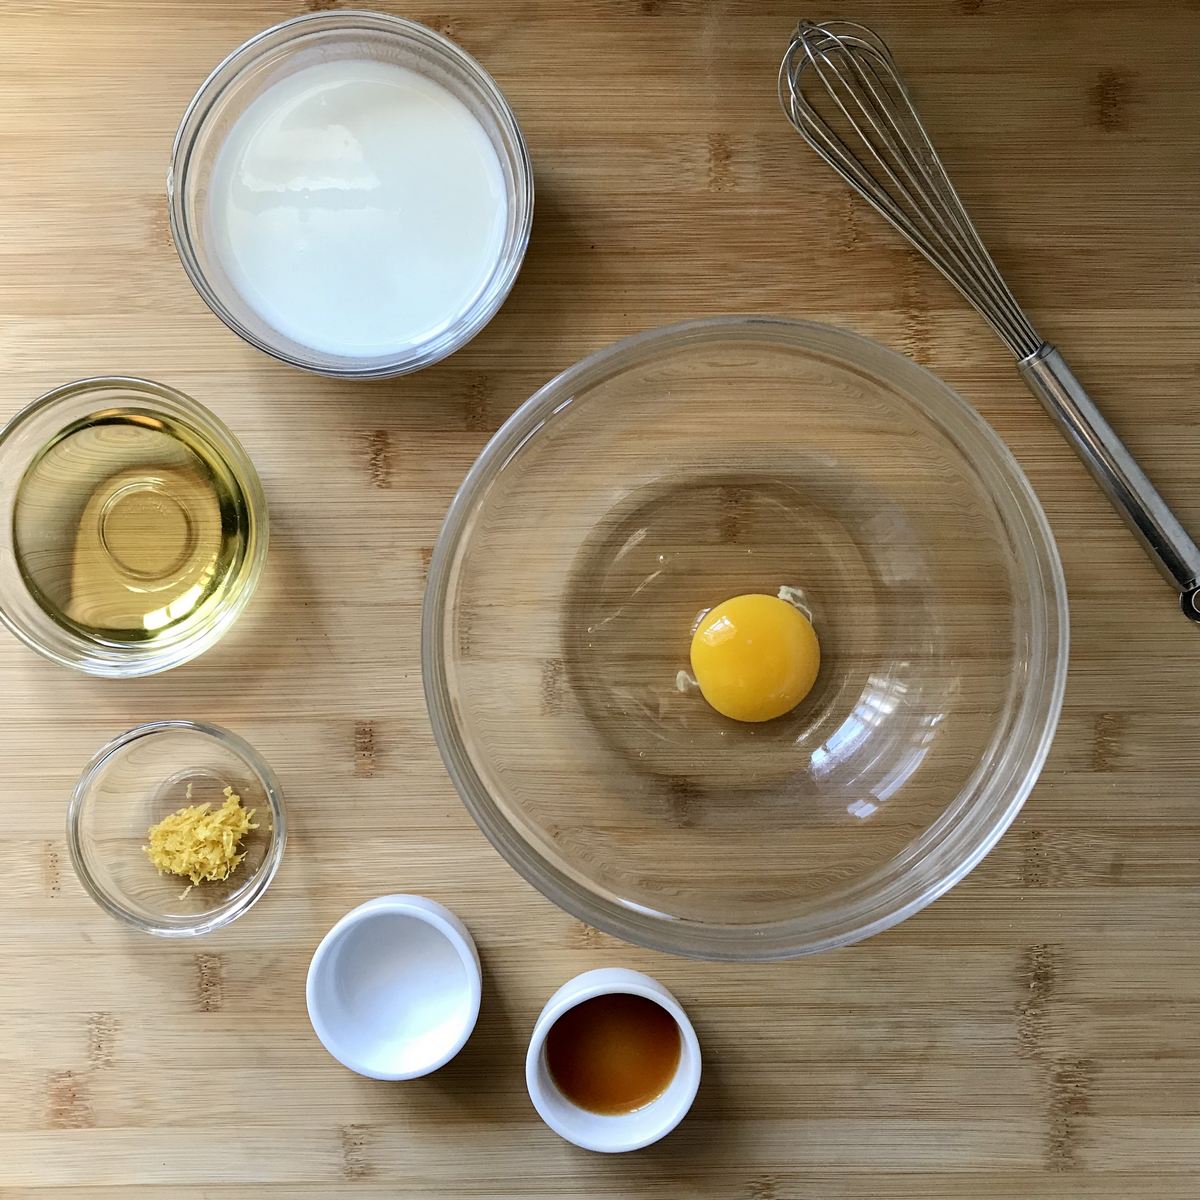
Whisking the liquid ingredients: In a separate bowl whisk together the ⅔ cup of buttermilk (room temperature), 1 egg (room temperature), ⅓ cup vegetable oil, 1 teaspoon vanilla extract, ½ teaspoon almond extract and the zest of one organic lemon.
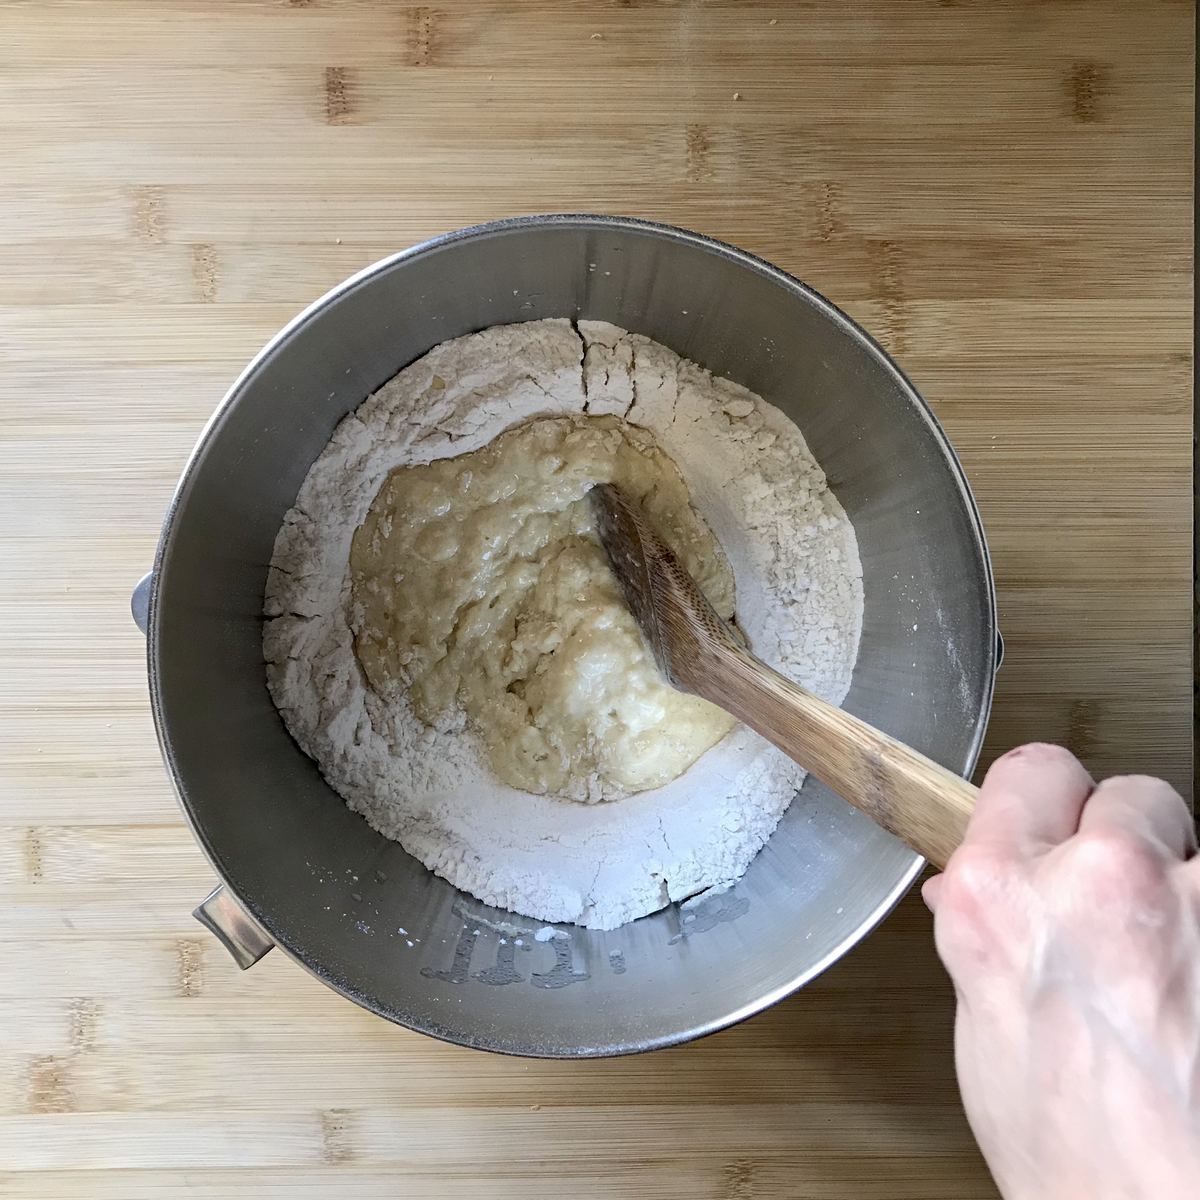
Combine with a wooden spoon: Add the liquid egg mixture to the well of the dry ingredients. With a wooden spoon, combine to form a shaggy dough. Then, add the yeast mixture and continue to combine for about 1 minute.
Knead with stand mixture: Place the bowl in the mixer and fit with the dough hook. Knead on low speed for about 5-8 minutes. The ball of dough should pull away from the sides of the bowl. If not, add flour, 1 teaspoon at a time, until it no longer sticks to the bowl’s bottom. The dough should be soft and smooth and spring back when poked.
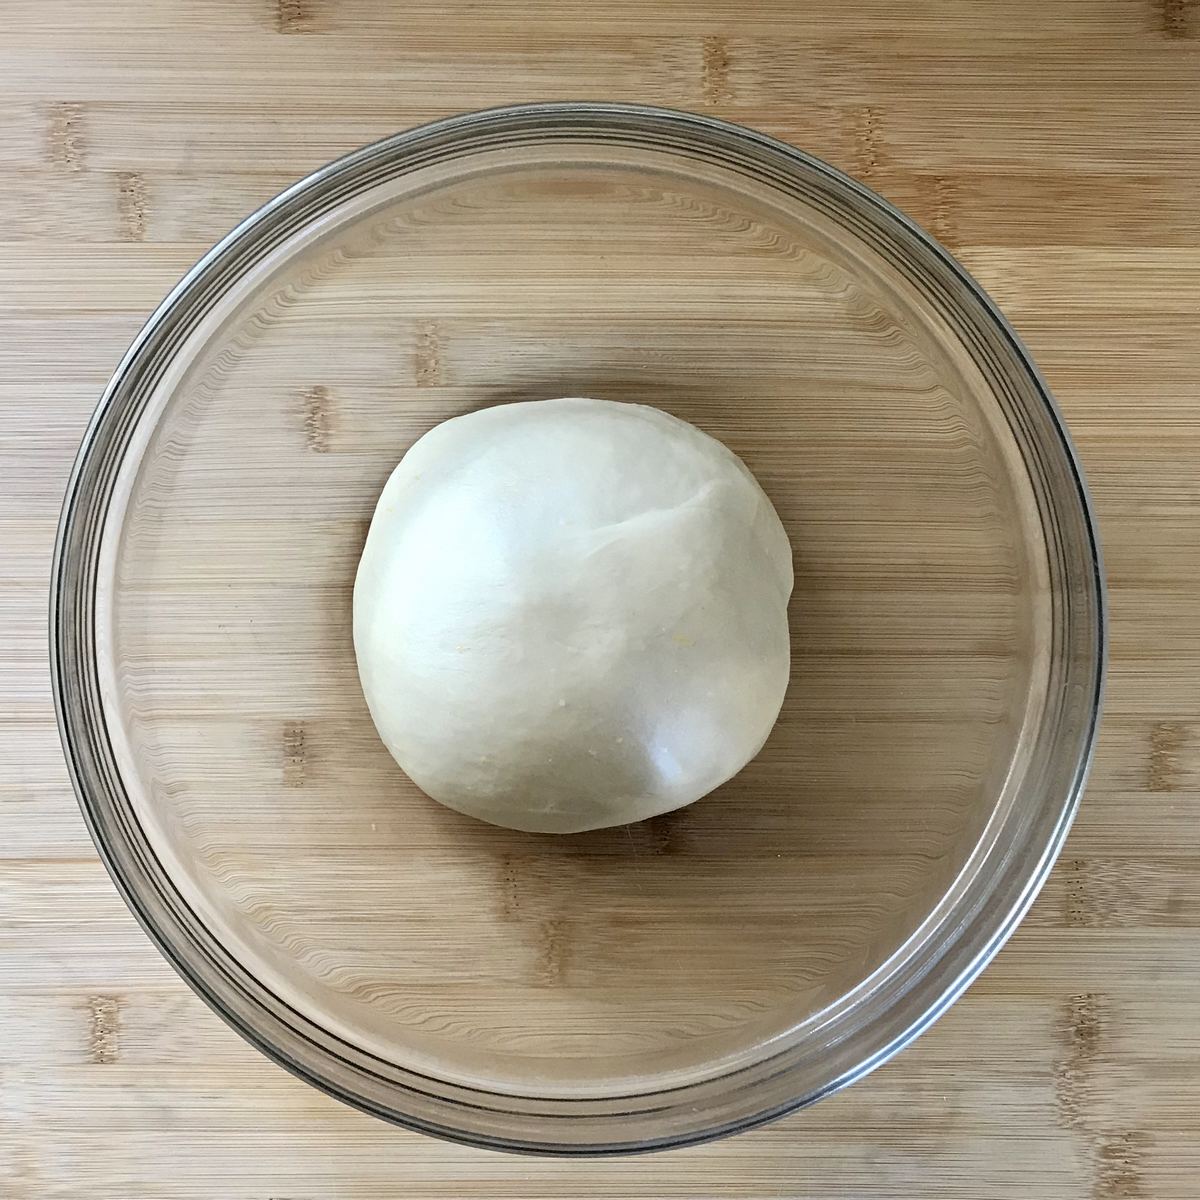
Let the dough rest: Remove dough from bowl and shape into a ball. Place the ball of dough in a clean bowl. Cover bowl with plastic wrap. Let rise for about 1½ – 2 hours or until double in size. There is no need to grease the bowl.
How to shape and bake
Before we start shaping the dough, preheat your oven to 350° F (180°C). Position rack in the center of the oven. Also, line a cookie sheet with parchment paper and set it aside for now.
Transfer the ball of dough to a lightly floured wooden board.
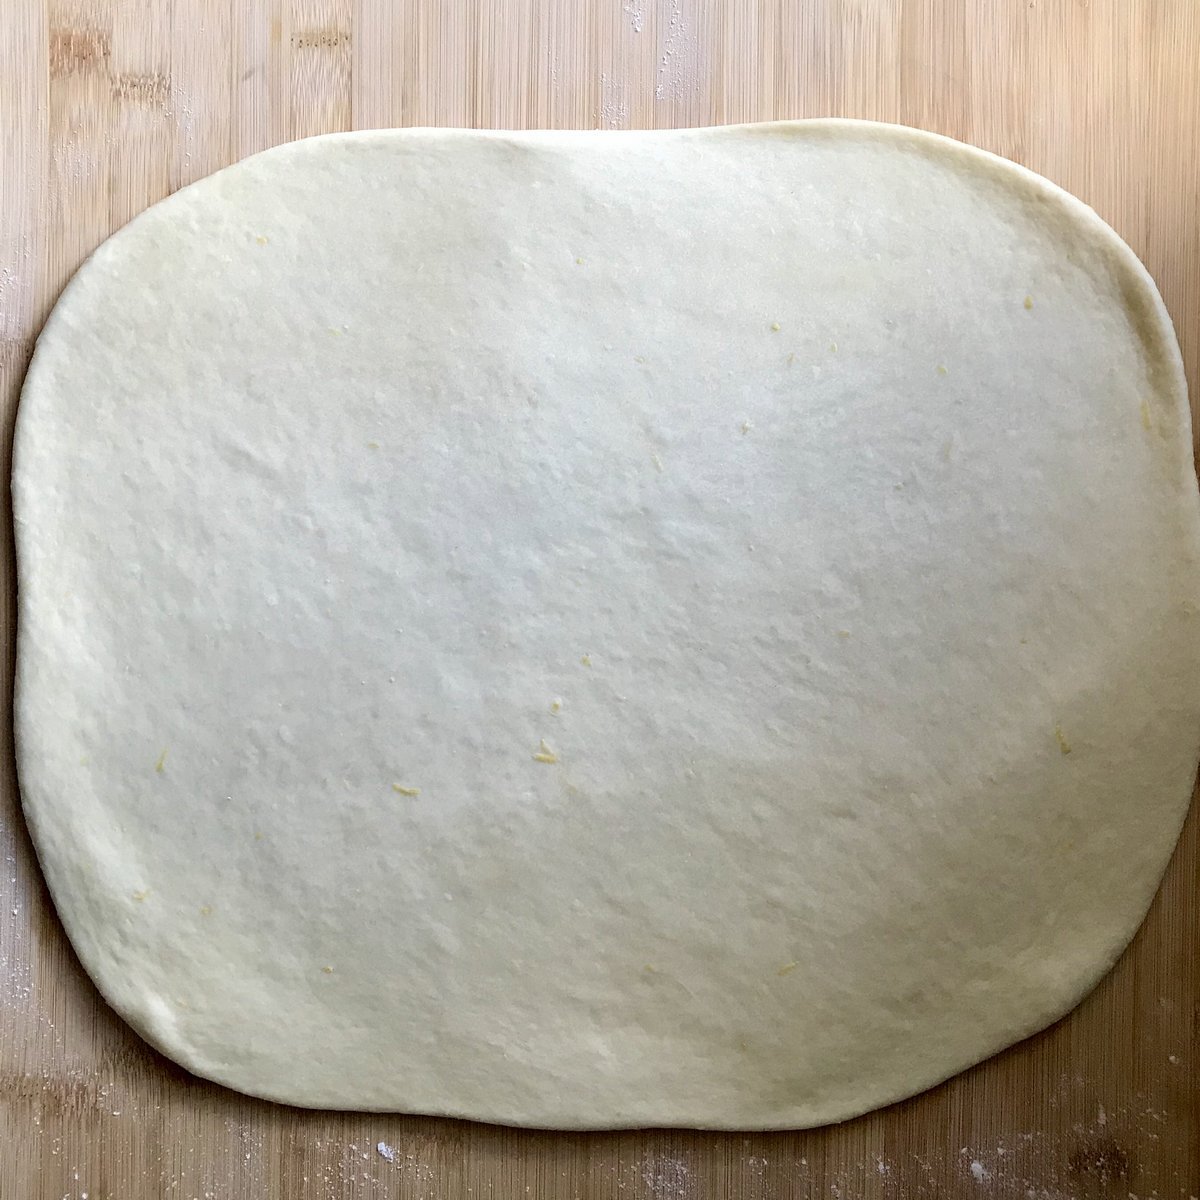
Roll out the dough until you get a 16×12-inch rectangle.
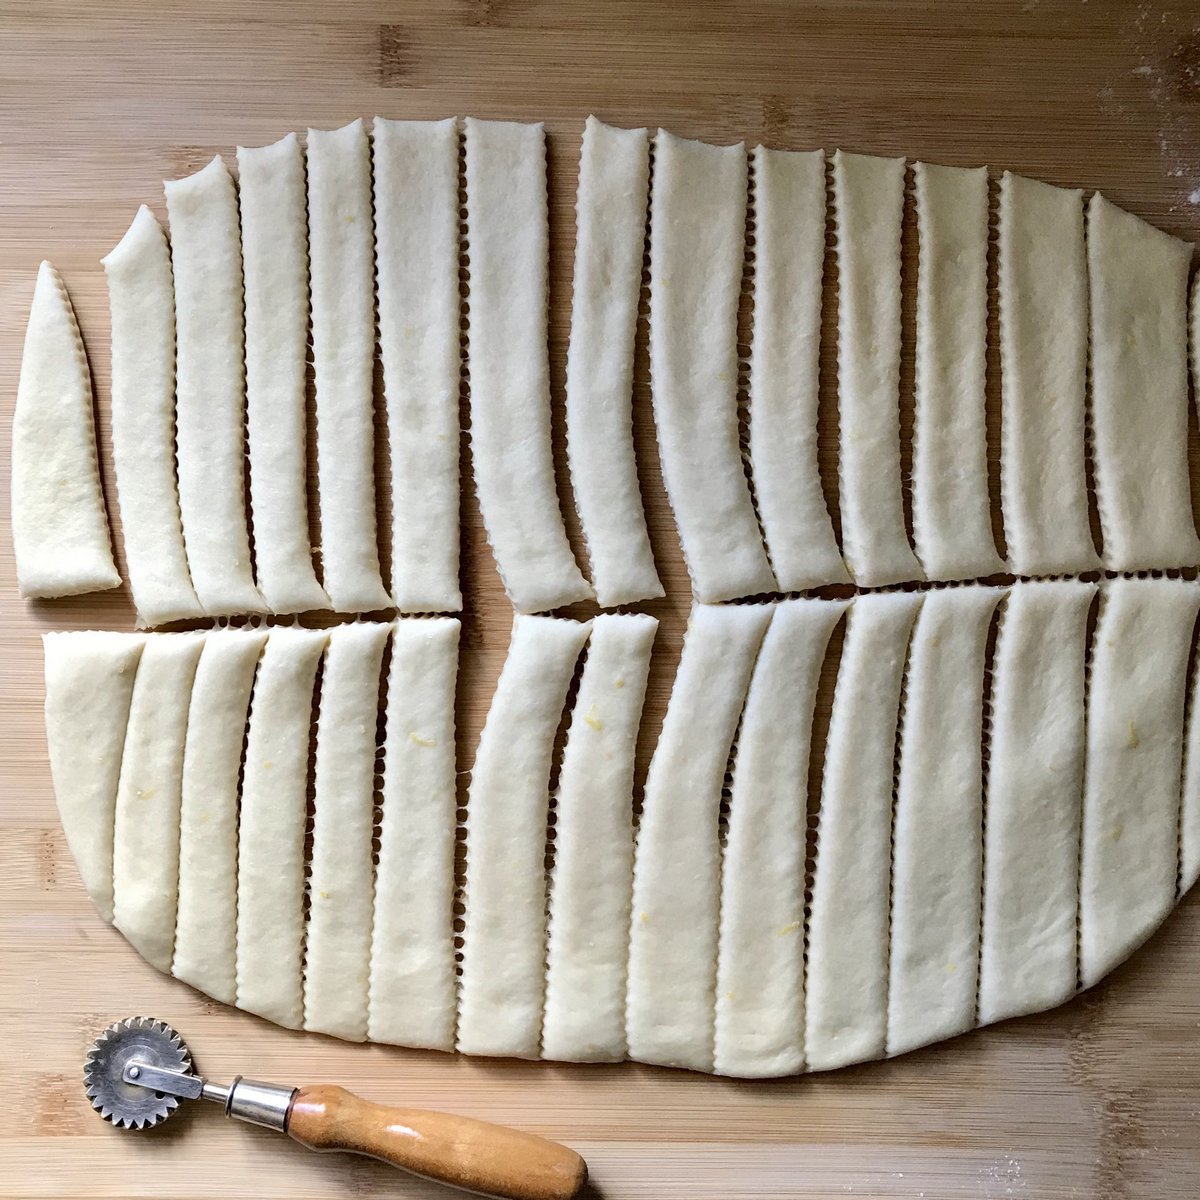
With a pastry cutter, cut the length of the dough into 1-inch strips. Then, cut the dough across the middle. You should have 32 strips of dough.
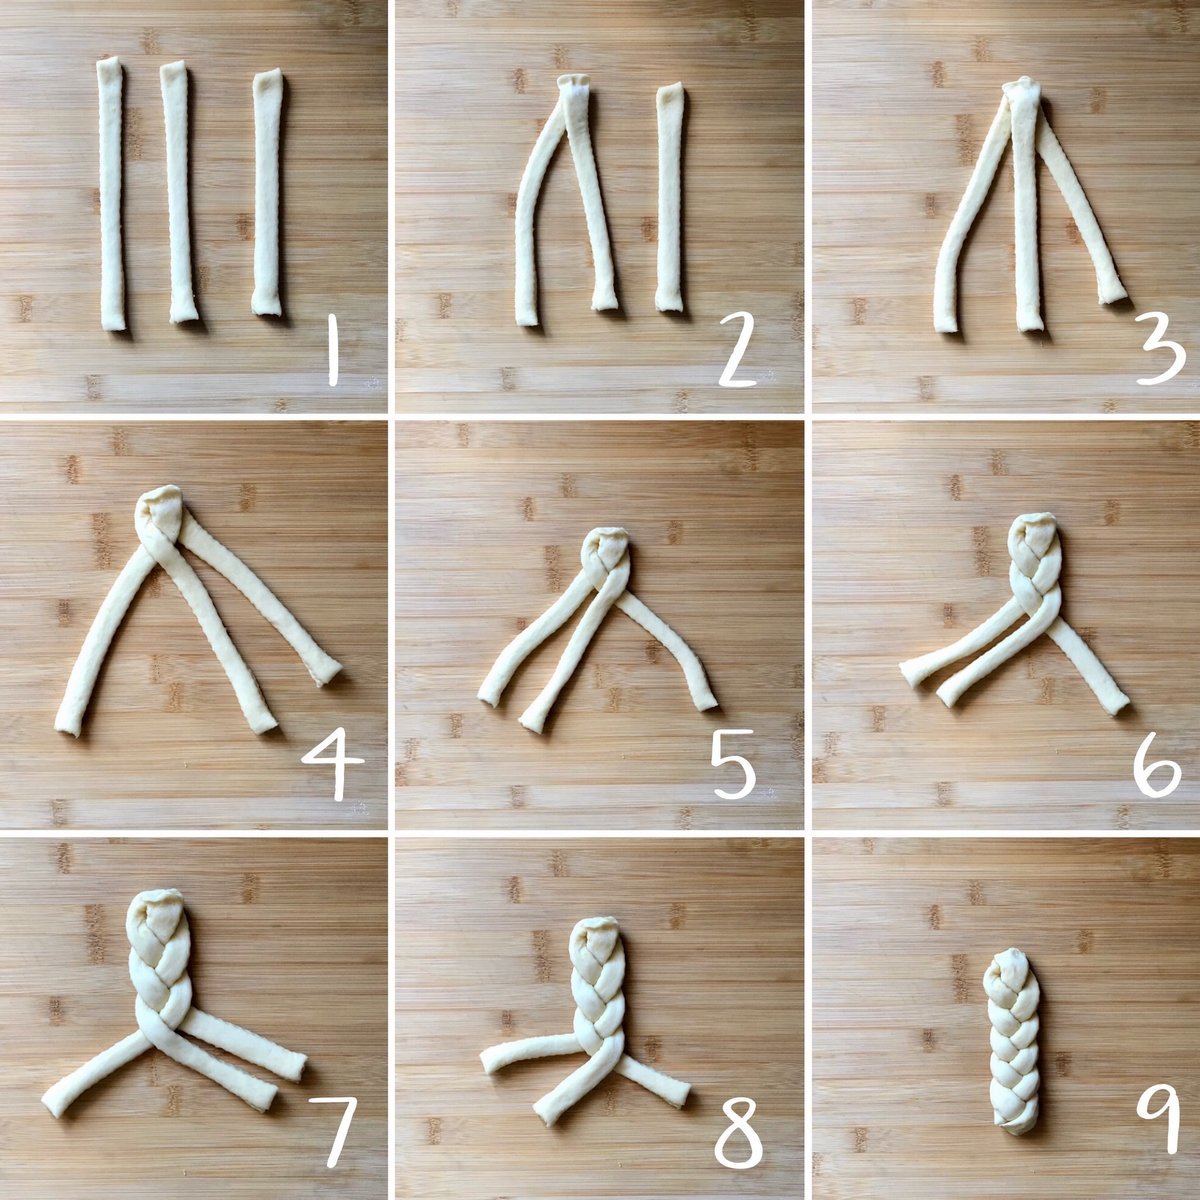
To braid the dough:
- Place three strips of dough next to each other.
- Pinch together 2 strips of dough at the top end.
- Place the 3rd strip of dough in the middle and pinch it together at the top.
- Begin braiding by bringing the left strip of dough over the middle strip.
- Bring the right strip of dough to the middle.
- Repeat again -left then right.
- As you bring the strip of the dough to the middle, separate the strands.
- Make one final set of braids.
- Pinch the ends together and tuck underneath.
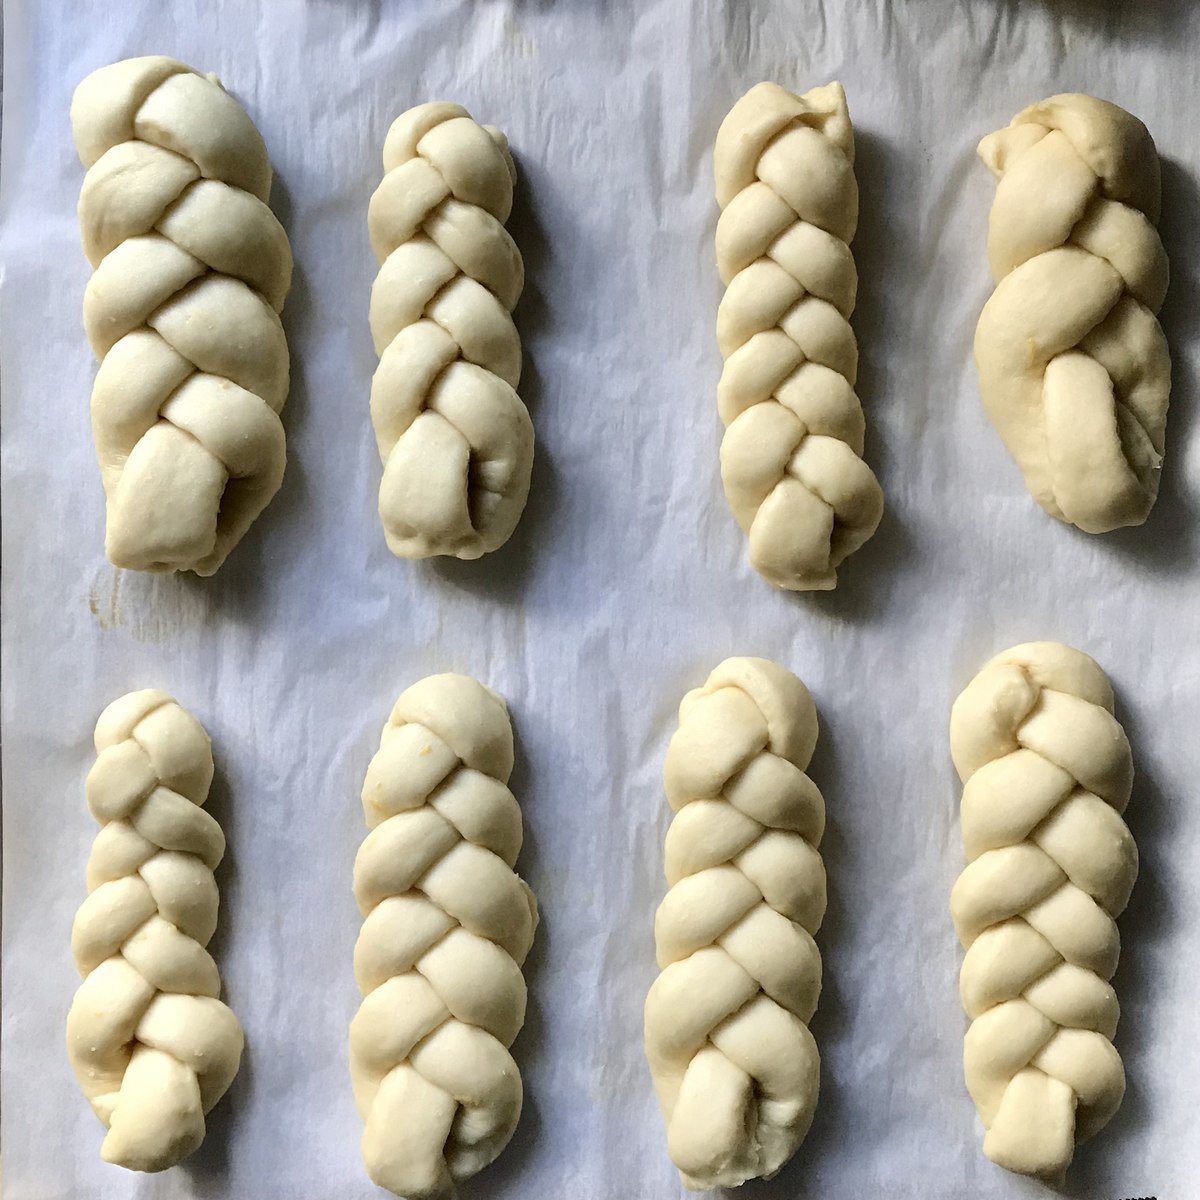
Transfer to the parchment-lined baking sheet. Continue in this fashion until all the dough is braided.
Second rise: Cover with plastic wrap and let rise for about 20 minutes.
Bake the bread: Bake for 15-18 minutes or until golden brown.
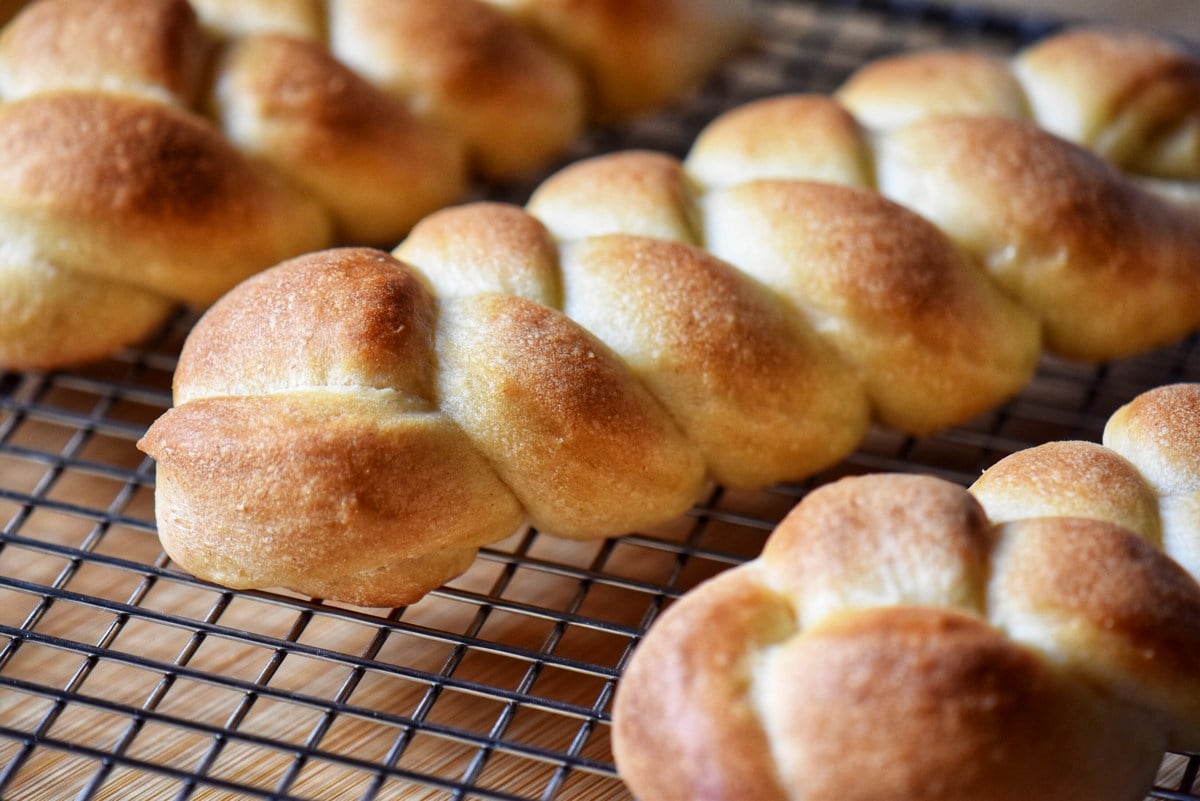
Remove from oven and transfer immediately to a wire rack to cool off.
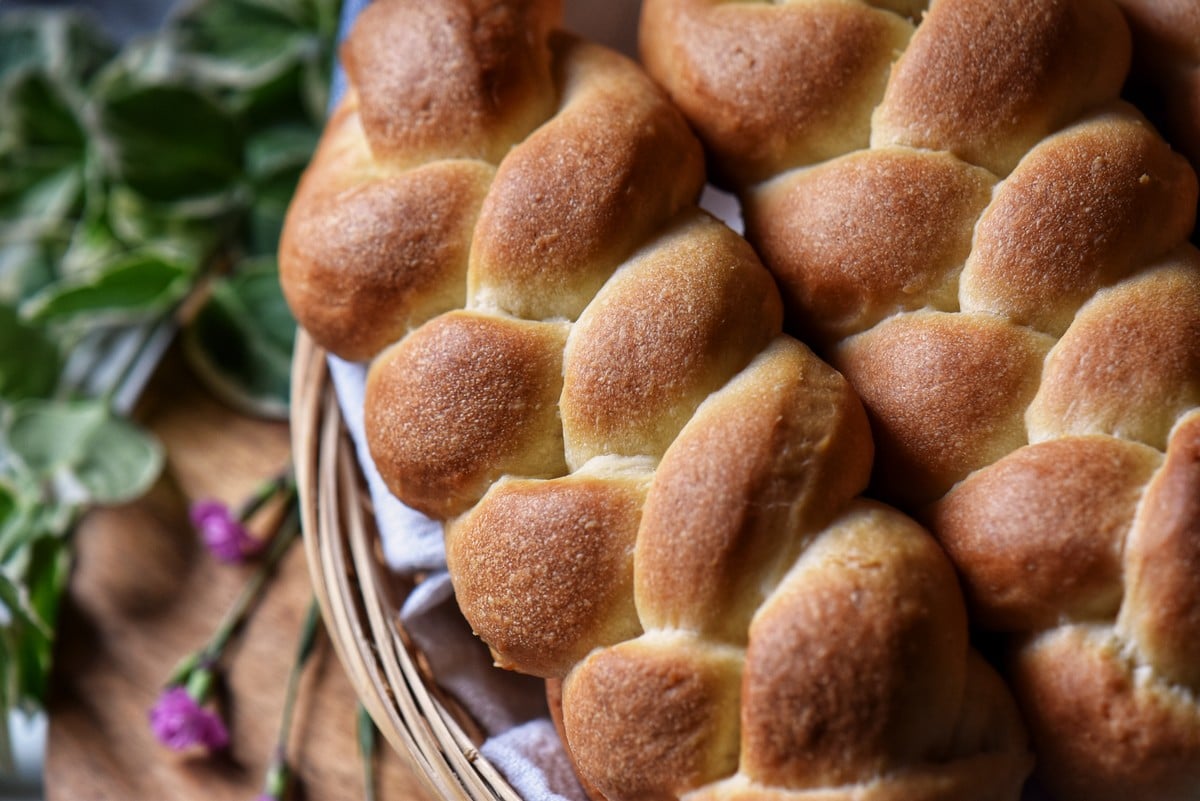
They are best enjoyed the same day they are made.
Tips
- Heat the water to the proper temperature to activate the yeast.
- Remove the egg and buttermilk from the refrigerator at least one hour before starting the recipe.
- Many factors affect flour’s moisture absorption. If the dough feels sticky, simply add a little bit of flour. If it feels dry, moisten it with water.
- Since every oven is different, keep an eye on them during the last few minutes of baking.
- The total waiting time for the dough to rise is 2 hours and 20 minutes
FAQ
Yes, you can substitute buttermilk with a mixture of milk and vinegar or lemon juice. For each cup of buttermilk, simply add 1 tablespoon of vinegar or lemon juice to a measuring cup, then fill with milk to the 1-cup line. Let it sit for 5-10 minutes before using.
You can customize the dough by adding raisins, dried cranberries, chopped nuts, or chocolate chips. You can also try different glazes or toppings, such as a lemon glaze icing, cinnamon sugar, or powdered sugar dusting.
Yes. It is recommended as these are best the day they are made. Once they have cooled down completely, place them on a sheet pan in the freezer for about one hour or until they are firm to the touch. Then, transfer to a large plastic container or a bag. This extra step helps them maintain their shape. I recommend consuming it within 3 months for the best quality.
More sweet bread recipes with yeast
Recipe origins
Yes, I confess.
I fell down the Pinterest hole again when I first saw this pin.
You see, I have always been fascinated with braided baked goods since I was introduced to koulourakia.
I love the ease with which these braids come together. There is no need to roll out the dough into ropes and then combine the ropes to make the braided dough. The braids are made with three strips of flattened dough. I thought this was a genius idea, and I just had to share it!
As far as the recipe is concerned, here are some of the changes I made:
- replaced the yogurt and milk with buttermilk (I had some that was expiring);
- proofed the yeast in water before adding to the dry mixture (no proofing in the original recipe);
- added almond extract;
- created a method for my stand mixture (instead of kneading by hand as indicated in the recipe).
Since my initial try, I have made 5 different versions. Needless to say, I had to buy more buttermilk.
Enjoy!
Just for you! A printable baking checklist to help you keep track of all your baking needs.
If you love to bake, this is for you! Simply subscribe to my weekly newsletter and receive this FREE BAKING CHECKLIST PRINTABLE!
This way, you won’t miss any of my new recipes, and it’s FREE!
THANKS SO MUCH for following and being part of the She Loves Biscotti community, where you will find Simple & Tasty Family-Friendly Recipes with an Italian Twist.
Ciao for now,
Maria
★★★★★ If you have made this braided sweet bread with yeast recipe, I would love to hear about it in the comments below and be sure to rate the recipe!
Recipe
Braided Sweet Yeast Bread Recipe
WANT TO SAVE THIS RECIPE?
Ingredients
Proof the yeast:
- ¼ cup water warm (105°F-115°F)
- 1 package active dry yeast (8 grams) 2¼ teaspoons
- 1 teaspoon sugar from the overall amount
Dry ingredients:
- 3½-3⅔ cups all-purpose flour 500 – 520 grams
- ½ cup sugar granulated
Wet ingredients:
- ⅔ cup buttermilk room temperature
- 1 egg room temperature
- ⅓ cup vegetable oil
- 1 teaspoon vanilla extract
- ½ teaspoon almond extract
- zest of 1 organic lemon
Instructions
Proof the yeast:
- Heat the water to 105°F-115°F. Transfer to a bowl. Add one package of active dry yeast (8 grams) and 1 teaspoon of sugar from the overall amount. Stir together. Set aside for 5 minutes for the yeast to activate.
Whisk the dry ingredients:
- In the mixing bowl of a stand mixer, whisk together 3½ cups of flour and the sugar. Form a well in the middle and set aside.
Whisk the liquid ingredients:
- In a separate bowl whisk together the room temperature buttermilk, egg, oil, extracts and the lemon zest.
Combine with a wooden spoon:
- Add the liquid egg mixture to the well of the dry ingredients.
- With a wooden spoon, combine to form a shaggy dough.
- Add the yeast mixture, and continue to combine for 1 minute.
Knead with stand mixture:
- Place the bowl in the mixer and fit with the dough hook. Knead on low speed for about 5-8 minutes. The ball of dough should pull away from the sides of the bowl. If not, add flour, 1 teaspoon at a time, until it is no longer sticking to the bottom of the bowl. The dough should be soft and smooth and spring back when poked.
Let the dough rest:
- Remove dough from bowl and shape into a ball.
- Place the ball of dough in a clean bowl.
- Cover bowl with plastic wrap.
- Let rise for about 1½ – 2 hours or until double in size.
Shape the dough:
- Preheat oven to 350° F (180°C).
- Turn out dough on a lightly floured board.
- Roll out dough until you get a 16×12-inch rectangle.
- With a pastry cutter cut the dough into 1-inch strips.
- Cut the dough across the middle. You should have 32 strips of dough.
- Pinch the top ends of 3 strips of dough together. Then start braiding the dough. Once you reach the end, pinch again and tuck underneath.
- Transfer to the parchment-lined baking sheet.
- Continue in this fashion until all the dough is braided.
Second rise:
- Cover with plastic wrap and let rise for about 20 minutes.
Bake the bread:
- Bake for 15-18 minutes or until golden brown.
- Remove from oven and transfer immediately to a wire rack to cool off.
Notes
- Heat the water to the proper temperature in order to activate the yeast.
- Remove the egg and buttermilk at least one hour before you plan on starting the recipe.
- There are many factors that affect the moisture absorption of flour. If the dough feels sticky, simply add a little bit of flour. If it feels dry, moisten it with water.
- Since every oven is different, keep an eye on them during the last few minutes of baking.
- The total waiting time for the dough to rise is 2 hours and 20 minutes
Nutrition
I originally published this post on May 30, 2020, and republished it on May 2, 2024, with updated content. Thanks for sharing.





Lucy
I made these yesterday. They taste great, look good and are light and fluffy and they’re easy and fun to make.
Maria
I’m thrilled to read this Lucy, thank you! These have quickly become a family favorite. Thanks so much for stopping by.
Val
There are perfect for breakfast with a cup of coffee! Thanks!
Maria
They really are! Thanks for stopping by Val!