

Have you ever wondered how to sprout seeds in a mason jar? No green thumb is required – there are just 3 easy steps for sprouting alfalfa seeds.
Did you know that almost all seeds and beans can be sprouted?
Each provides a different flavor to go with their crunchiness.
They are a great addition to sandwiches, wraps, salads, smoothies, or even soups.
Not only do they taste great, but most experts agree that they are extremely nutritious and so very easy to incorporate in your dietary routine.
One of my favorites is this vegetarian piadina sandwich with sprouts.

Alfalfa and mung bean sprouts are some of the most popular, but there is a wide variety including lentils, red clover, fenugreek, and mung beans.
Growing sprouts at home can be done all year round since they are grown indoors.
If you start growing sprouts in a jar today, they will be ready in less than 5 days. Two tablespoons of alfalfa seeds produce about two cups of sprouts!
Are you ready?
Let’s begin!
Step 1: The preparation
There are a few items you need to grow sprouts at home:
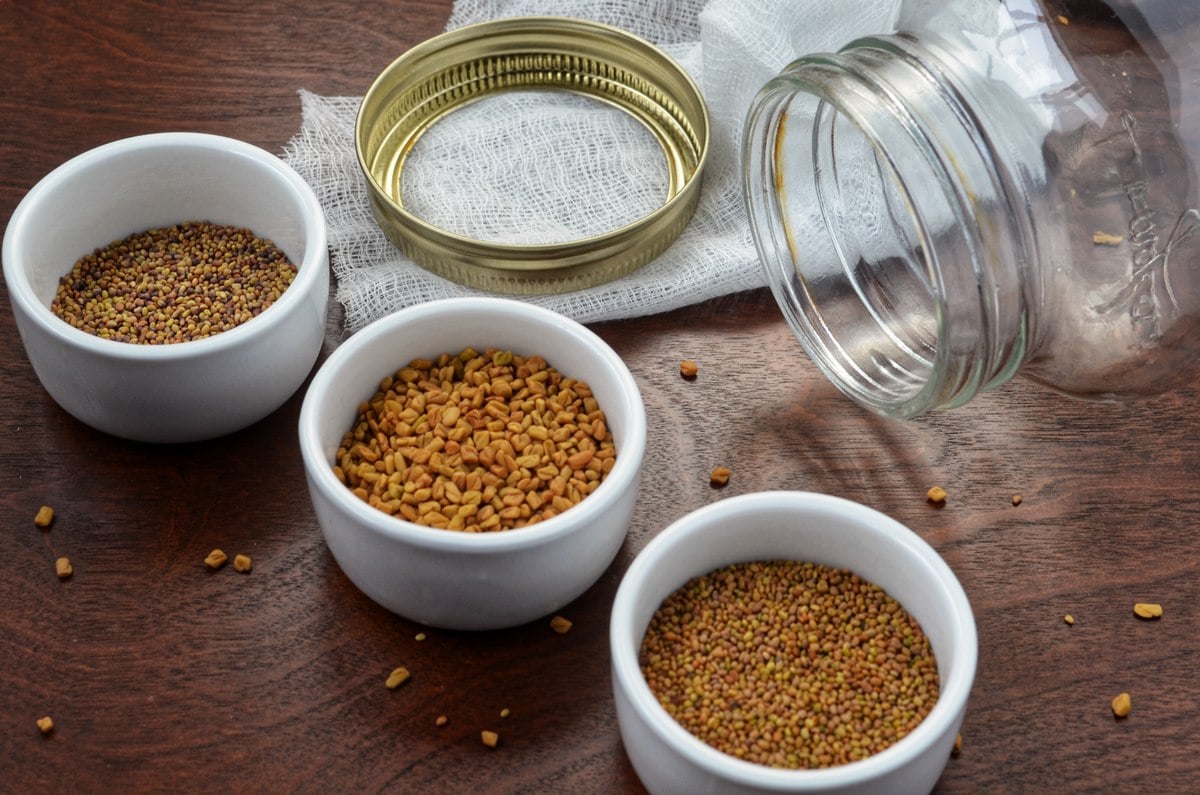
- a mason jar, washed, sterilized (place in 225 ° F oven for at least 10 minutes), and cooled down to room temperature.
- a mason ring (washed and sterilized) or an elastic band
- a cheesecloth
- 2 tablespoons of seeds or beans (certified organic)
A sprouting screen can also be used instead of the cheesecloth and mason ring.
Step 2: Rinse and soak
Rinse about 2 tablespoons of seeds with water that is cool to the touch. Today, I’m using alfalfa seeds.
Remove any impurities and any non-seed material.
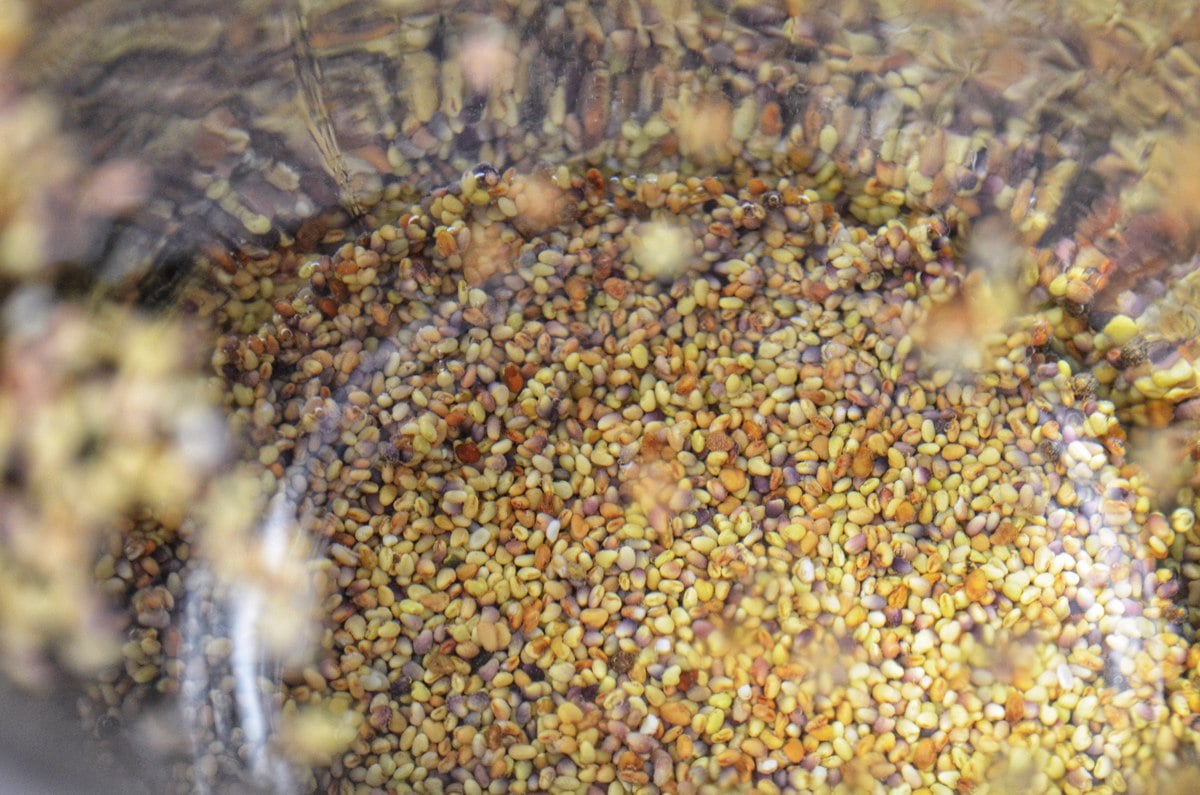
Place your seeds in your sterile mason jar. Then, fill your jar halfway with cool water.
Cover the jar with cheesecloth and secure it with the mason ring or an elastic.
Place your jar on a countertop, away from any direct sunshine, and allow them to soak for at least 6-8 hours or overnight.
Step 3: Rinse, drain and repeat
When you check your seeds the next morning, you will notice there are no sprouts. It appears like nothing is happening on the outside, but on the inside, there are all kinds of processes going on.
The seeds are dormant when they are dry, but the minute they get wet, they start to germinate.
Okay, back to our jar.
Pour out the water. The cheesecloth (or bean screen) prevents the small seeds from being poured down the drain.
Fill it again with water – just a couple of inches – swirl gently and drain.
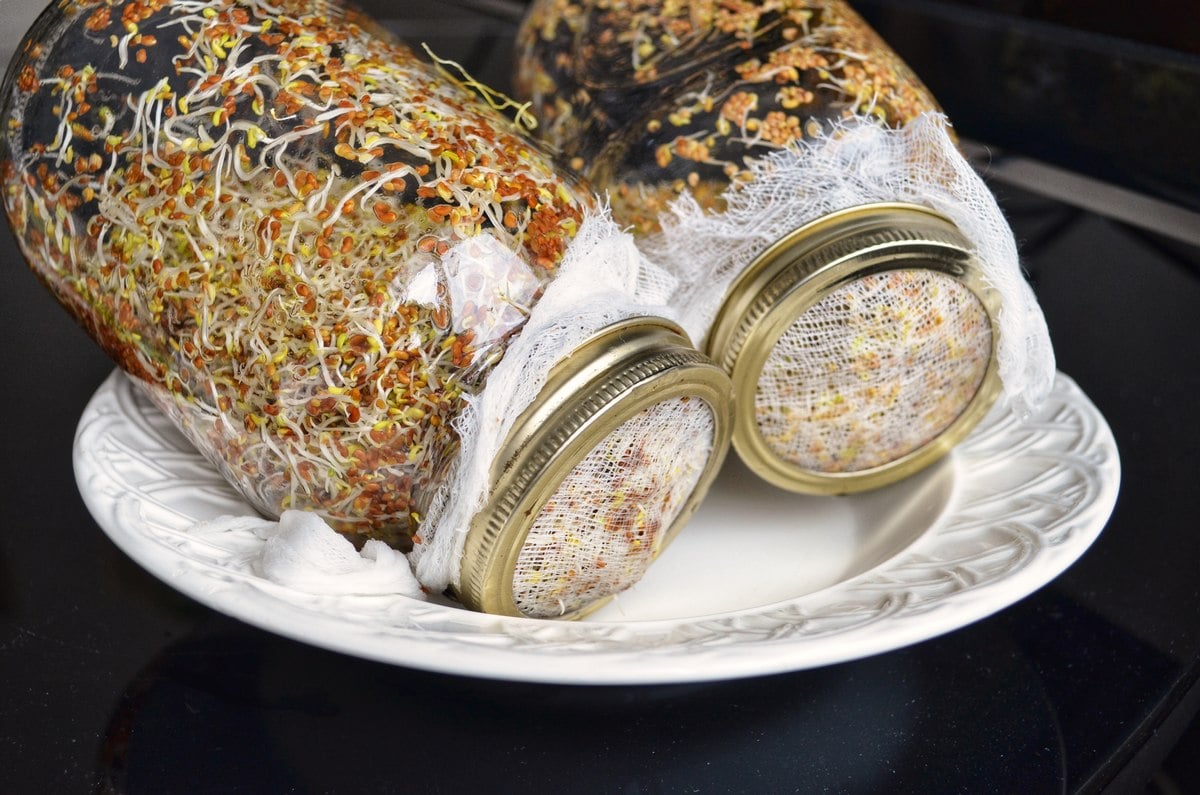
Once you have finished draining, place your jar upside down at a 45-degree angle. Rinse and drain at least twice a day (morning and evening) for 3-5 consecutive days.
The seeds need proper drainage and circulation and this process ensures there is no water left in the jar.
This simple procedure prevents mold from growing and provides just the right amount of moisture for the seeds to sprout.

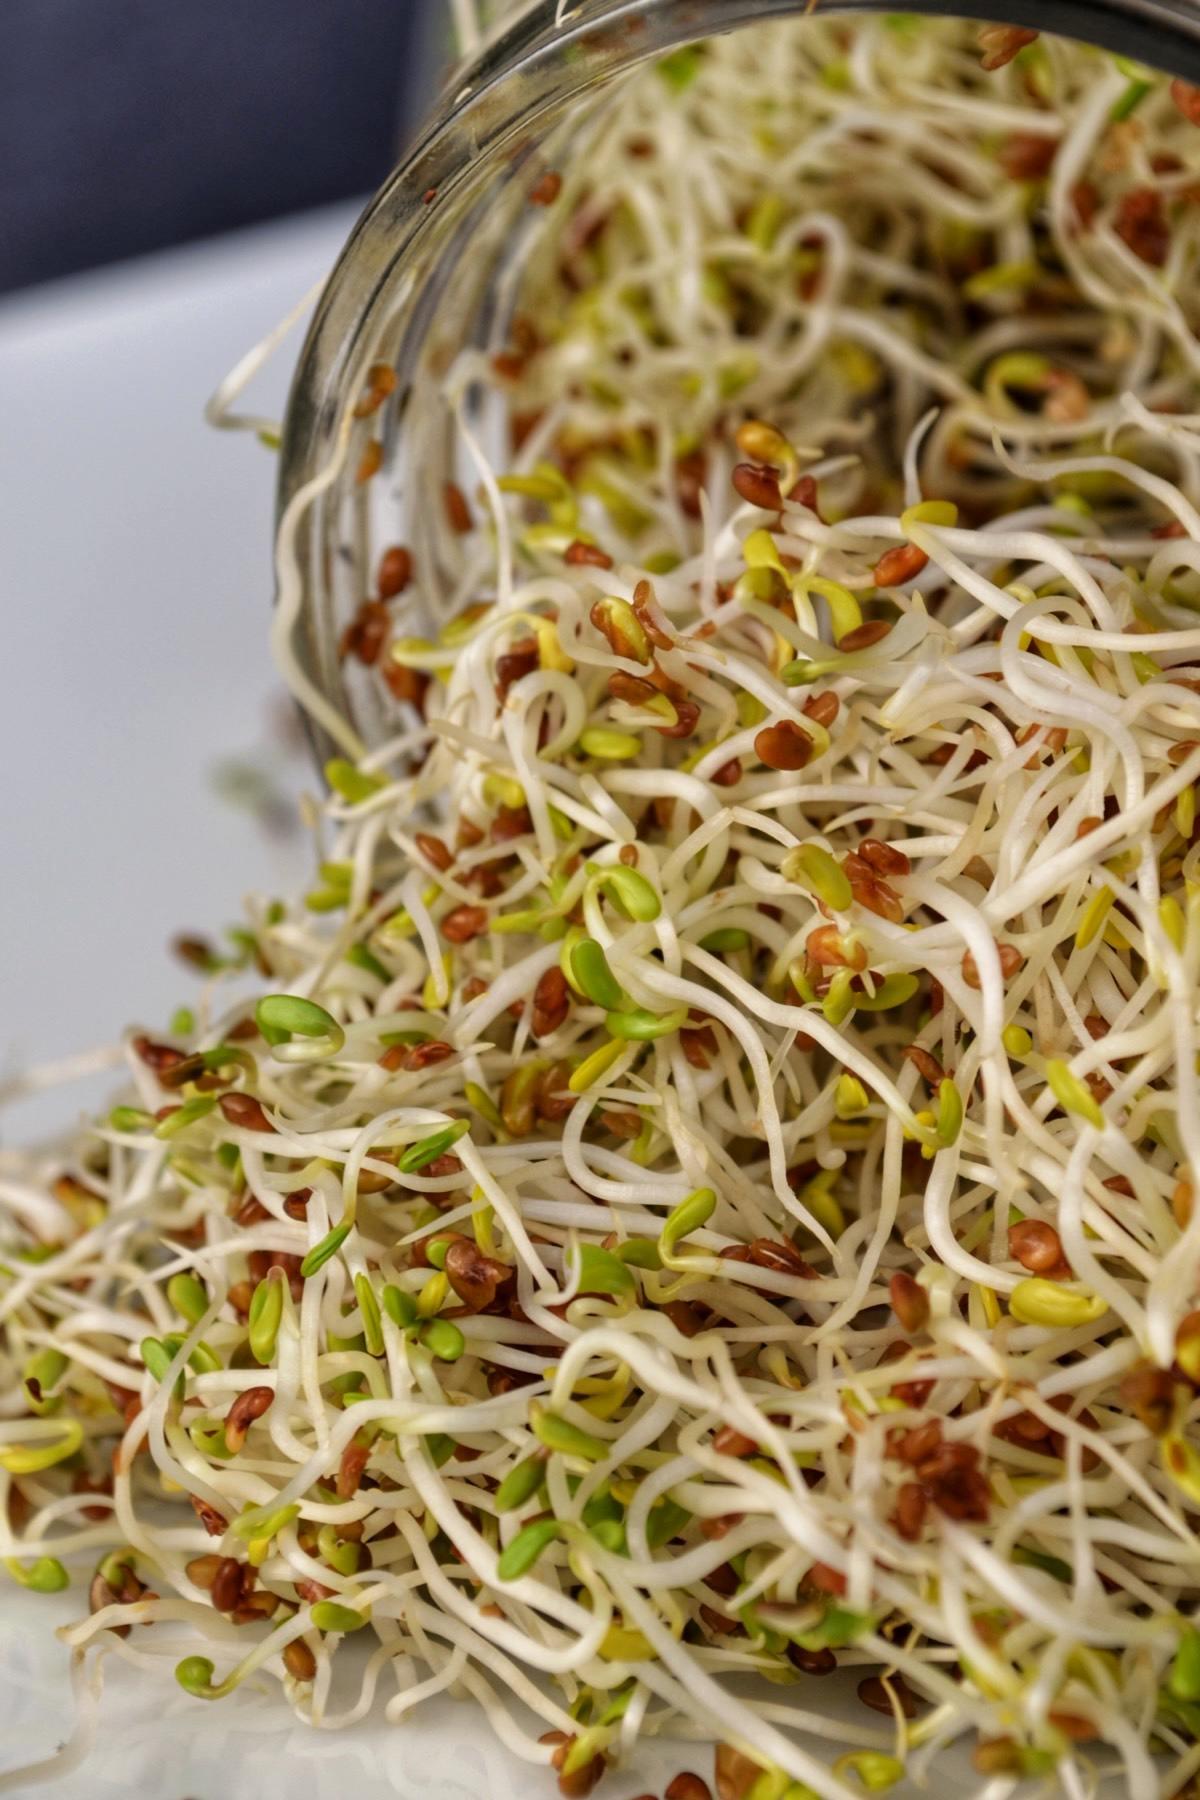
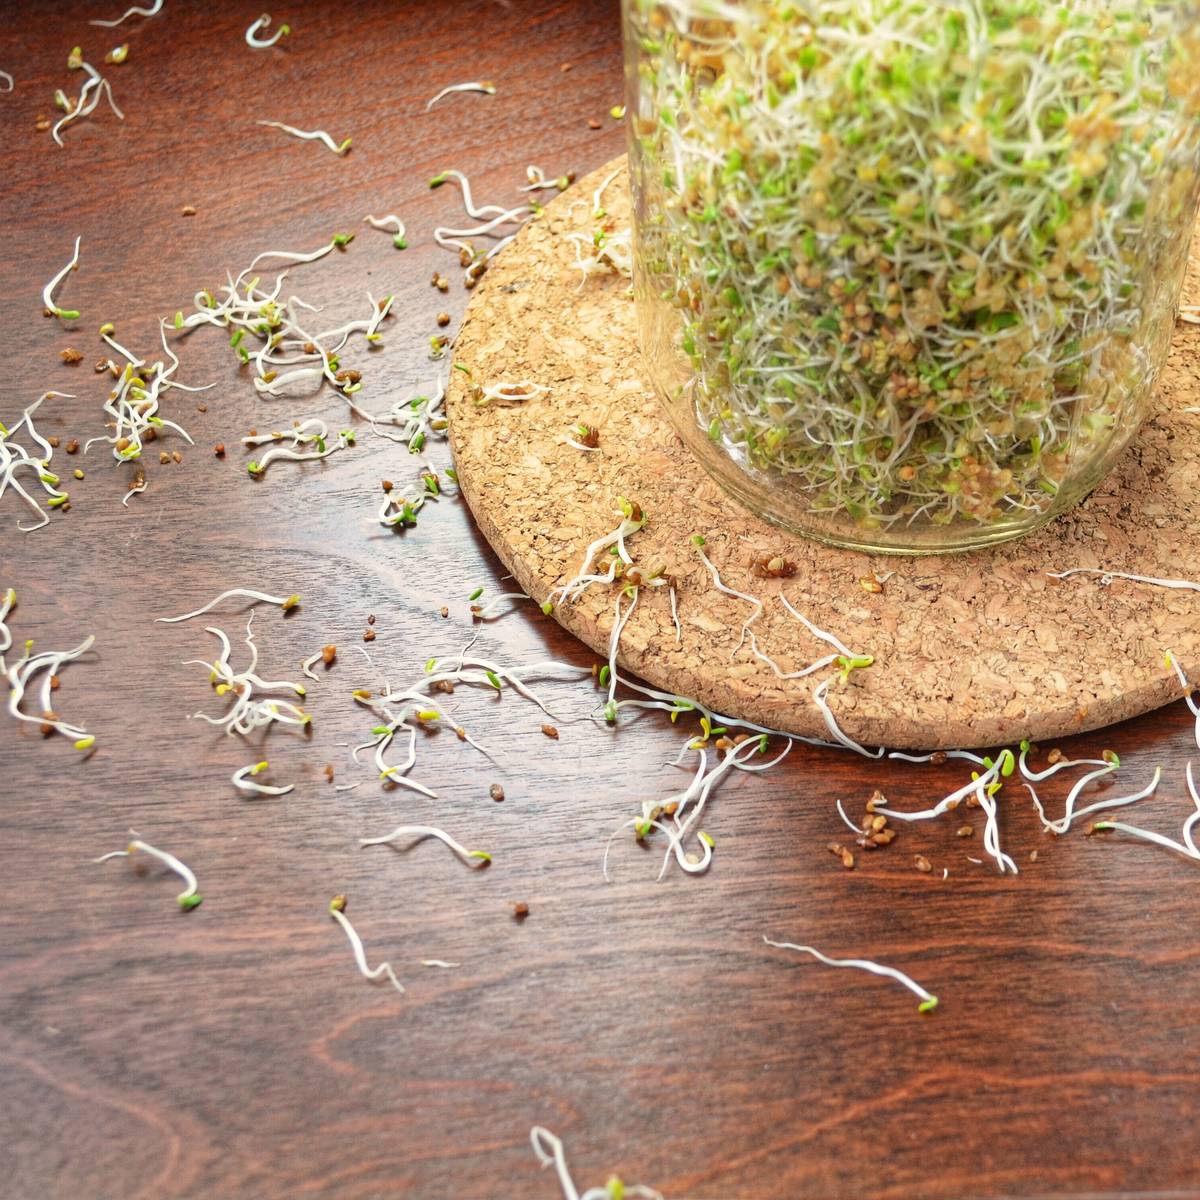
In just a few days, you will be able to enjoy wonderful, refreshing sprouts.
This would be a great addition to this Chickpea Salad. It would also add a nice crunchy texture to this refreshing Strawberry Arugula Salad or this Lupini and Baby Kale Salad.

When to harvest sprouts
After 3-5 consecutive days of rinsing and draining the sprouts, notice how most of the leafy green sprouts have lost their hulls.
How to remove the loose hulls
OPTIONAL: Remove sprouts from the jar and place them in a large bowl of cold water. Swirl and separate the sprouts for a minute or so. Then, transfer them to a colander to drain. Any loose hulls and seeds that did not sprout should be left behind in the bowl of water. Repeat if necessary.
How to store
Thoroughly drain the sprouts and transfer to an airtight container lined with a paper towel. Just like the rest of the process, the sprouts should never sit in water.
How long can they be refrigerated?
If stored properly, sprouts can be refrigerated for up to 5 days. DO NOT CONSUME if they start to smell bad or if there is mold.
Tips
- To avoid contaminated sprouts, always use seeds that are specifically labeled for sprouting and are certified organic and pathogen-free.
- The ring and cheesecloth can be replaced with a commercial bean screen.
- Throughout the entire process, place the mason jar away from direct sunlight.
- Different seeds and beans need to soak for different amounts of time. In general, the larger the seeds or beans, the longer the soak.
Why does the mason jar need to be sterilized?
We want to grow sprouts that are chemical and pathogen-free. To do this, everything that comes into contact with the seeds must be sterilized.
The safety of sprouts
Food safety and basic hygiene rules in the kitchen should always be followed. How to grow sprouts safely at home is easy if these principles are followed.
One way to eliminate the risk of Salmonella and/or bacterial growth is to properly clean and disinfect all equipment before and after each use.
I would like to mention that the FDA and Health Canada advise thoroughly cooking sprouts before consumption, as they are often linked to food poisoning.

Recipe origins
In 2011, there was a huge food poisoning outbreak in Europe, which unfortunately was traced back to a farm growing sprouts.
The fact is that sprouts are easily contaminated. So make sure you always take all the necessary precautions.
Following that outbreak, I did my research and started sprouting my seeds.
If you enjoy gardening, I am sure you will enjoy sprouting your seeds.
Growing sprouts at home are quick, easy and so very nutritious!
What more can you ask for?
THANKS SO MUCH for following and being part of the She Loves Biscotti community where you will find Simple & Tasty Family-Friendly Recipes with an Italian Twist.
And if you are new here, welcome! You may want to sign up for my weekly e-mail newsletter. You can unsubscribe any time you want.
Ciao for now,
Maria
★★★★★ Now that you know how to grow alfalfa sprouts at home, I would love to hear about your successes in the comments below and be sure to rate it!
Recipe

How to Sprout Seeds: 3 Easy Steps
Equipment
- A mason Jar
- A mason ring
- Cheesecloth
WANT TO SAVE THIS RECIPE?
Ingredients
- 2 tablespoons alfalfa seeds certified organic
- water
- dash salt
Instructions
Step 1: The Preparation
- Sterilize the jar by placing it in a 225 ° F oven for at least 10 minutes. Cooldown to room temperature before using it.
- Wash and sterilize the ring.
Step 2: Rinse and Soak
- Once you have measured your seeds, rinse them with cool water.
- Remove any impurities and any non-seed material.
- Place your seeds in a sterile mason jar.
- Then, fill your jar halfway with cool water and allow to soak for at least 6-8 hours or overnight.
- Cover the jar with the cheesecloth and secure it with the mason ring or an elastic.
- Place your jar on a countertop, away from any direct sunshine.
Step 3: Rinse, Drain and Repeat
- Pour out the water. The cheesecloth prevents the small seeds from being poured down the drain.
- Fill the jar with water, swirl gently and drain.
- Once you have completely finished draining, place your jar upside down at a 45-degree angle.
- Rinse and drain at least twice a day (morning and evening) for 3-5 consecutive days.
Notes
Tips
- In order to avoid contaminated sprouts, always use seeds that are specifically labeled for sprouting and are certified organic and pathogen-free.
- The ring and cheesecloth can be replaced with a commercial bean screen.
- Throughout the entire process, place the mason jar away from direct sunlight.
- Different seeds and beans need to soak for different amounts of time. In general, the larger the seeds or beans, the longer the soak.
- 1 serving = ½ cup
Nutrition
This post was originally published on February 23, 2015, and republished on April 29, 2020 with updated content and photos. Thanks for sharing!
Ur pal val
This looks so easy… will definitely give it a try. Thanks!!!
Maria
Thanks Val! Enjoy!
Robin Martz
Long ago, when I was living without running water or electricity, I sprouted alfalfa. I didn’t do it like this and it’s a wonder I didn’t make myself sick! I was pregnant at the time too! I’m going to do it right this time, and more variety of seeds. Thank you for this post!
Maria
Thank goodness you were ok!
You are welcome, Robin! Enjoy!
Jo Vanderwolf
I’ve always been intimidated by the thought of growing my own sprouts. Your steps look pretty easy! I should probably give it a try 🙂 Thanks for the tutorial.
Maria
My pleasure Jo! It really is easy and so convenient to grow sprouts at home. Hope you give it a try! Thanks for stopping by 🙂
Glenniz1
Just received my sprout kit from Amazon yesterday, already started the soak and will begin the rinsing process in the next couple of hours.
Can’t wait to see what they look like by Saturday!
Maria
How wonderful Glenniz1! Enjoy!
Sarah @ Champagne Tastes
This is great! Someone just gave me a huge bag of wheat berry seeds and I had no idea what to do with them! (Also the link to that sprouting chart is broken)
Maria
Thanks Sarah! Appreciate the heads up re: broken link. I have updated the link. Appreciate your comment 🙂
Tony
Hi Maria!! I’ve been looking over your blog this evening and, I must say, it’s well put together. Keep up the good work☺. Here is the web page that sells the certified organic sprouts. Cheers
http://www.sprouting.com
Maria
Amazing site Tony! Thanks for sharing 🙂
Hisham Assaad
I have sprouted lentils one time and it went amazing. Took them to work and made my friends try them.
I’m trying to sprout other beans now. Wish me luck
Maria
Best of luck, Hisham! I am sure they will be wonderful. Let me know how they turn out for you. Thanks for the comment.
Chantelle | naked cuisine
Lovely crunchy sprouts, I need to get on the sprout train they are such a great addition. Thanks for the inspiration.
Maria
Hello Chantelle,
Thanks for your comment. Welcome back on board! Enjoy 🙂
Tony
Hi Maria!!! My Alfalfa sprouts were a complete success. Looks like I adopted a new hobby. What can I say, definitely beats knitting. ☺
Maria
Lol! Happy to hear about your success!Thanks for your comment and support in my food blogging journey.