How many of you have always wanted to try to make your very own Creamy Homemade Ricotta Cheese? Well, today is the day! Are you excited? I sure am! I can’t wait to share this recipe with you!
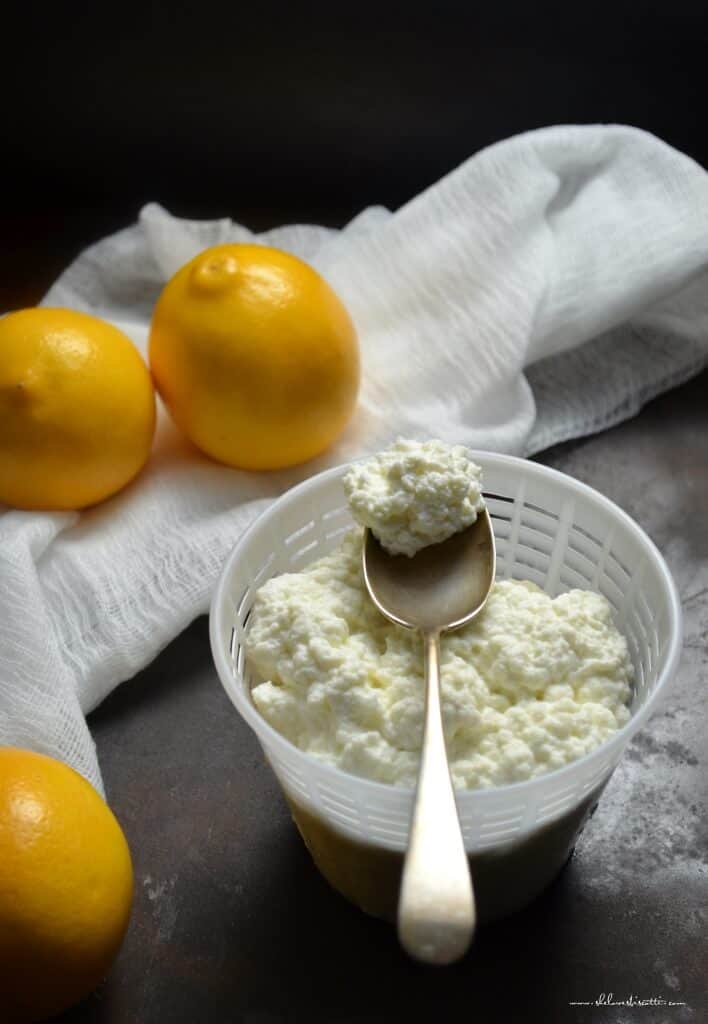
Who doesn’t like ricotta?
Its creamy texture lends itself perfectly to sweet foods like cannoli, cheesecake or this Rice Ricotta Easter Pie.
The taste and texture are equally appreciated in savory dishes, whether making Ricotta Cavatelli, used in Italian Stuffed Shells, or in a Tomato Ricotta Sauce.
It is also great when making Italian appetizers. One of my favorite “quick” appetizer recipes to make with fresh ricotta is these Ricotta Stuffed Medjool Dates.
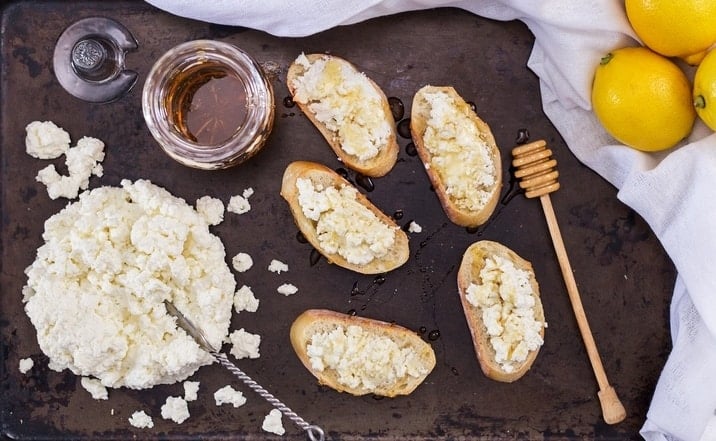
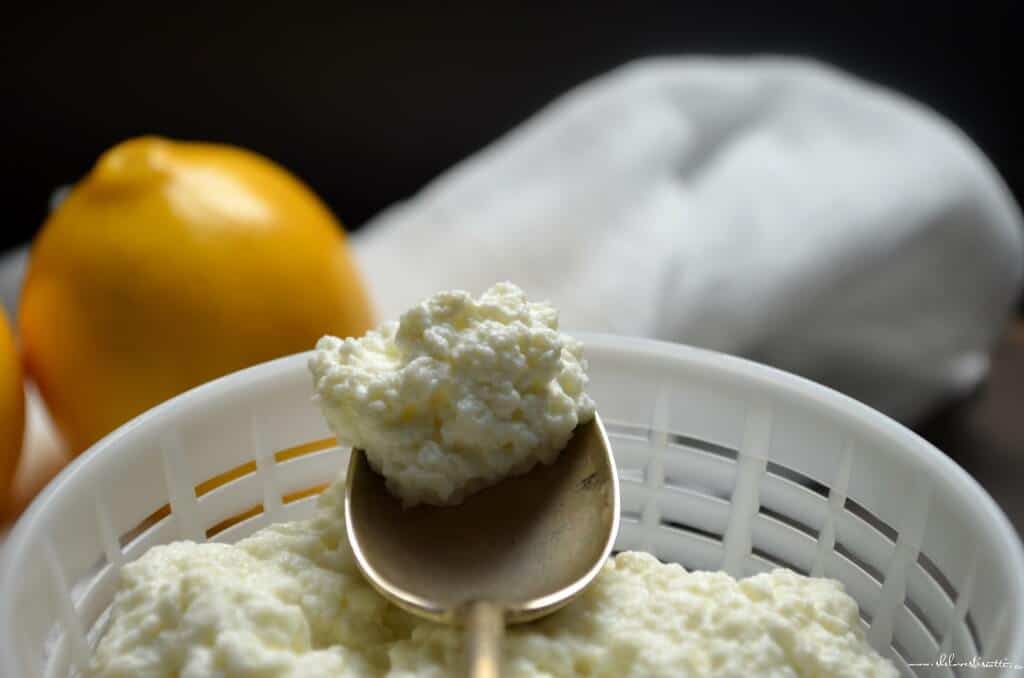
In just under one hour, and with only 3 ingredients, you can be spreading some creamy ricotta on a toasted baguette with a drizzle of honey. It’s easy, economical and tastes great!
Life doesn’t get any better than this, my friends!
So…are you ready to begin?
What do I need to make Homemade Ricotta Cheese?
- Whole milk. Yes, full fat 3.25% milk.
- Salt. Adjust to your own personal taste.
- Lemon Juice. The acidity of the lemons will create those wonderful curds.
As far as accessories are concerned, you need a heavy bottom saucepan with a lid, a wooden spoon, a slotted ladle, a bowl, and a strainer.
You also need cheesecloth and a ricotta basket. The objective is not to lose any of the curds when you drain your freshly made ricotta. I reuse the plastic containers from the times that I purchase store-bought ricotta.
How to Make Ricotta Cheese
Begin by lining a large colander with a large piece of lightly dampened cheesecloth that has been folded over itself at least 3-4 times. Place the colander over a bowl. Make sure to use non-reactive materials. Alternatively, you can use a recycled ricotta basket. Set it aside while we begin to make the ricotta cheese from scratch.
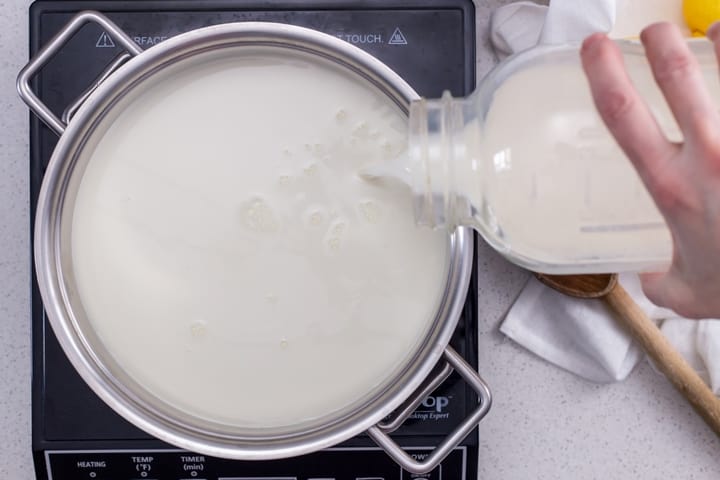
You are now ready to combine two of the ingredients (milk and salt) in a large heavy-based saucepan.
Please note you CANNOT make ricotta with ultra-pasteurized milk.
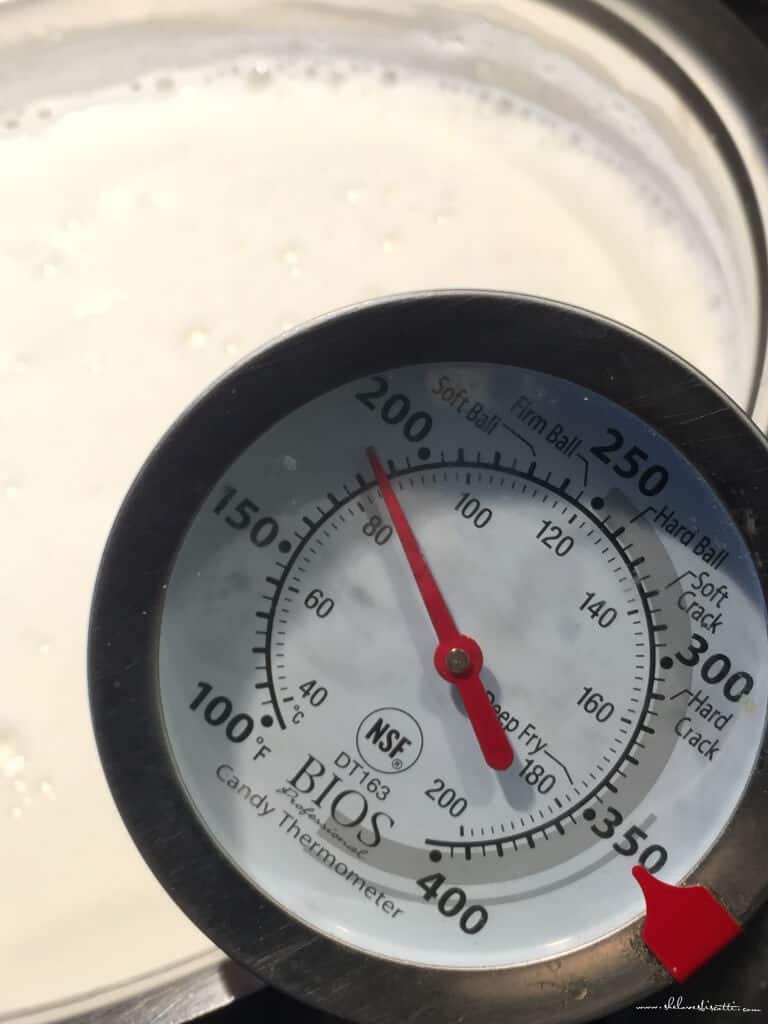
Over medium heat, heat the milk to 185°F (85°C), making sure to give the mixture an occasional stir with a wooden spoon.
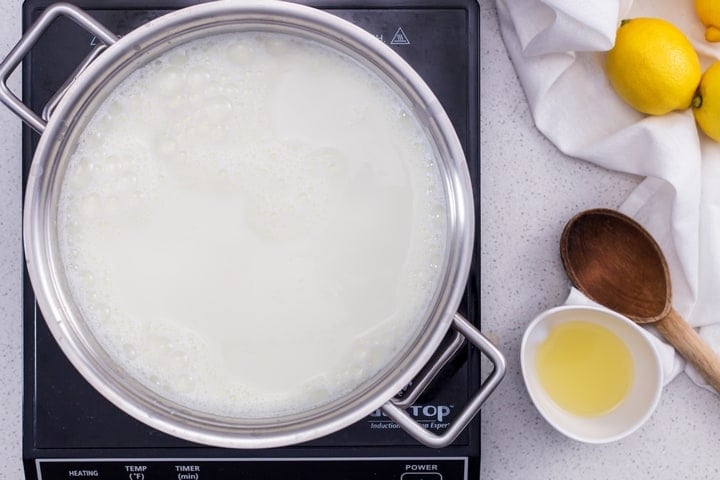
If you do not have a thermometer, heat the milk until it reaches a stage where there is a lot of steam, where little bubbles are forming close to the edge of the pot, and a slight film appears over the milk. It takes about 20 minutes to get to this stage at medium heat.
Making ricotta requires a source of acidity in order for the curds to form. I usually use lemon juice or white vinegar.
The results with lemon juice can vary since it depends on the acidity of the lemon. Don’t hesitate to add an additional tablespoon or two of lemon juice if your milk does not curdle immediately.
Do not use Meyer lemons as these are sweeter and do not have the same acidity as regular lemons.
Lemon juice is definitely my preference when making sweet recipes using ricotta cheese. Here are some examples: Easy Lemon Ricotta Pancakes, Italian Sweet Ricotta Easter Pie, or even this Rice Ricotta Easter Pie. Can you tell I just love ricotta!
I use white vinegar to make ricotta for savory dishes like pizza, lasagna, pasta, or these Spinach Calzones.
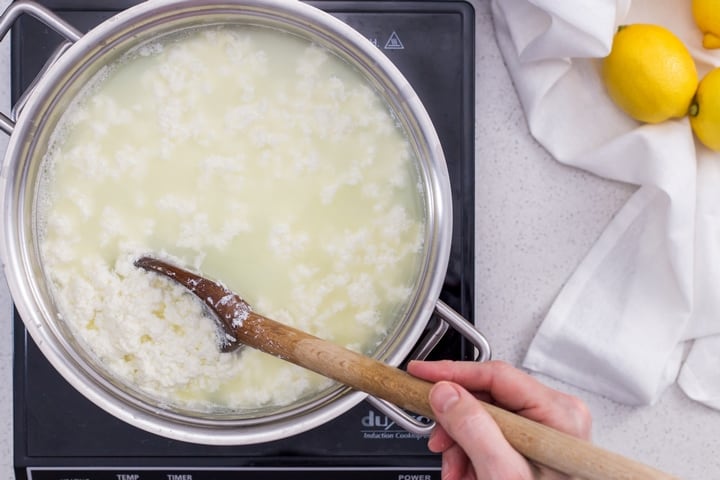
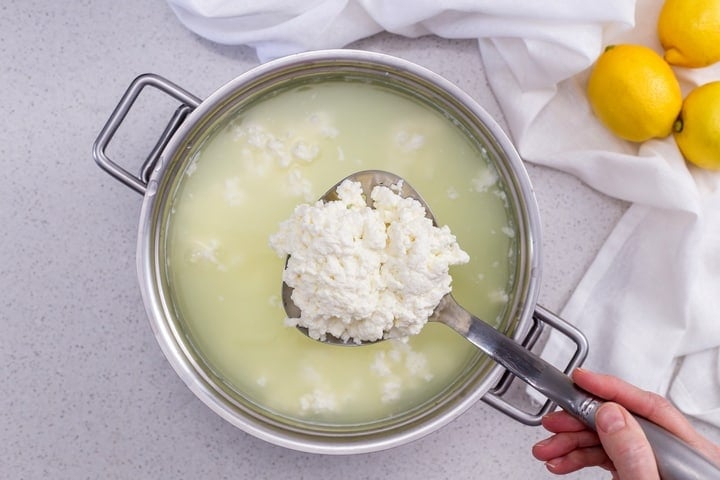
Reduce the heat to low and add your source of acid (I used lemon juice). You will notice that the mixture will immediately begin to curdle…continue to gently stir the mixture about for 2 minutes.
Isn’t it amazing that in just a few minutes, you will begin to notice the formation of curds?
You are well on your way!
Carefully remove your soon-to-be creamy homemade fresh ricotta cheese from the heat. Let it stand, covered for about 20 minutes.
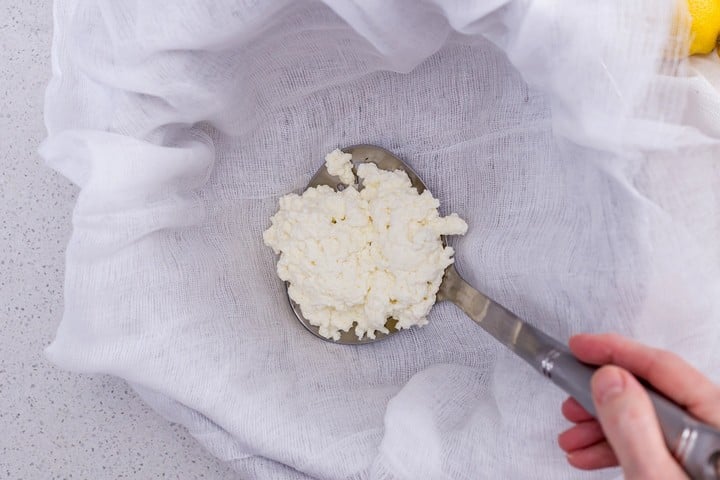
Carefully ladle your ricotta into the cheesecloth-lined colander or your basket. Your bowl will be filled with a liquid, which, as you know, is whey.
Since we are talking about whey, I would like to clarify that true ricotta is made from the leftover whey of cheese production. Hence the name “ricotta”, which literally means “recooked”.
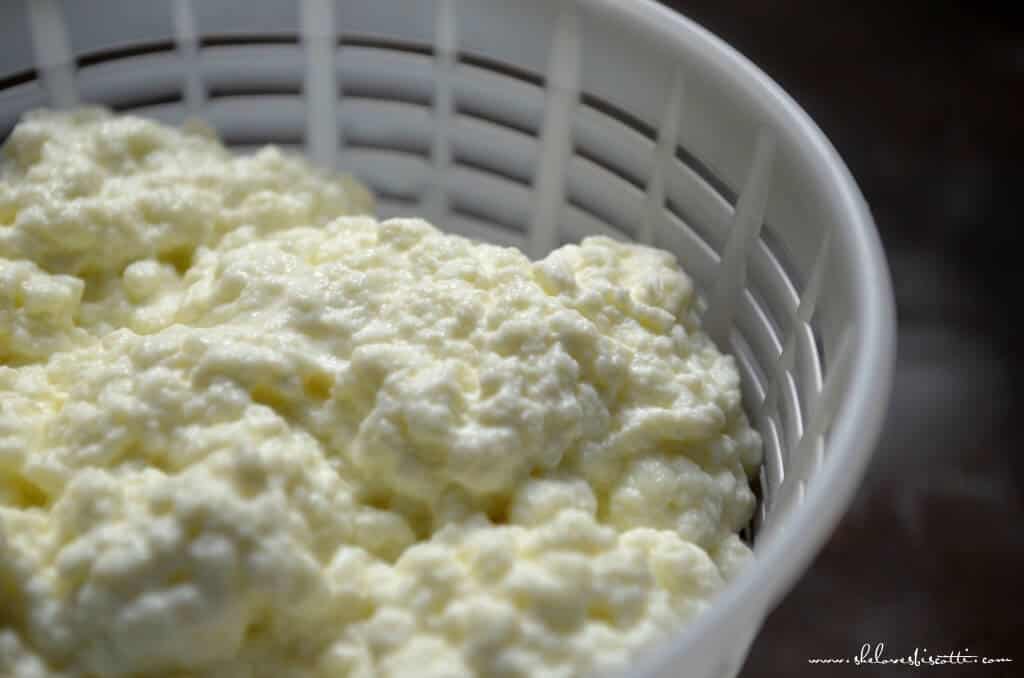
At this point, you have a decision to make. The consistency of the final product will depend on the amount of time you leave the mixture to drain.
If using the ricotta cheese to make a cheesecake or stuffed pasta, you need a firmer consistency – therefore allow to drain for at least 20 minutes. If you are using it as a spread (for example on a baguette), 3-5 minutes is more than enough time to obtain that creamy consistency.
As a personal preference, you can replace 1-2 cups of full-fat milk with cream. This creates even creamier ricotta.
What will you make with this homemade ricotta recipe?
Tips
- Replace the lemon juice with an equal amount of white vinegar.
- Reduce the draining time for a creamier consistency.
- Homemade ricotta cannot be made with ultra-pasteurized milk…so, check your labels.
- Use fresh ricotta immediately or cover and refrigerate for up to 3 days.
Can I use Meyer lemons to make homemade ricotta?
No, since this variety of lemons does not have the same level of acidity as regular lemons.
What is whey?
Whey is the liquid that is formed following the addition of the lemon juice and after straining the curds.
What can I make with whey?
The leftover whey is great to use when making bread, pizza, pasta or even in soups.
Can you freeze ricotta cheese?
Ricotta has the potential to spoil quickly, so you do need to use it within days of making your own or opening a store-bought container.
Although you can freeze your leftover ricotta and use it at a later date, the texture will change. More specifically, it will be crumbly when you thaw it.
It no longer tastes quite like fresh ricotta anymore. That being said, frozen ricotta can be used in recipes where other ingredients are mixed with it in cooked or baked dishes.
Tips on freezing ricotta
You need to freeze ricotta in an airtight container. You can just use the original packaging that it came in; be sure the container is tightly sealed. The more air that’s left in the container, the more ice crystals form, and this will give your cheese a gritty texture.
You can freeze ricotta for up to 3 months.
Before you use frozen ricotta in a recipe, thaw it overnight in the refrigerator and then mix well before using.
Ricotta cheese recipes we love
Recipe origins
During my youth, most Italian families made their own wine, their own sausages, cheese, prosciutto, tomato sauce, pickled vegetables, jams, jellies, pasta, bread…I could go on, but you get my point.
Imagine my surprise when I realized not everyone had homemade soppressata hanging in their cold room!
I realize now what a privilege it was to have been exposed to so much passion when it came to food. When I think back to my grandparents and my parents (and to a whole generation of immigrants), I am always impressed by how food helped preserve their identity.
The philosophy is easy -enjoy and share food with family and friends.
I hope you enjoy this ricotta in your favorite meals with your loved ones.
THANKS SO MUCH for following and being part of the She Loves Biscotti community where you will find Simple & Tasty Family-Friendly Recipes with an Italian Twist.
If you haven’t already joined, here is the link where you can sign up for my weekly e-mail newsletter. This way, you won’t miss any of my new recipes and it’s absolutely free!
Ciao for now,
Maria
★★★★★ If you have made this Homemade Ricotta Cheese recipe, I would love to hear about it in the comments below and be sure to rate the recipe!
Recipe
Homemade Ricotta Cheese
Ingredients
- 8 cups whole milk 2 liters
- ½ teaspoon salt
- 3 tablespoons lemon juice or white vinegar freshly squeezed
Instructions
- Line a colander with a large piece of lightly dampened cheesecloth that has been folded over itself at least 3-4 times. Place the colander over a bowl. Make sure to use non-reactive materials. (Alternatively, you can use a recycled ricotta basket placed on a bowl).
- In a large heavy based saucepan, over medium heat, heat the milk.
- Add the salt and stir occasionally with a wooden spoon. Make sure the milk does not scorch.
- If you have a thermometer, heat to 185 F. If you do not have a thermometer, you need to reach a stage where there is a lot of steam, little bubbles close to the edge of the pot and the formation of a slight film. It should take about 20 minutes to get to this stage.
- Lower the heat to low.
- Add the lemon juice (or vinegar).
- Slowly agitate the mixture for 2 minutes. You will notice the curds (the ricotta) separating from the whey (yellowish liquid).
- Remove from heat.
- Cover pot and let stand for about 20 minutes.
- Carefully “ladle” your ricotta into the cheesecloth lined colander or your basket. The consistency of the final product will depend on the amount of time you leave the ricotta to drain. For a creamy ricotta, let it sit for 3-5 minutes; for a dryer ricotta, it can sit up to 20 minutes.
- Use immediately. Cover and refrigerate any leftovers.
Video
Notes
- Replace the lemon juice with an equal amount of white vinegar.
- Reduce the draining time for a creamier consistency.
- Homemade ricotta cannot be made with ultra-pasteurized milk...so, read your labels.
- Use fresh ricotta immediately or cover and refrigerate for up to 3 days.
Inactive time: 20 minutes 1 serving = ½ cup Please keep in mind that the nutritional information provided below is just a rough estimate and variations can occur depending on the specific ingredients used.
Nutrition
This post was originally published on February 21, 2016 and republished on February 8, 2019 with updated content, photos and a video. Thanks for watching and sharing.


Lesley
I will never go back to purchasing ricotta again !! I am lactose intolerant and I use 3 cups 3.25% lactose free cows milk with and 1 cup lactose free whipping cream. This is the creamiest ricotta I have ever had! My kids love it and now are requesting it. I love having it on Melba toast with an apple or pear or even some jam!
Thank you so much for this simple recipe. I am now making this on a regular basis
Maria
Thanks so much for sharing Lesley!
Vicky
Made some years ago and was very disappointed. This was so easy to do. I used vinegar as I was mixing it with spinach and herbs and stuffing it into jumbo shells with crumbled sausage and toppled with cheese and spaghetti sauce. It was delicious. Will make some more on the weekend to spread on a homemade baguette. Definitely a keeper. Thank you
Maria
My pleasure Vicky! Thanks so much for taking the time to share ♥
Cathy
I followed this homemade whole milk recipe and it was a success! It’s delicious and now I can’t wait to make this again. Thank you for this simply easy recipe.
Maria
My pleasure Cathy! Thanks for stopping by!
Yeg
Wow, super easy and super fast. Delicious ricotta in less than 30 minutes. I was very impressed with the easy to follow instructions and detailed info. I’m usually not good at these things but this was a piece of cake 🙂
Maria
How wonderful Yeg!
Jessica
Tried it with goats milk today and it worked well. I did find that there were a lot more bubbles on the surface than described by the time the temperature but 185. And yes, I calibrated my thermometer beforehand:) thanks for the great recipe and detailed instructions.
Maria
Thanks so much for sharing Jessica! I am sure this comment will help so many readers!
Caryn Lister
Can you freeze the whey to use later?
Maria
Great comment Caryn. Yes, you can freeze it. Enjoy!
Sylvia Bernsee
Fantastic and so much more flavorsome
Anna
Success!! Thank you for the recipe! Made it with lactose-free milk 🙂 Hopefully ricotta stays lactose-free as well 😀
Maria
How wonderful Anna! Thanks for sharing!
grace paolucci
Fantastico! Do you think I could use a full fat sheep milk instead of cow? I like to make cannoli with sheep ricotta but it’s so hard to find, so I thought maybe make it myself. Thoughts?
Maria
Hi Grace! That is such a great question. I have never tried but I think it should work. I would love to hear about your results if you do decide to try it.
Samantha Naclerio
You can! My nonna does all the time! It will be a lot tangier but still incredible
Sue
Hi Maria, I’ve made your recipe so many times and mix it with homemade yogurt. My question is mine is not creamy, more chunky (but yummy). Should I barely drain and mix in some whey? Thank you!
Maria
Sounds lovely Sue! Yes, you can try reducing the amount of “draining” time to get the consistency you like. Adding in the leftover whey is a great idea as well. Enjoy!