

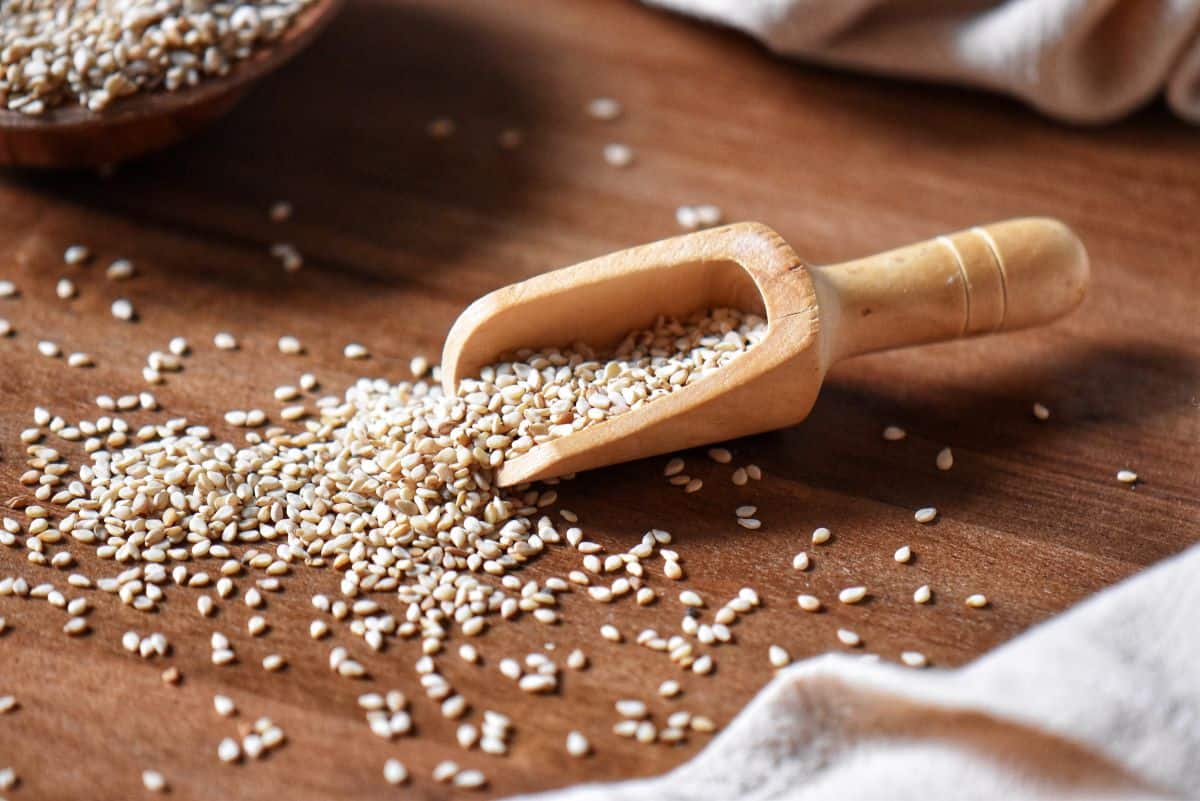
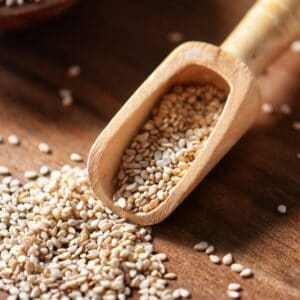
Toasting sesame seeds is an easy method to bring out their natural nutty flavor. Here’s your go-to guide for achieving perfectly toasted sesame seeds at home using the oven or stovetop.
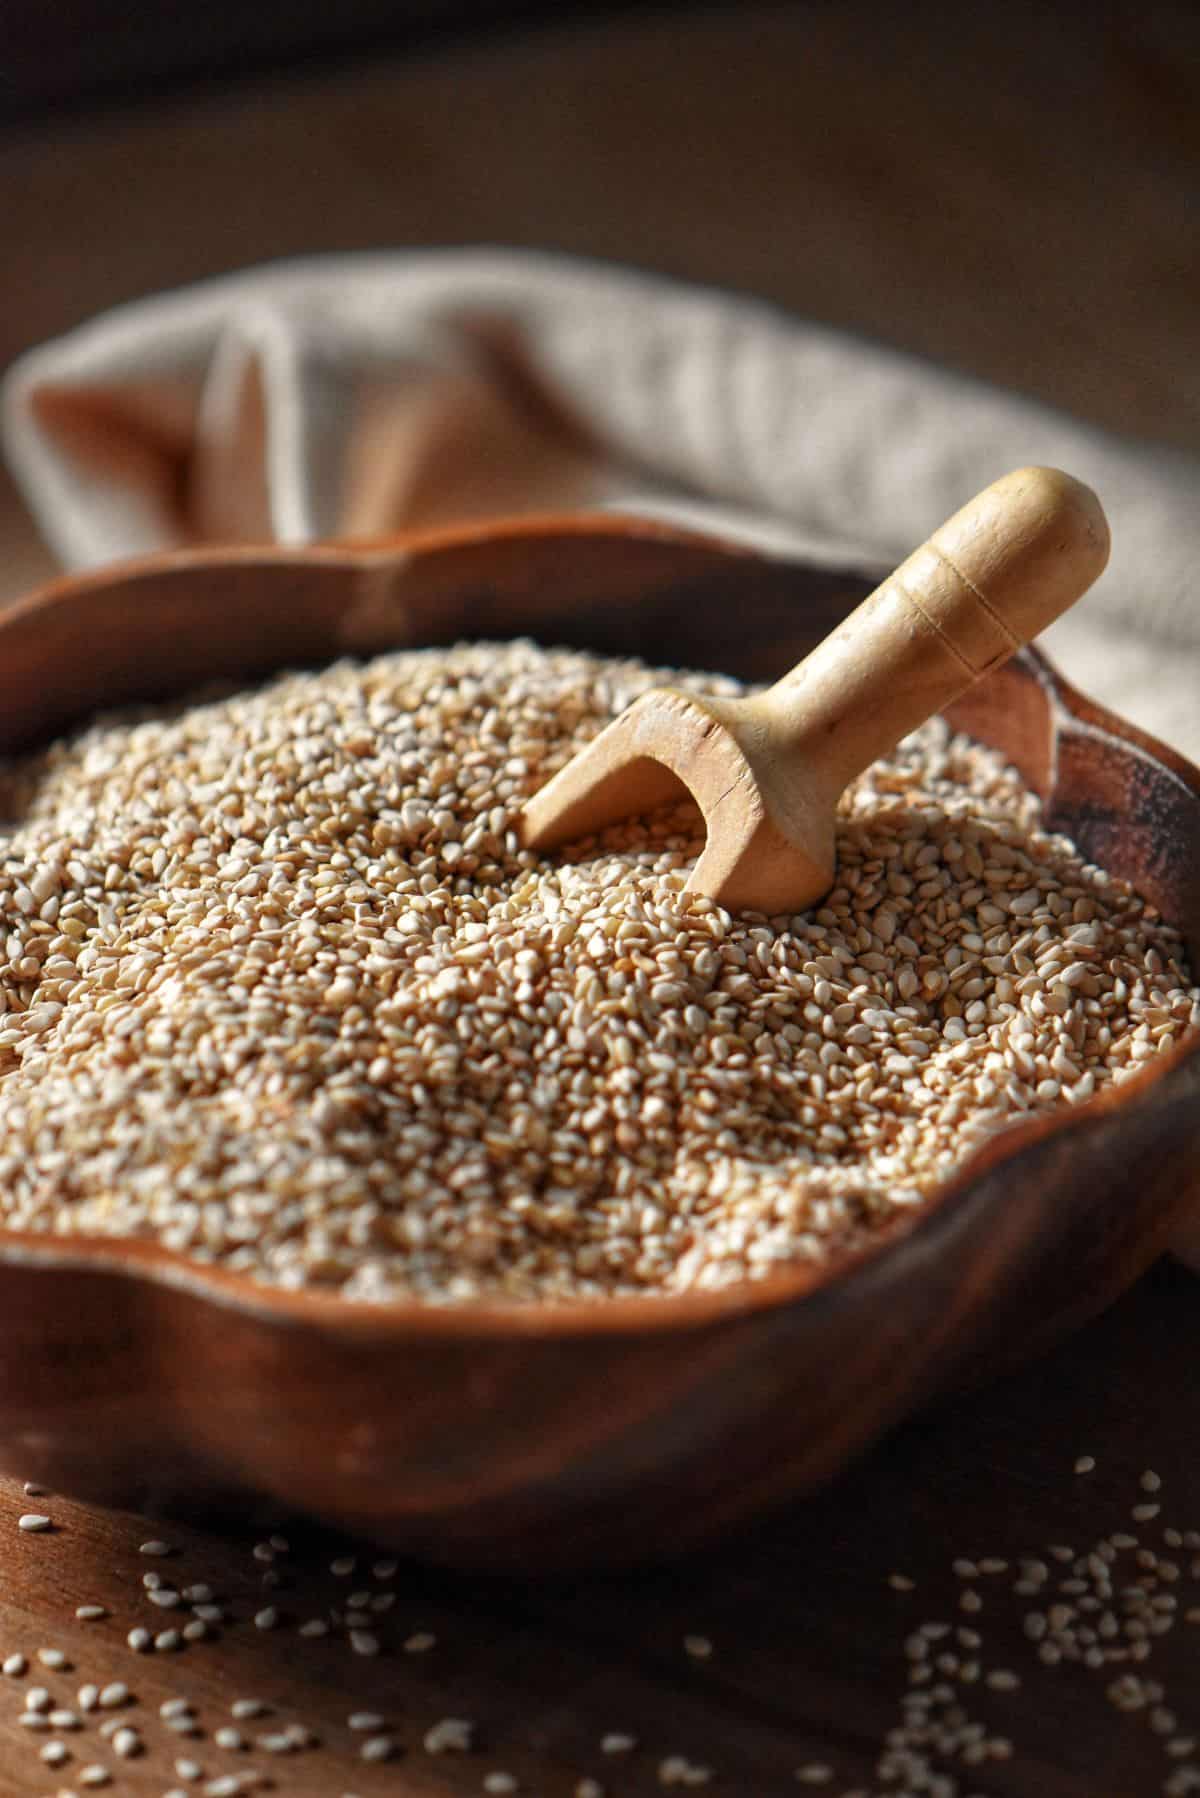
Whether you’re looking to accentuate the savory notes in a stir-fry, sprinkle a finishing touch on a salad, or incorporate a delightful crunch into your baked goods, mastering the technique of toasting sesame seeds is a culinary skill well worth acquiring.
This easy process results in bringing out the natural oils in the seeds, resulting in a richer taste that can elevate a variety of recipes. The quality surpasses that of store-bought pre-roasted sesame seeds.
Whenever I think of sesame seeds, I can’t help but think of Italian sesame seed cookies and Montreal Fairmount Bagels.
In this guide, I’ll take you through the simple yet impactful process of achieving perfectly toasted sesame seeds using both the oven and stovetop methods.
Jump to:
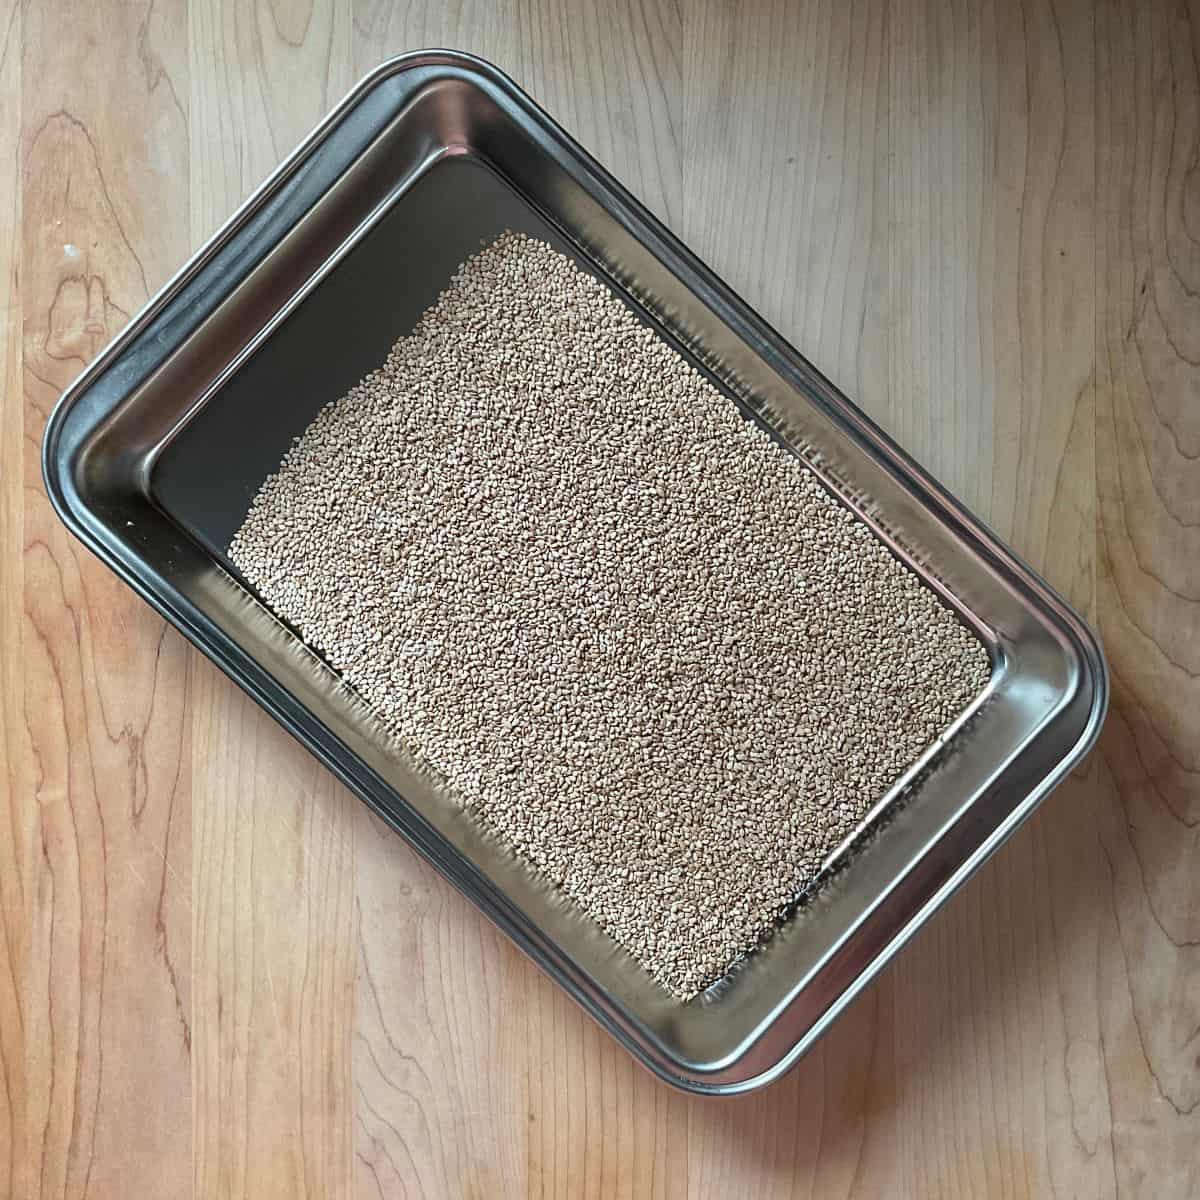
Oven method for toasting sesame seeds
- Preheat oven to 350°F (180°C). Adjust the oven rack to the middle of the oven.
- Spread sesame seeds evenly on a rimmed baking pan in a single layer.
- Bake for 5-8 minutes, shaking the pan periodically for even toasting.
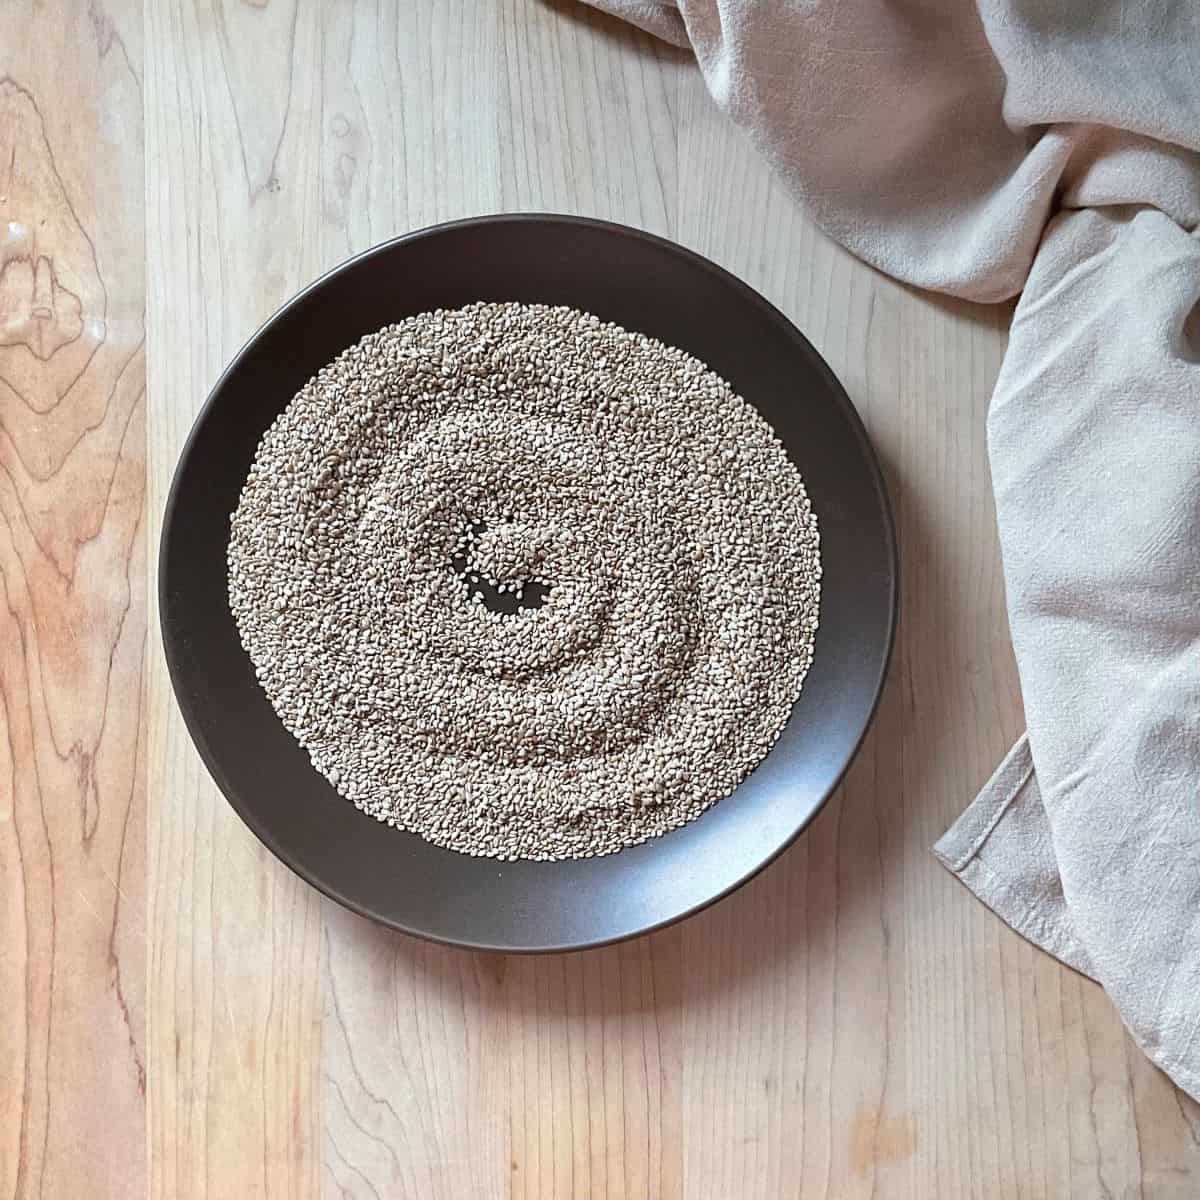
- Remove when golden brown, transfer to a plate, and let them cool.
Advantages:
- Ideal for toasting larger batches at once.
- Provides even browning for a consistent crunch and beautiful golden color.
- Great for recipes requiring a substantial amount of toasted sesame seeds, such as hummus or tahini.
Disadvantages:
- Takes a bit more time, approximately 8-10 minutes, plus the time to reheat the oven.
- Requires careful monitoring to prevent burning.
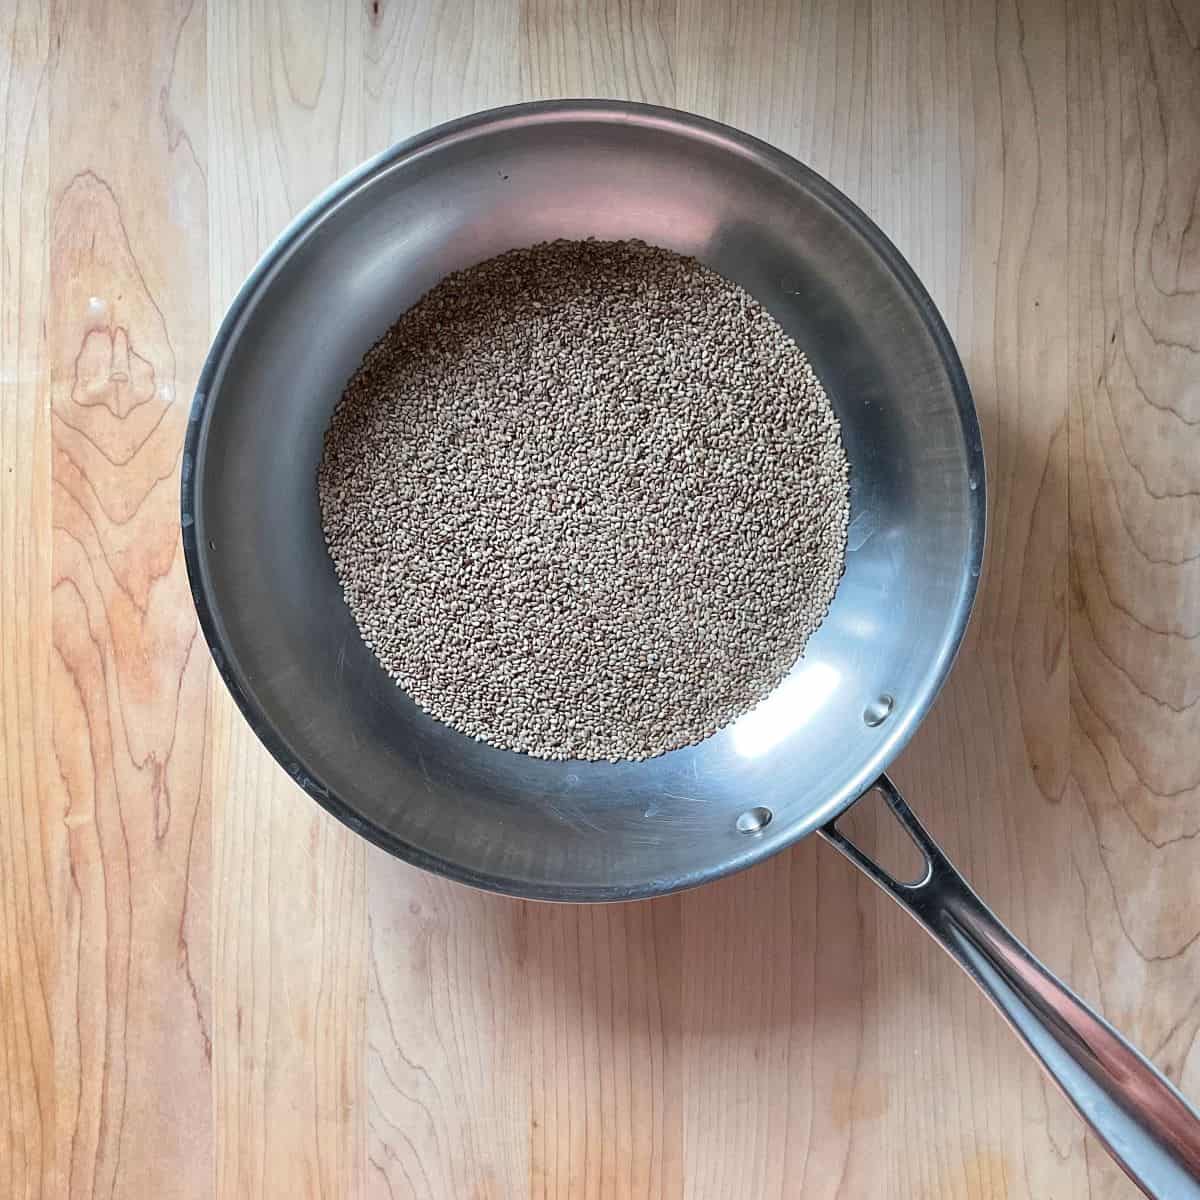
Stovetop method for toasting sesame seeds
- Heat a pan over medium heat without using any oil.
- Add sesame seeds to the dry skillet.
- Continuously stir or shake the pan for even toasting, avoiding high heat to prevent burning.
- Toast for 3-4 minutes until golden brown and aromatic.
- Remove from heat, transfer to a plate, and let them cool.
Advantages:
- A quicker option, perfect for small quantities or when in a rush.
- Adds a delightful crunch and nutty aroma to dishes like falafel, stir fry, or desserts.
- Faster than the oven method for enjoying enhanced umami flavor.
Disadvantages:
- Requires constant attention and stirring to prevent burning.
- Can go from perfectly toasted to burnt in seconds.
Tips
Stay attentive: Sesame seeds can burn quickly, so keeping an eye on them during the toasting process is crucial.
Single layer: Spread the seeds in a single layer when toasting on the stovetop or in the oven to ensure even browning.
Cooling: Once toasted, transfer the seeds to a plate to cool, as they can continue to cook from residual heat.
Storage: Store your toasted sesame seeds in an airtight container to maintain freshness and flavor.
How to store
Storing toasted sesame seeds properly is essential to maintaining their freshness and flavor. Here’s a simple guide on how to store them:
- Cool completely: Allow the toasted sesame seeds to cool completely before storing. This helps prevent condensation inside the storage container.
- Use an airtight container: Transfer the cooled sesame seeds to an airtight container. A glass jar or a plastic container with a tight-sealing lid works well.
- Store in a cool, dark place: Keep the container in a cool, dark place, away from direct sunlight and heat. I store them in my pantry.
- Avoid moisture: Ensure the storage container is completely dry before adding the toasted sesame seeds. Moisture can cause the seeds to lose their crispness.
- Label the container: Label the storage container to identify the contents and the date of toasting quickly.
- Use within a month: For optimal flavor, use the toasted sesame seeds within a month. While they may last longer, their freshness and vibrant flavor may diminish.
NOTE: Though the fridge may seem like a good storage choice, I avoid it as the moisture can cause sesame seeds to become soggy.
FAQ
Look for signs that they are done based on their aroma and texture. When they are properly toasted, the seeds give off a nutty and fragrant aroma.
Both methods result in toasted sesame seeds, but some prefer the stovetop for its quickness, while the oven provides more even toasting for larger batches.
Add a few white sesame seeds to the skillet or pan to make it easier. When the white seeds turn golden, it’s a good indicator that the black sesame seeds are likely ready.
How to use
Toasted sesame seeds are a versatile and flavorful addition to many dishes. Here are some of my favorite recipes that use them.
Skillet Broccoli: Enhance the taste of skillet broccoli by generously sprinkling toasted sesame seeds as a finishing touch.
Greek Cookies: Enjoy the perfect balance of sweetness and subtle nuttiness of sesame seeds in these Greek cookies aka koulourakia.
Sesame Candy: Create a unique and tasty Southern Italian sesame candy. All you need are sugar, honey and sesame seeds.
Salads: Sprinkle toasted sesame seeds on red cabbage slaw or carrot salad for added flavor and a delightful crunch.

Sesame Seed Cookies
Experience the perfect blend of nutty and sweet with my delightful recipe for Italian Sesame Cookies - a festive treat for every occasion!
Whether incorporating them into baked goods or a stir-fry or adding them to a salad, toasted sesame seeds effortlessly enhance the flavor. Experiment with these tiny seeds in your favorite recipes and experience the significant impact they can make.
THANKS SO MUCH for following and being part of the She Loves Biscotti community, where you will find Simple & Tasty Family-Friendly Recipes with an Italian Twist.
Ciao for now,
Maria
***** If you have made homemade toasted sesame seeds, I would love to hear it in the comments below, and be sure to rate the recipe!
Recipe
Homemade Toasted Sesame Seeds: 2 Easy Methods
WANT TO SAVE THIS RECIPE?
Ingredients
- ½ cup sesame seeds or as much as required
Instructions
How to toast sesame seeds in the oven:
- Preheat the oven to 350°F (180°C). Adjust the oven rack to the middle of the oven.
- Spread sesame seeds evenly on a rimmed baking pan in a single layer.
- Bake for 5-8 minutes, shaking the pan periodically for even toasting.
- Remove when golden brown, transfer to a plate, and let them cool.
How to toast sesame seeds on the stovetop:
- Heat a pan over medium heat without using any oil.
- Add sesame seeds to the dry skillet.
- Continuously stir or shake the pan for even toasting, avoiding high heat to prevent burning.
- Toast for 3-4 minutes until golden brown and aromatic.
- Remove from heat, transfer to a plate, and let them cool.
Video
Notes
Single layer: Spread the seeds in a single layer when toasting on the stovetop or in the oven to ensure even browning.
Cooling: Once toasted, transfer the seeds to a plate to cool, as they can continue to cook from residual heat.
Storage: Store your toasted sesame seeds in an airtight container to maintain freshness and flavor. Please keep in mind that the nutritional information provided below is just a rough estimate and variations can occur depending on the specific ingredients used.
Anne Davids
I am so glad you said to transfer from the pan on the stove to a plate because doing that saved them from a sure-fire burn as I used a flat cast iron pan and cast iron retains heat for a long time. I can’t wait for the recipe ……!
Maria
My pleasure Anne! I learned the hard way… lol
Thanks so much for your support and interest!