

Here’s a step-by-step guide on how to freeze Swiss chard from harvesting to blanching to freezing. Frozen Swiss chard is great as a topping for this healthy pizza recipe, soups, stews, casseroles, pies, and so much more.
Although not as common as other leafy greens, like spinach and kale, Swiss chard offers creative options for cooked recipes, especially in Italian cuisine.
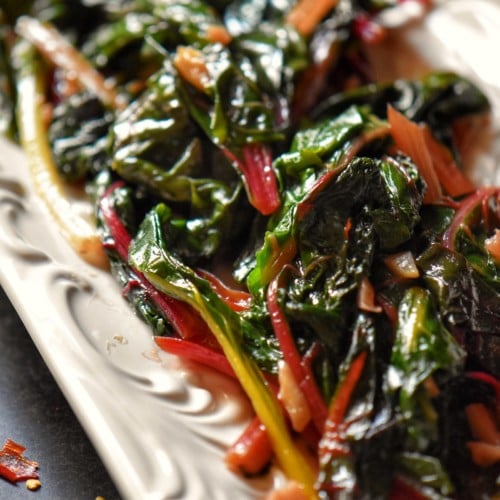
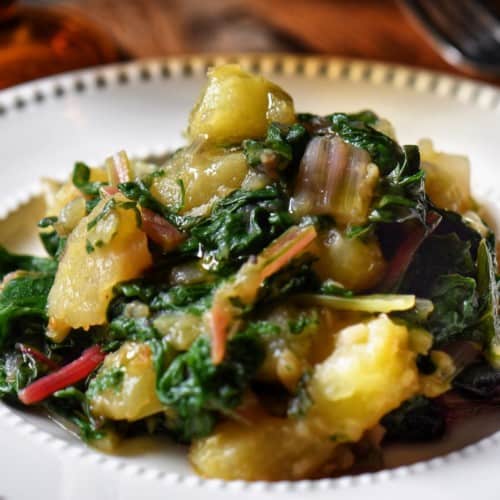
Nothing can compare to its silky taste when it is cooked slowly. One of my favorites is this Italian Swiss chard and potatoes side dish with plenty of garlic and red pepper flakes.
Whether you grow this crop in your backyard garden and are dealing with a lot of chard or buying a bunch at a farmer’s market or grocery store. Here’s how to freeze chard to keep and enjoy it all winter, whether adding it to soups, stir-fries, or simply sauteing it.
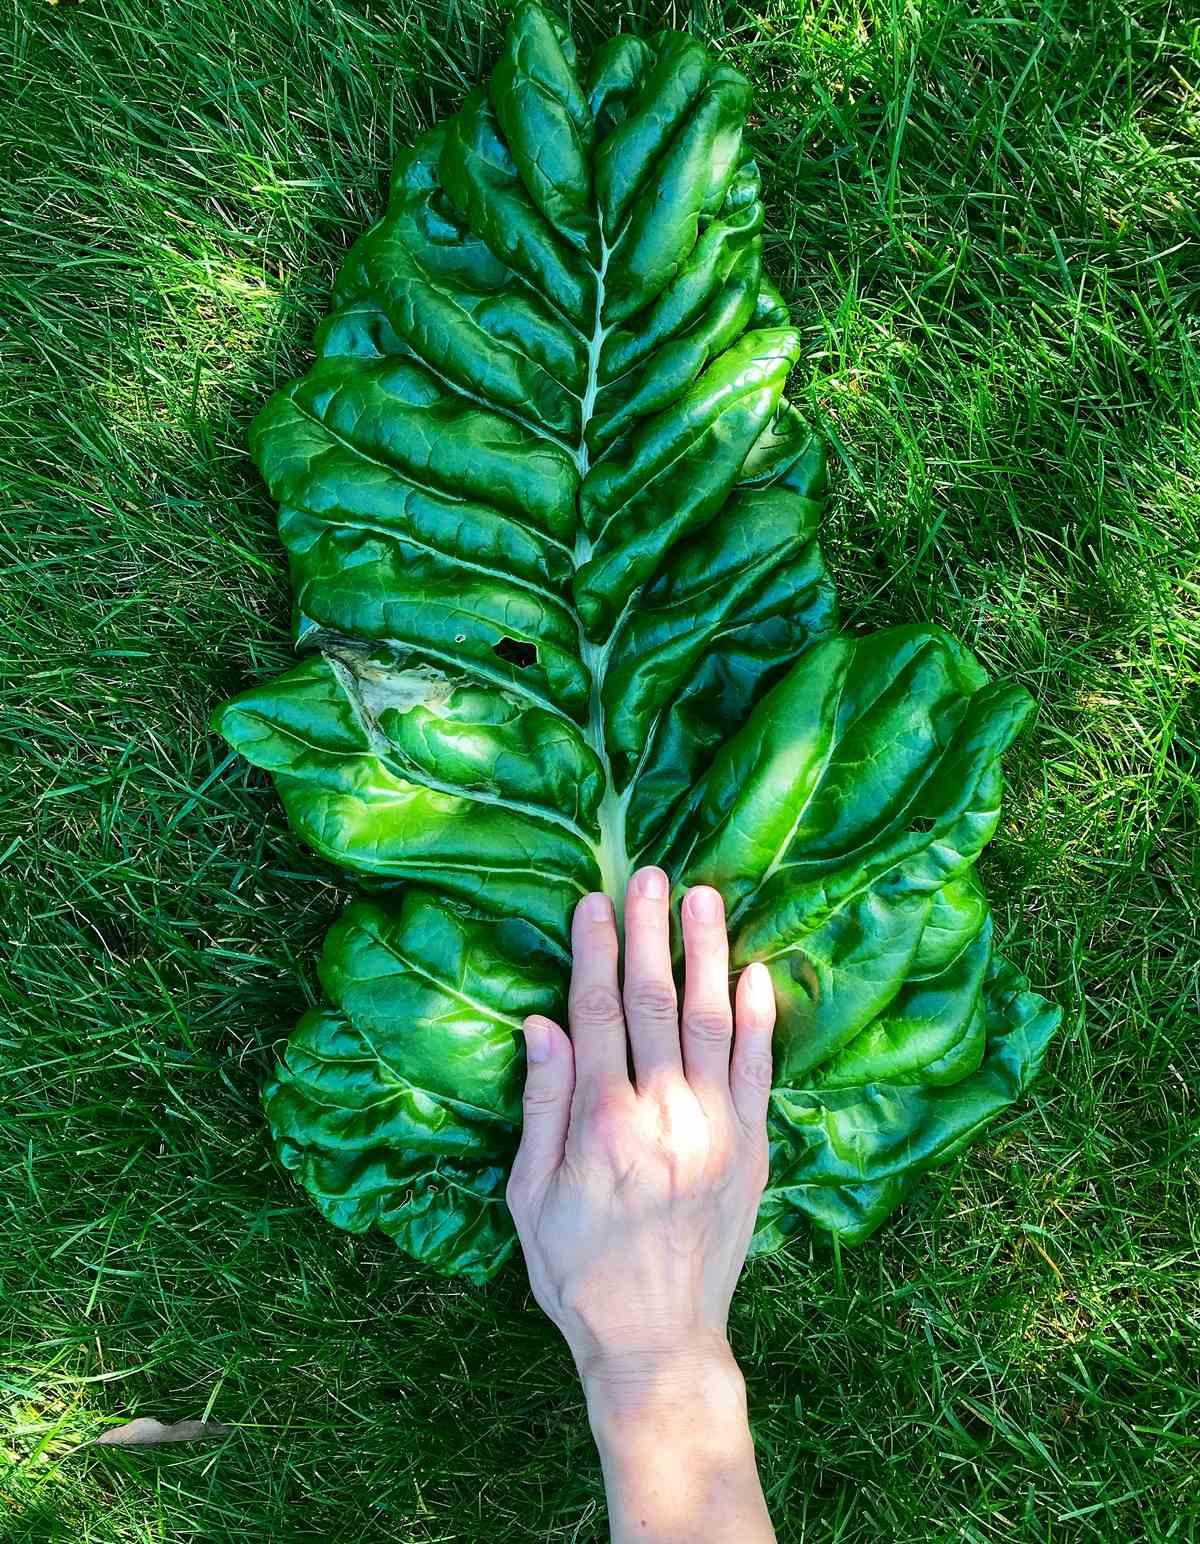
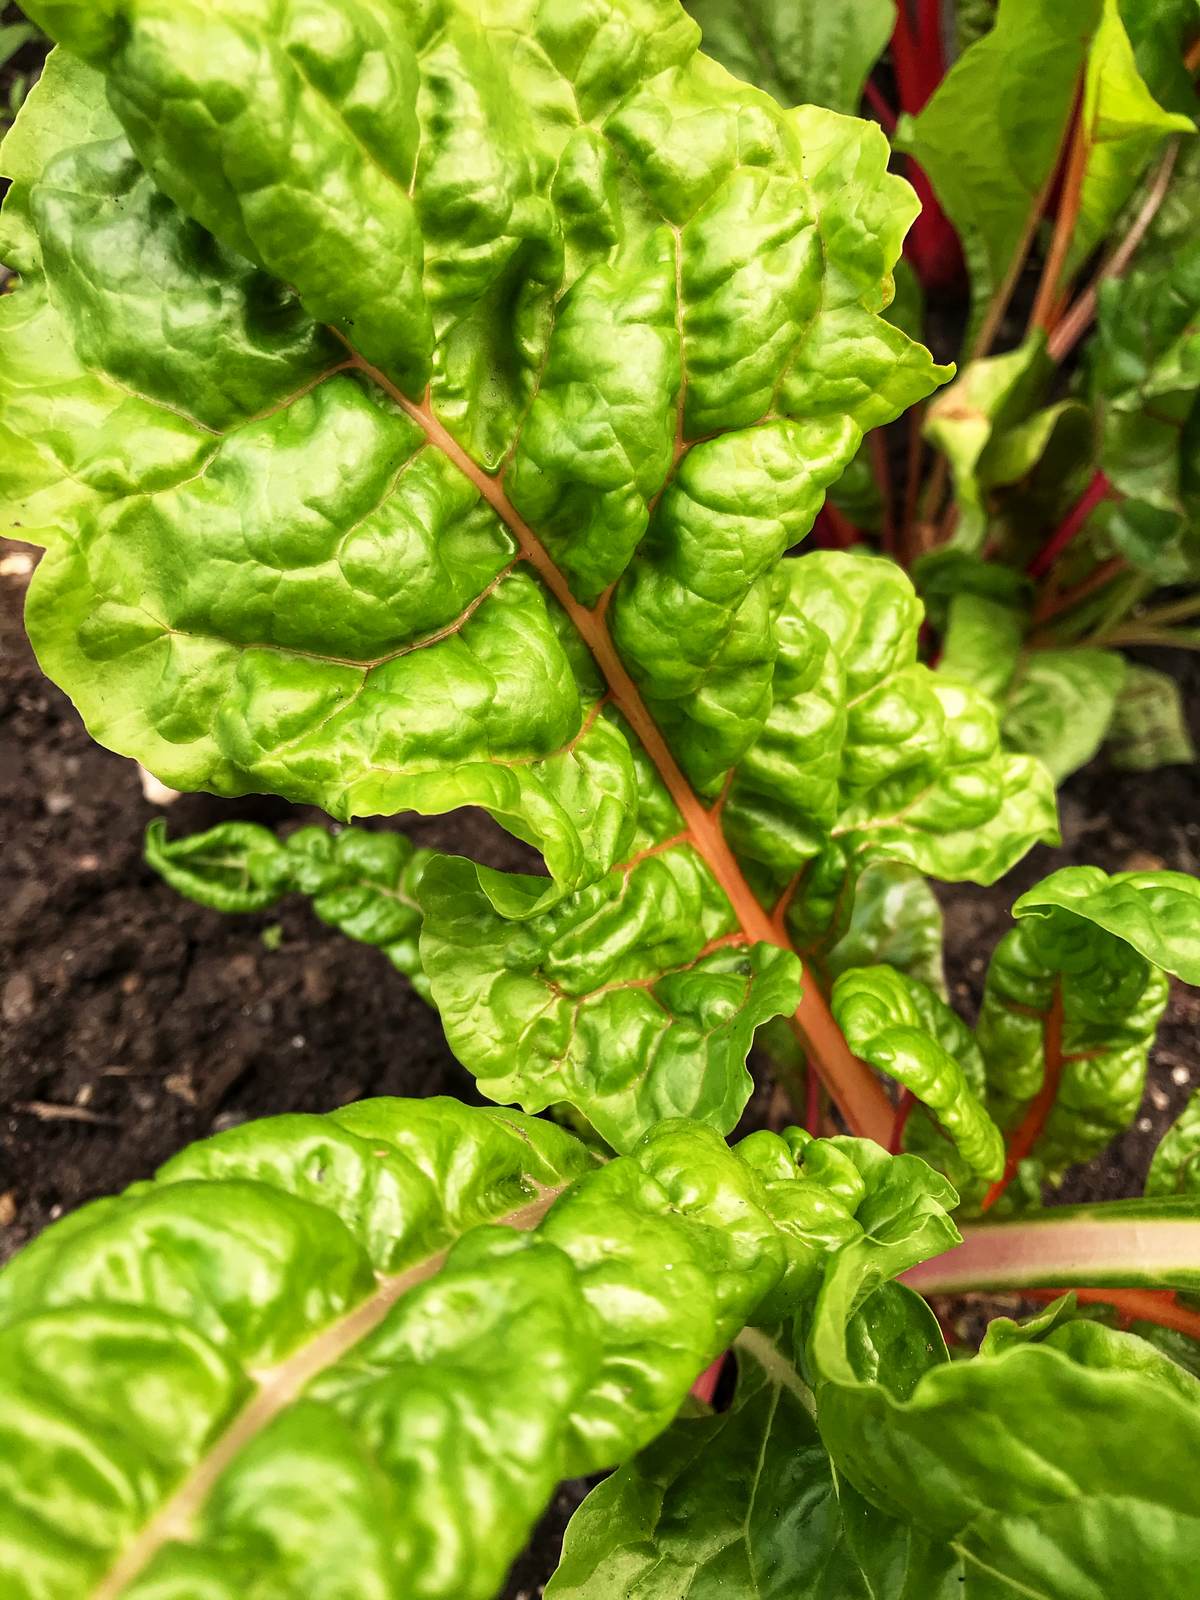
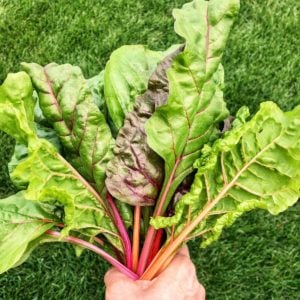
As a member of the beet family, including Swiss chard in meal planning is nutritious and offers a unique explosion of color. Chard varieties have green leaves but have green, white, yellow, or red stems. [source] You can even find some marketed as rainbow chard with multiple colors in a single bunch.
No matter which varieties you choose, they can all be frozen easily and enjoyed throughout the winter.
Jump to:
Harvesting tips
Gardeners who want to grow something unique and tasty should consider Swiss chard in their beds. Harvest can occur any time after thirty days, depending on whether you want to eat the tender leaves raw or cooked in a casserole, stew, or sauté dish.
Since this informative article focuses on freezing Swiss chard, it recommends waiting at least 45 to 60 days for the harvest. The large leaves and sturdy stems taste great and give you more volume to work with.
Harvesting is simple. Since both the stem and the leaves are edible, use a sharp knife or scissors to cut the Swiss chard stems low to the ground. The plants will continue producing leaves throughout the season until the first frost.
Washing and cleaning
One of the first steps in freezing any vegetable is to wash and clean them thoroughly.
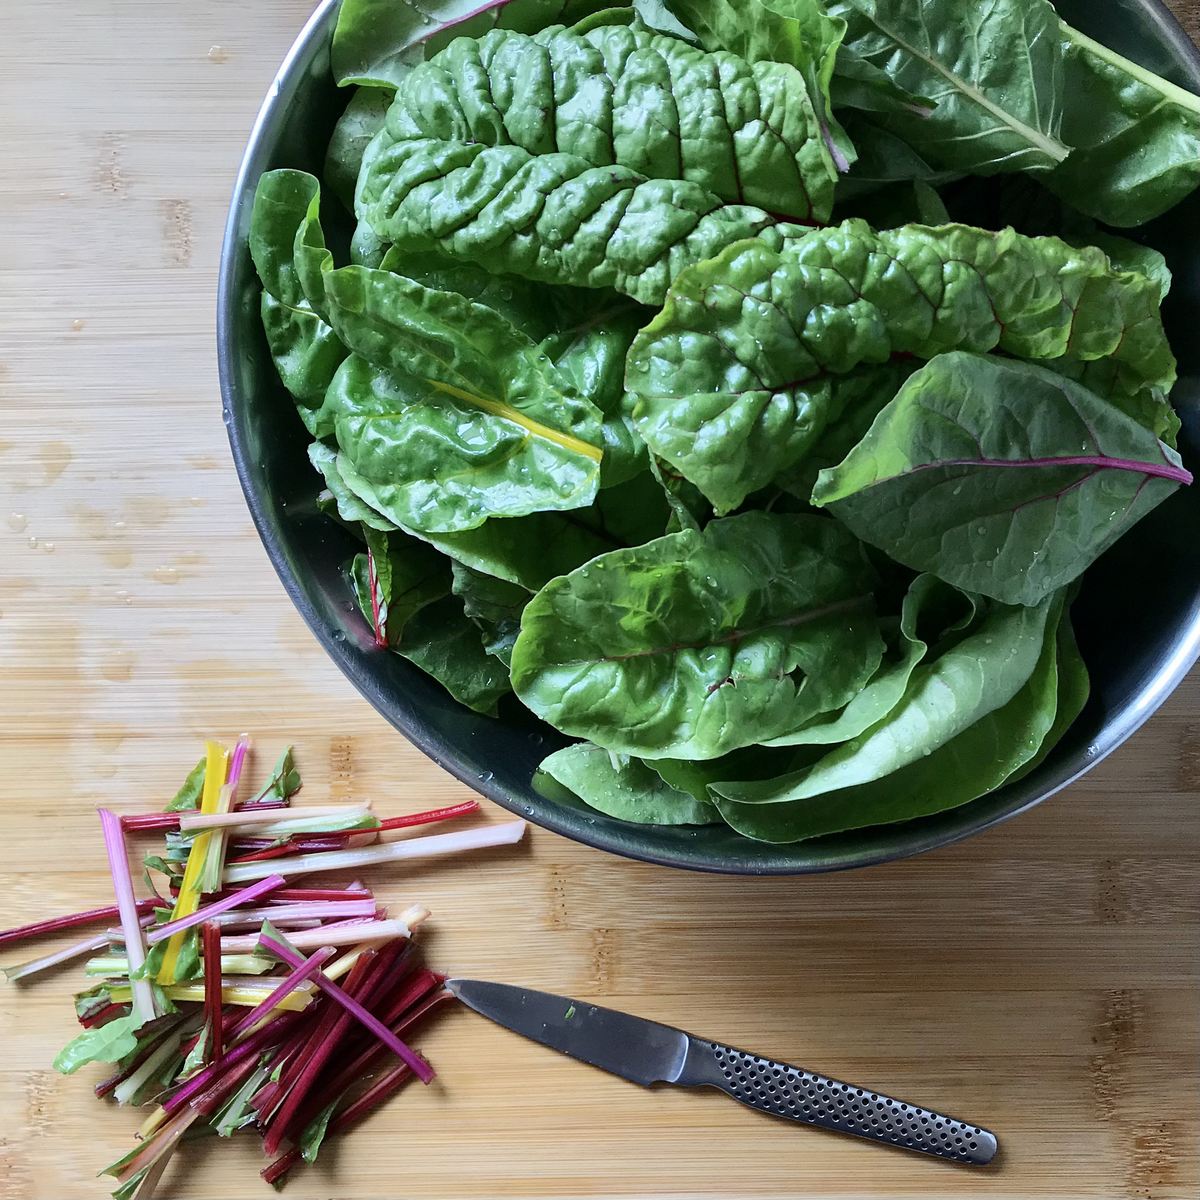
Swiss chard leaves are rather bumpy, with many crevices, so they have many spaces where dirt, sand, debris, or even insects can hide. There are two ways to remove all this grittiness.
The first is simply washing every piece carefully under cold running water. Gently rub so as not to bruise the leaves or stems.
Another step in this method includes filling a sink or large bowl with cold water and allowing the chard leaves to soak for 10 minutes. A final rinse under cold running water ensures they are ready for the next step in freezing.
This is a great moment to separate the Swiss chard stalks from the leaves as a time-saving tip. Use your knife to separate these two parts.

Blanching
Blanching any vegetable stops the natural process that causes a loss of color, flavor, and nutrients. It is an important step in the freezing process of Swiss chard that should not be skipped.
Follow these simple steps to prepare these fresh greens for a successful trip to your freezer.
- Prepare a bowl of ice water large enough for your chard pieces to submerge.
- Bring a large pot of water to a rolling boil.
- Add the Swiss chard stalks and blanch for 3 minutes.
- Remove and plunge chard stems into the bowl of ice water. This immediately stops the cooking process.
- Transfer to a colander to drain.
- Next, repeat the same process with the chard leaves, but blanch for only one to two minutes. Be sure to submerge them completely in the water with tongs.
Freezing
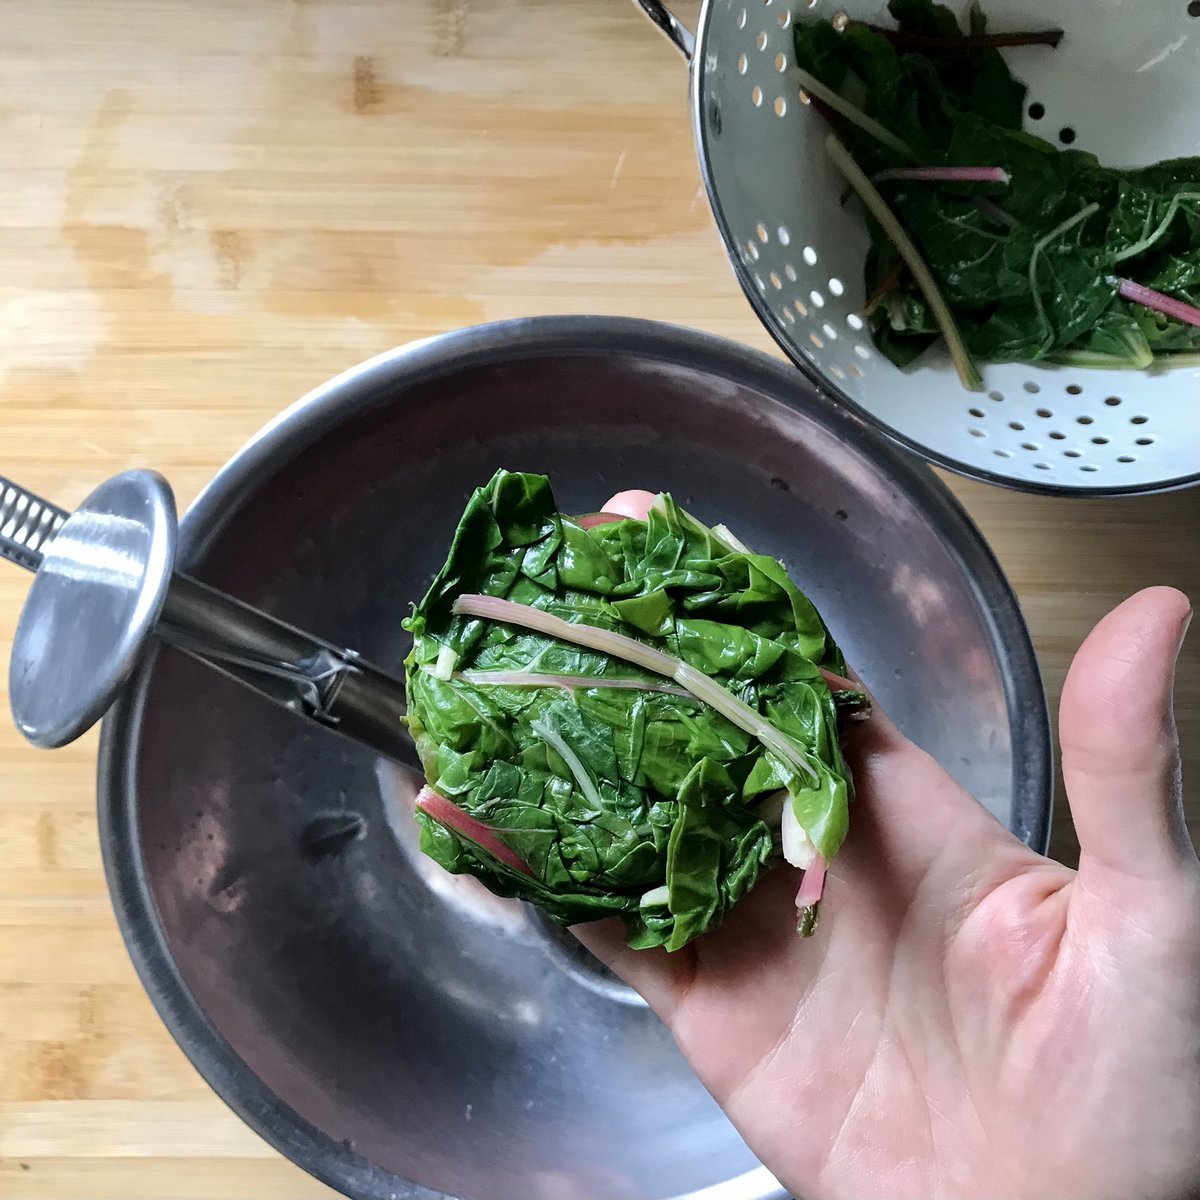
After blanching, you will have a colander of colorful Swiss chard leaves and stems. You are now ready to freeze your harvested crop or prize from the market so you can use it throughout the colder months.
Do not chop up the blanched leaves before you freeze them unless necessary due to the size of the storage containers or freezer space you have.
Always start with well-drained chard. To do so, use your hands to squeeze the excess moisture gently. Alternatively, use a potato ricer to squeeze out the excess water. There is no need to separate the stalks from the leaves.
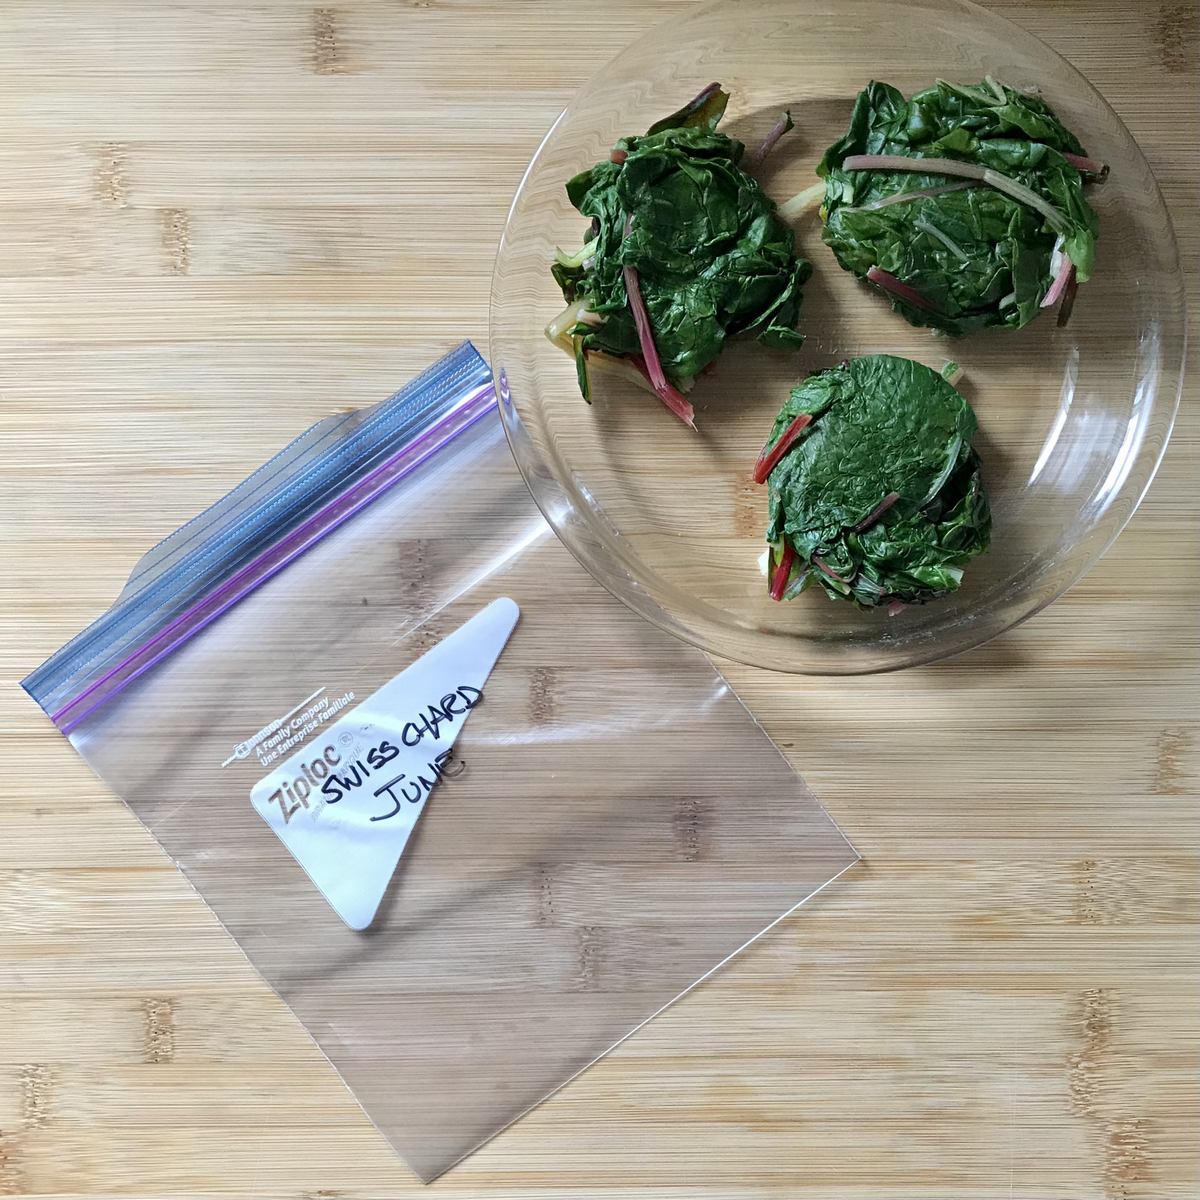
Place in resealable ziplock bags. Use a straw or a sealer to remove as much air as possible from the freezer bags. This will help reduce the formation of ice crystals and freezer burn.
Label your bags by indicating the date and place the chard in the freezer.
That’s all there is to it.
Tips
- Avoid cutting up the leaves or stems into small pieces before freezing. This can contribute to a loss of nutrients and increases the possibility of degradation.
- Use a large stockpot to ensure plenty of volume for the chard to blanch quickly.
- There is NO NEED to add salt as we are not cooking the chard.
- When blanching the stems and the leaves, please do not leave them too long. You do not want to cook the chard during this process.
- Start the timer (3 minutes for stalks and 1-2 minutes for the leaves) when the water returns to a rolling boil after adding the chard pieces.
FAQ
You do not have to blanch this vegetable before freezing it. However, failure to do so means that the action of enzymes in the plant is still working. This mechanism ripens vegetables when growing and makes them wilt and deteriorate after harvest. While freezing also helps to stop enzymatic action, blanching creates a much better-finished food overall.
Your blanched frozen greens will last anywhere from six months to a year. While it may still be good after that, you will probably not want to wait long to make some delicious recipes that include this tasty green vegetable.
Yes, the method to freeze it is the same as that for Swiss chard.
How to use frozen chard in recipes
Now that you have a large collection of frozen chard, what can you do with it?
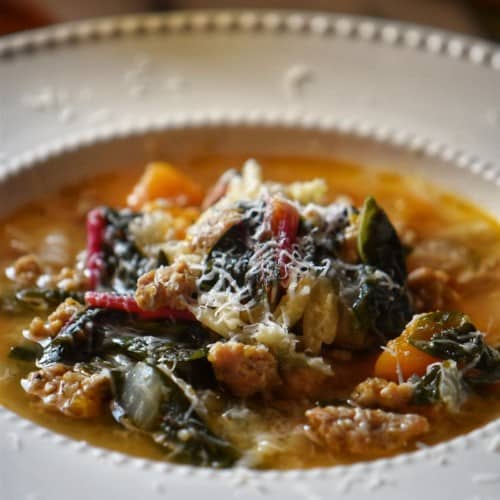
It works well for many recipes. Its delicate, fresh flavor is so delicious yet unobtrusive that you can add it to almost any soup, stew, casserole, or stir fry you try. A family favorite is this Swiss chard soup. Another of my go-to recipes when I’m in a hurry is this Rainbow chard recipe, which also works well with Swiss chard.
In most cases, you do not need to thaw the frozen chard before using it in a recipe.
You can use chard, like you would spinach, in any recipe. Throw a handful the next time you make soup for extra flavor and nutrients. Roast it with bulkier vegetables. Stir it into a frittata. Mix small pieces into a stir fry or add to hearty baked goods like quick bread or savory muffins.
Food preservation
Be sure to check out these other step-by-step guides on how to freeze tomatoes, rhubarb as well as freezing green beans and Italian parsley.
Summary
Once you learn how to freeze chard, you can have delicious and nutritious greens to add to various recipes year-round. Harvesting, preparing, blanching, and freezing Swiss chard is a simple process that never involves any complicated tricks or specific kitchen gadgets.
Add this unique leafy green to your garden and meal plan today and enjoy the mild flavor—the best way to meet the recommendation of eating more dark leafy greens.
THANKS SO MUCH for following and being part of the She Loves Biscotti community where you will find Simple & Tasty Family-Friendly Recipes with an Italian Twist.
If this is your first time visiting, welcome! I would love to offer you my FREE weekly e-mail newsletter delivered straight to your inbox. You will also receive a FREE DOWNLOAD that summarizes my top 10 tips on How to Cook Pasta when you subscribe. You can unsubscribe any time you want.
Ciao for now,
Maria
★★★★★ Are you planning on preserving Swiss chard? I would love to hear about it in the comments below and be sure to rate this method!
Swiss Chard Recipes

Recipe
How to Freeze Swiss Chard
WANT TO SAVE THIS RECIPE?
Ingredients
- 1 bunch Swiss chard or as much as you want
- water
Instructions
- Properly rinse both the leaves and the stems under cold running water. An additional step to this method includes filling a sink or large bowl with cold water and allowing the chard to soak for a good 10 minutes.
- Prepare a bowl of ice water large enough for your chard pieces to submerge in.
- Bring a large pot of water to a rolling boil.
- Add the Swiss chard stalks and blanch for 3 minutes.
- Remove and plunge chard stems in the bowl of ice water. This immediately stops the cooking process.
- Transfer to a colander to drain.
- Next, repeat the same process with the chard leaves but blanch for only one to two minutes.
- Use your hands to squeeze the excess moisture gently. As an alternative, use a potato ricer to squeeze out the excess water. There is no need to separate the stalks from the leaves.
- Place in resealable ziplock bags.
- Use a straw or a sealer to remove as much air as possible. This, in turn, will reduce the formation of ice crystals.
- Properly label your bags by indicating the date and place your bag in the freezer.
Video
Notes
- Avoid cutting up the leaves or stems into small pieces before freezing. This can contribute to a loss of nutrients and increases the possibility of degradation.
- Use a large stockpot to ensure there is plenty of volume for the chard to blanch quickly.
- When blanching the stems and the leaves, please do not leave them in too long. You do not want to cook the chard during this process.
- Start the timer (3 minutes for stalks and 1-2 minutes for the leaves) when the water returns to a rolling boil after adding the chard pieces.
val
One of my favorite leafy greens! I did not know you could freeze it!
Maria
It really is so delicious when making winter soups. Appreciate your comment, thanks Val.
Ellen
Hi Maria, Have you tried freezing basil leaves? If not, try this! Grip several stalks of basil with tongs and quickly swish them in a skillet of boiling water. Then spread on a towel to air cool. Do not rinse. When cooled and dried (not crackly dried) place in a zip-lock bag and freeze. Blanched basil is bright green, tender and sweetly aromatic.:)
Maria
Great tip. froze a whole bunch! Thanks so much for sharing Ellen!