
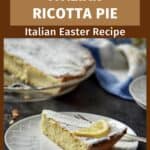
This classic Italian ricotta pie has a light, creamy filling and an optional lattice crust. A traditional dessert made with simple ingredients and step-by-step tips.
Ricotta pie is one of those classic Italian desserts that never really goes out of style. After decades of making ricotta-based desserts, I can honestly say this recipe is one of the easiest and most dependable you'll ever make.
Today, I'm sharing a classic Italian ricotta pie that's simple, dependable, and perfect for any occasion.
It starts with a tender pasta frolla crust and a light, creamy ricotta filling that bakes up smooth and just sweet enough. The buttery shortcrust and the delicate filling work beautifully together, creating a pie that feels comforting, familiar, and a little special all at once.
Pasta frolla, Italy's classic sweet shortcrust pastry, is perfect for pies and tarts. It's especially lovely for desserts like Italian crostata. I use a variation of this dough often - including for my ricotta chocolate tart - because it's reliable, easy to work with, and always turns out beautifully.
Whether you're making this ricotta pie for Easter or for a special family gathering, it's a timeless Italian dessert you'll find yourself returning to year after year.
Jump to:
Why this Easter ricotta pie is the best
Easy to make: It is relatively easy to make and doesn’t require a lot of ingredients or special equipment. This means that even novice bakers can make it for their Easter celebration.
Versatile: It can be made with various fillings, including chocolate chips, candied fruit, or orange zest. This means you can customize the pie to suit your taste and preferences.
Delicious: Ricotta pie is a sweet and creamy dessert that will please everyone at your Easter celebration. It’s the perfect combination of sweet and tangy, with a light and fluffy texture.
Are you ready to make the best recipe for ricotta pie?
How to Make Ricotta Pie
Let’s begin by making this simple pie crust recipe.
Part 1: The Crust
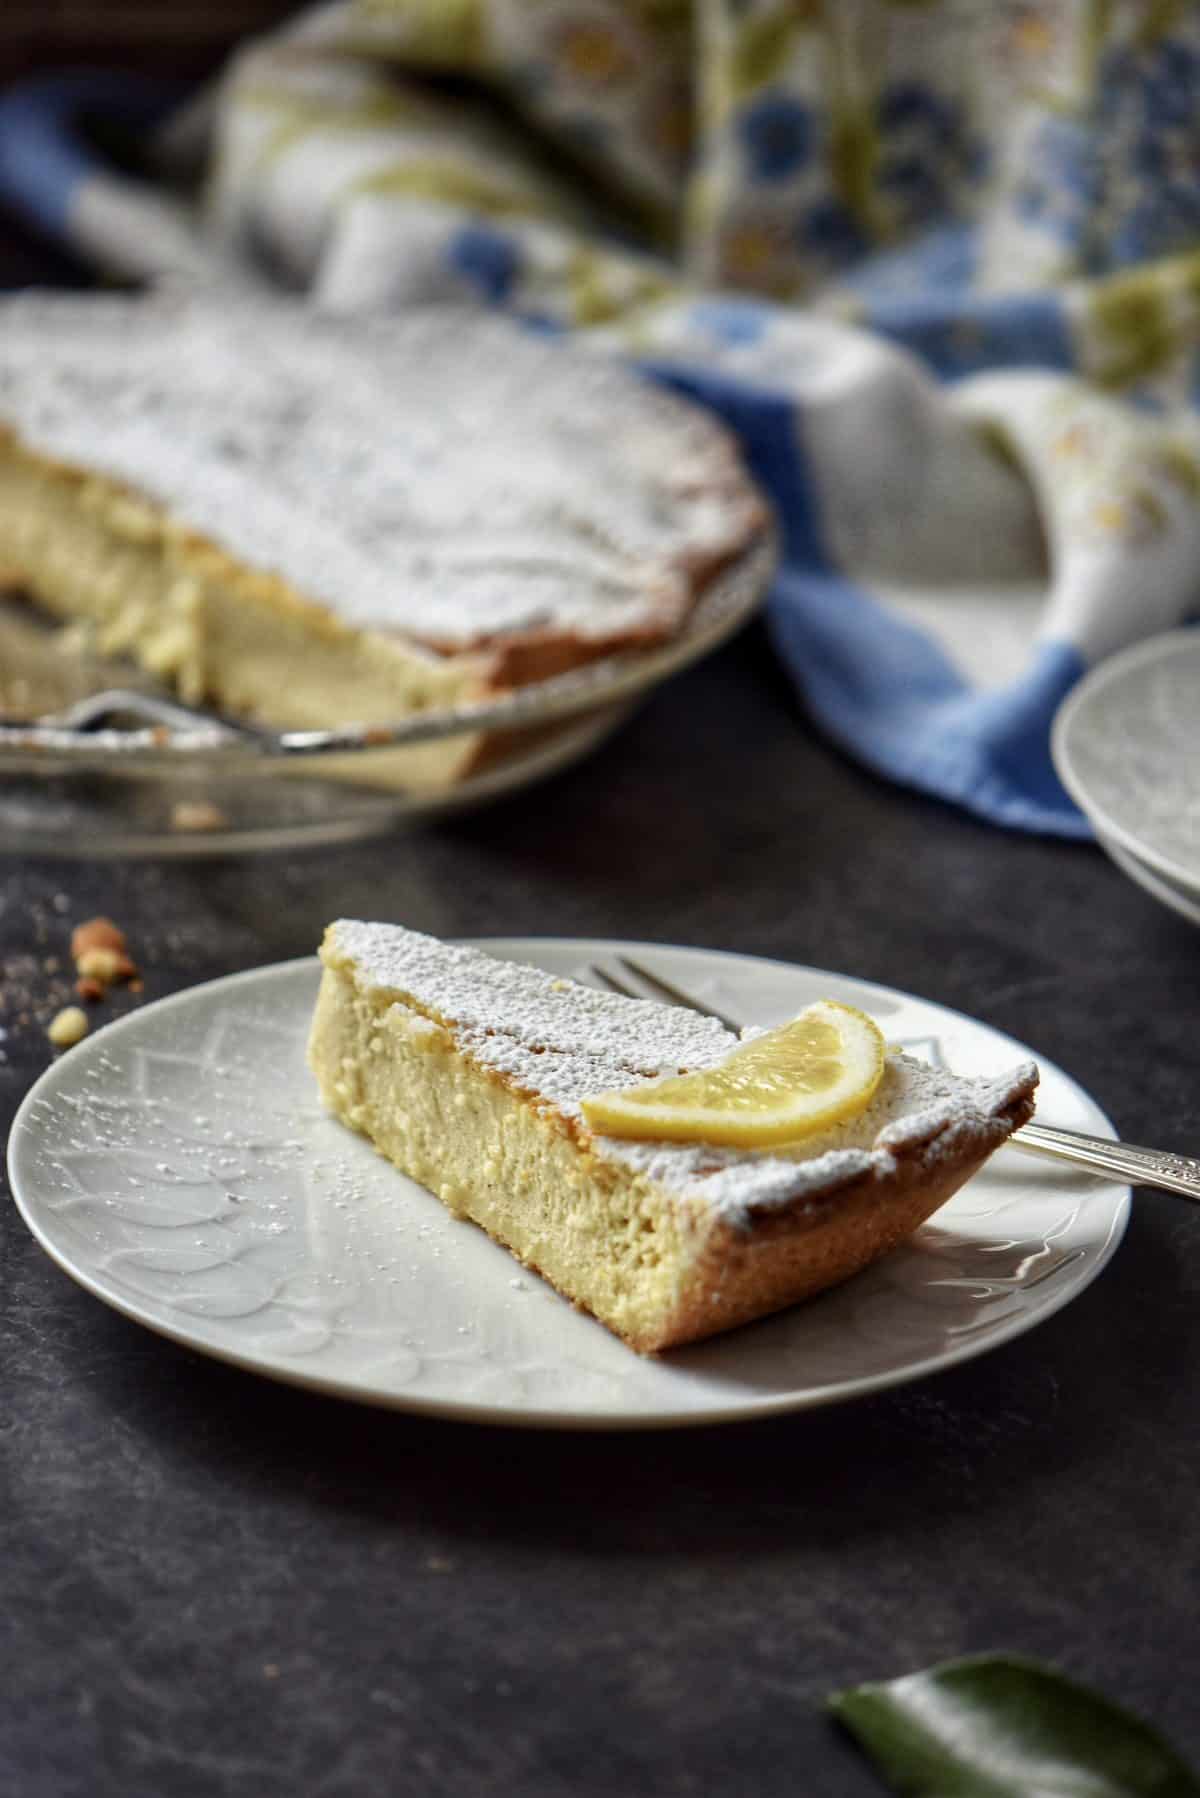
Pasta frolla is very easy to prepare and comes together in no time. This whole process will literally take about 5 minutes with a food processor.
Pulse the dry ingredients (1 cup of flour, 3 tablespoons of sugar, ¼ teaspoon baking powder, 1 teaspoon lemon zest, and a pinch of salt) with 4 tablespoons of cold butter to obtain a coarse texture. Add a slightly beaten egg and then pulse until the mixture begins to come together. It might take up to 20 pulses… don’t give up; eventually, the dough will form into a ball.
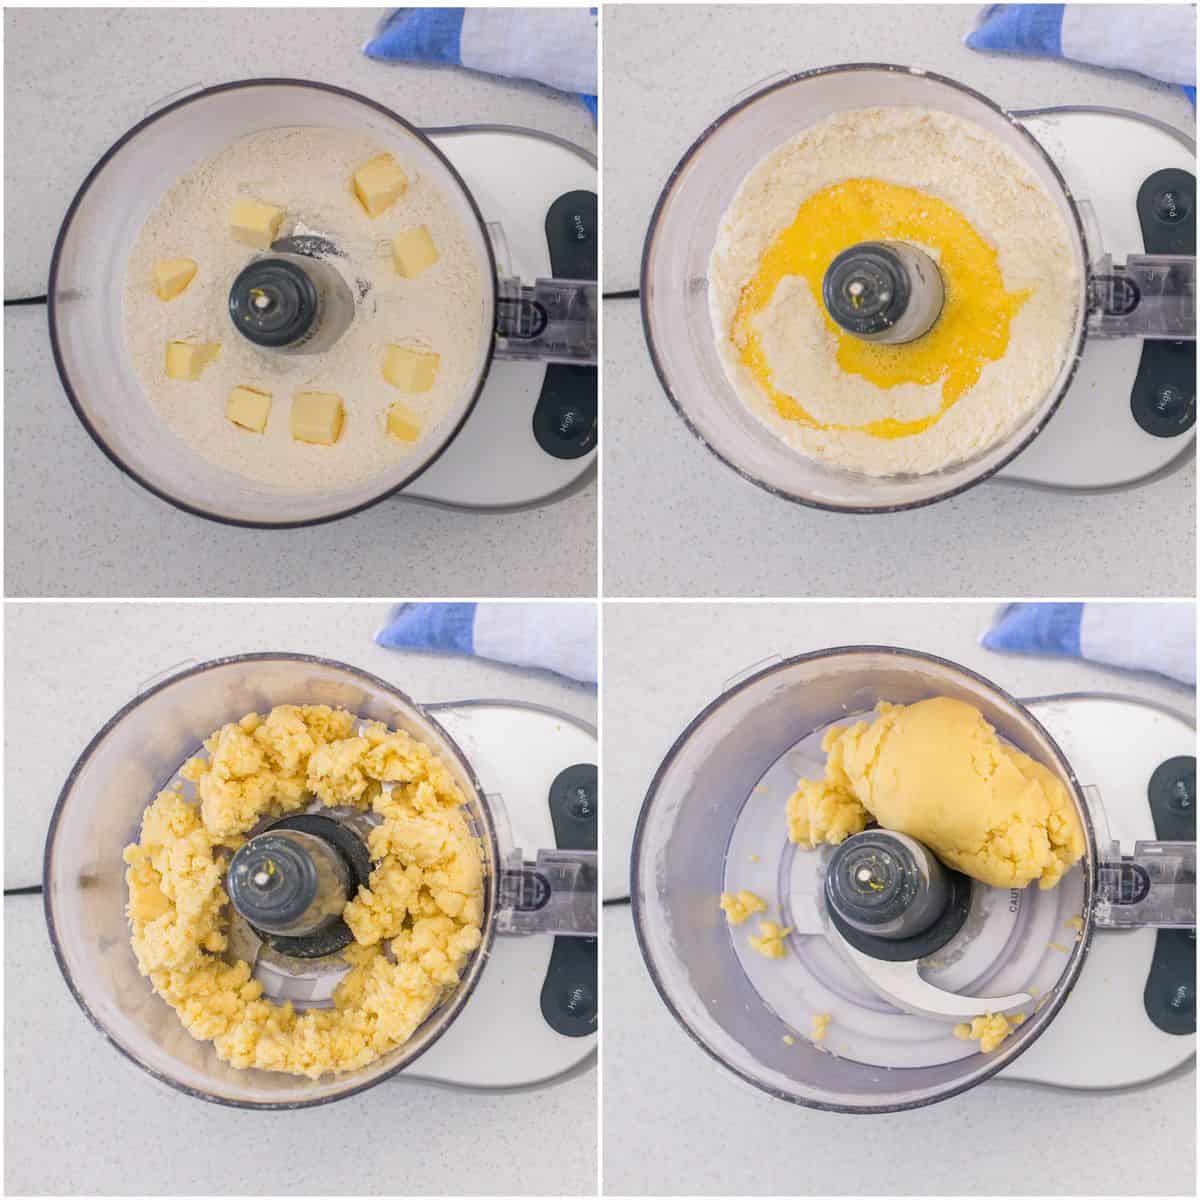
Turn the dough on a floured wooden board and form a smooth round disc.
Wrap it in cling wrap and refrigerate for at least 1 hour. The dough can be refrigerated for up to three days or frozen for one month.
For more information, please refer to this detailed article on making the best pasta frolla, which includes a helpful video.
Part 2: The Ricotta Filling
This ricotta filling recipe is equally quick and easy to prepare.
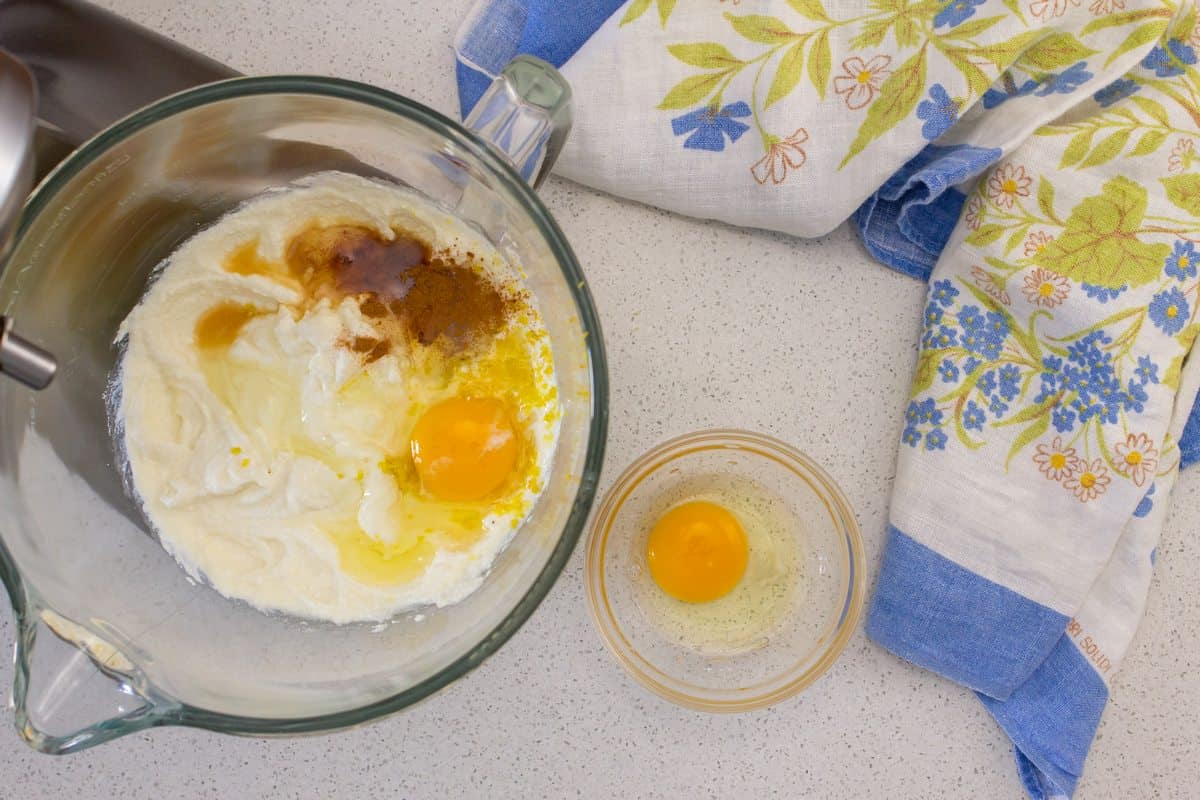
One by one, incorporate all the ingredients together in your stand mixture. More specifically:
- 2 cups ricotta whole milk, well-drained (about 15 oz)
- 5 tablespoons granulated sugar
- 1 teaspoon lemon zest
- ¼ teaspoon cinnamon
- 1 tablespoon grappa
- 4 eggs
If you’re feeling bold, you can try making this recipe for homemade ricotta cheese.
It’s important to scrape down the bowl’s sides and incorporate the eggs, one at a time, properly. It should take you less than 10 minutes to complete this part.
Part 3: Assembling the Pie
Preheat oven to 350 °F (175 °C). Place oven rack to bottom third.
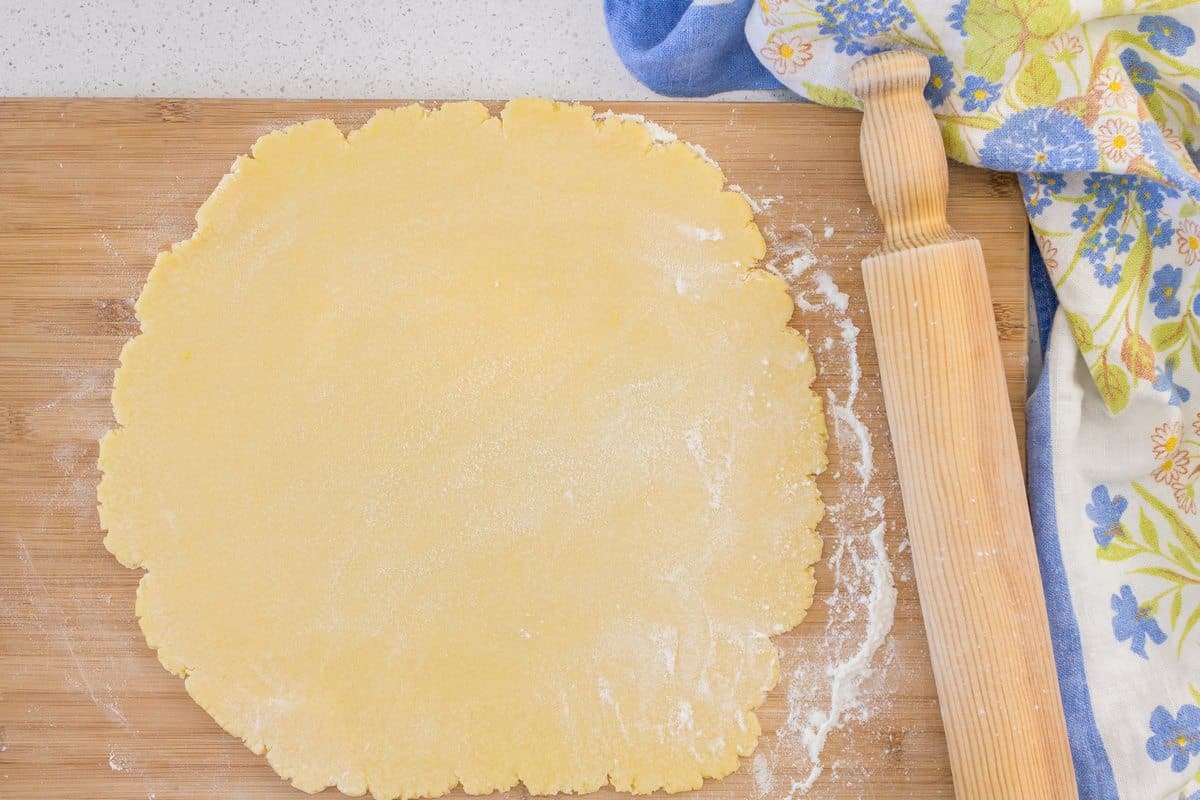
Now it’s time to roll out the dough (about ⅛-inch thick). Fold the dough in quarters and place it on your 9-inch pie plate.
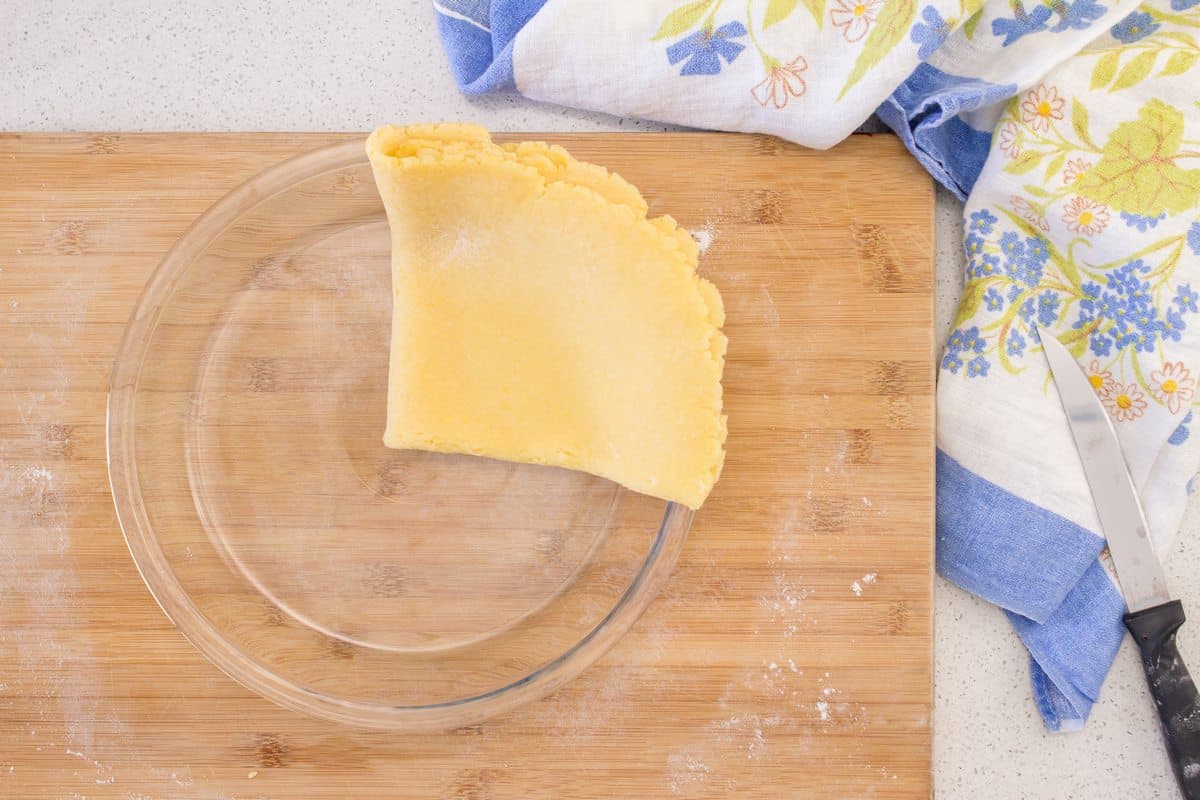
Next, unfold the dough to fit your pie plate.
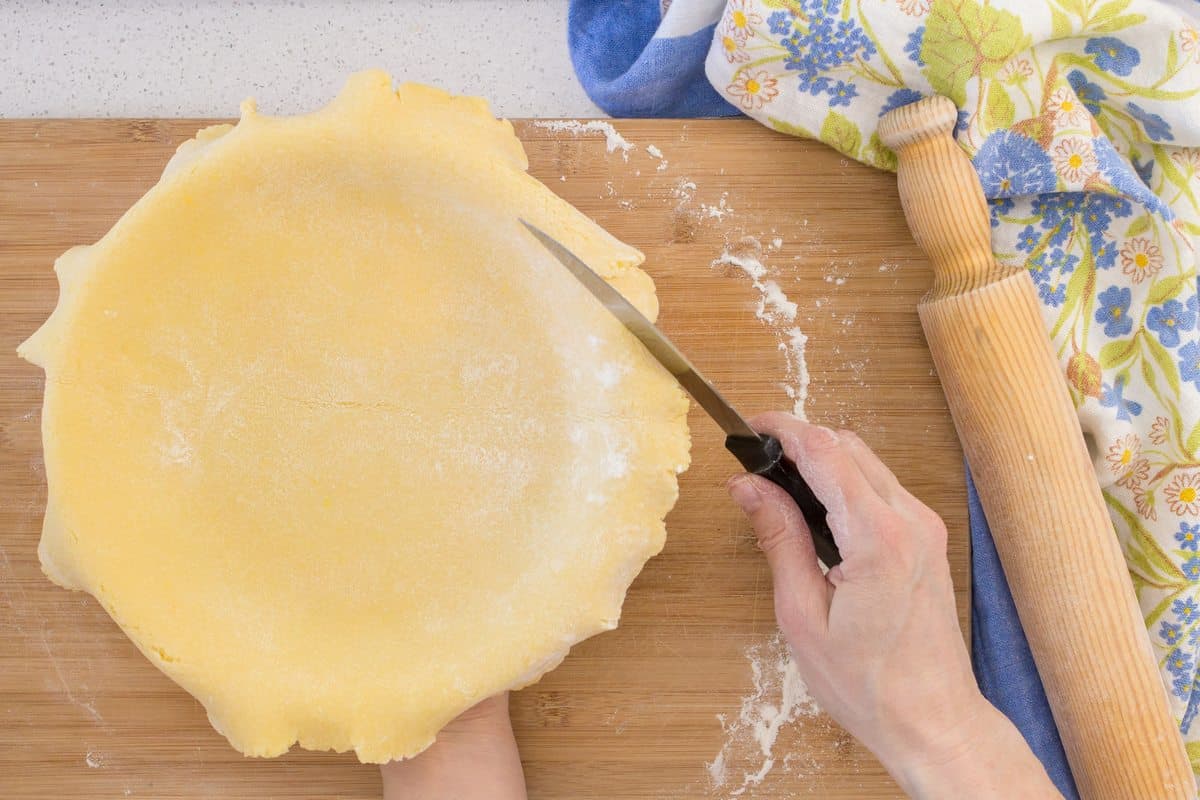
Remove the dough overhanging from the sides with a sharp knife.
This recipe is an excellent starting point for those new to rolling out dough, as it is very forgiving.
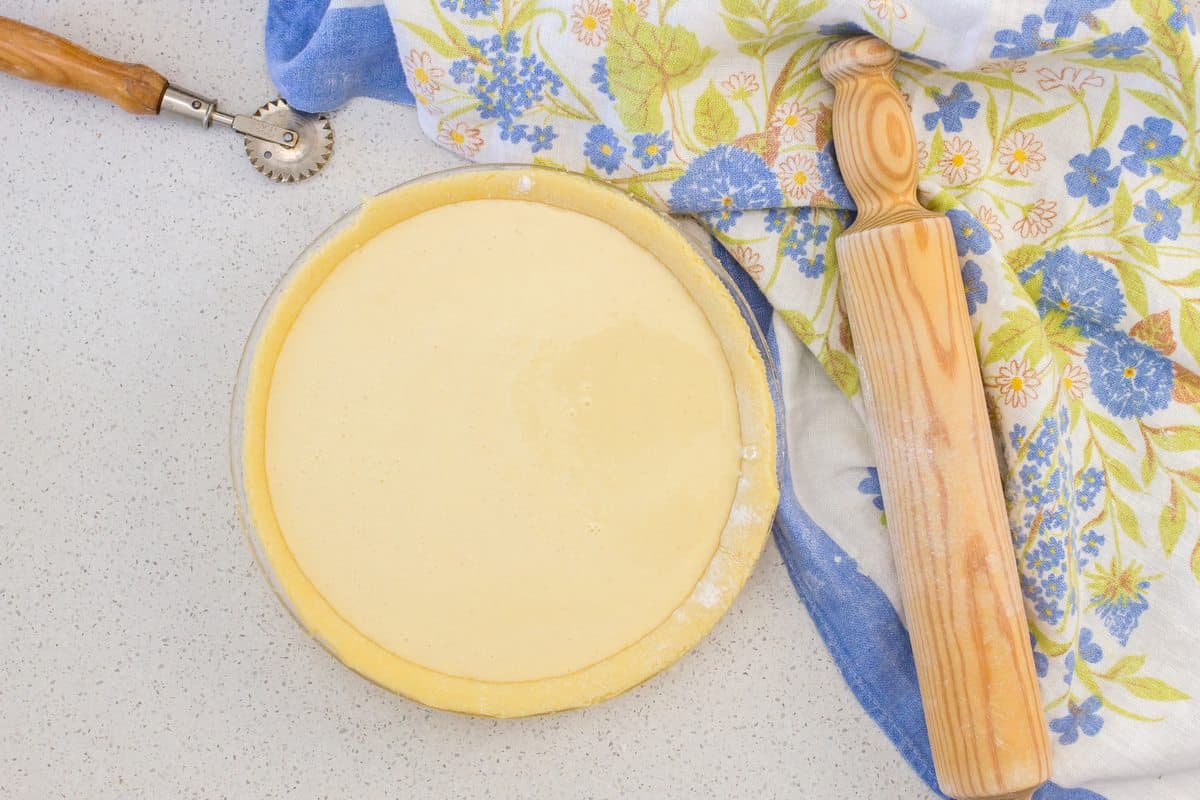
Pour the filling into your pie pan. (Please note that if your ricotta filling is not yet made, refrigerate your prepared pie shell until ready to be filled). I tried to remove air bubbles in the ricotta mixture by dropping the pan gently on my countertop.
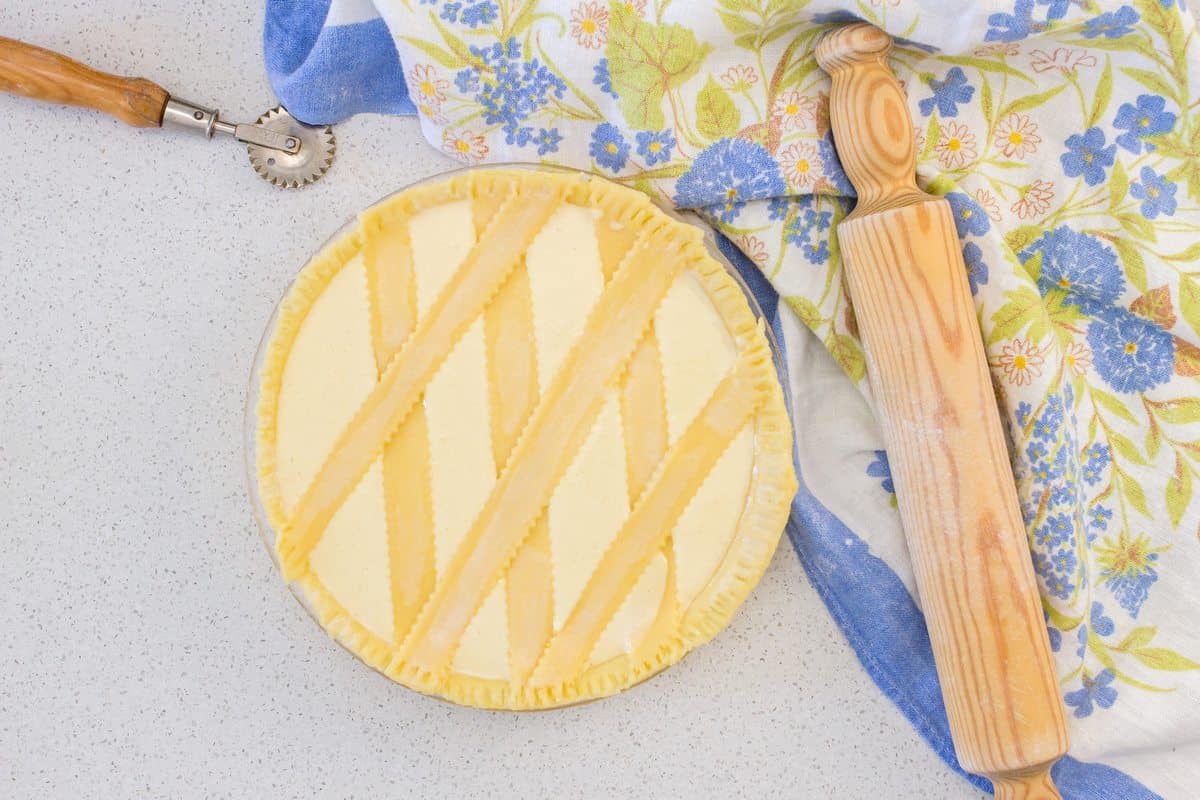
As far as the lattice top is concerned, you can take it or leave it. This Italian ricotta pie is equally great-tasting and great-looking without it. I re-rolled the extra dough and cut some strips that I placed on the top of the pie.
Only when you try something for yourself can you truly appreciate how difficult it is to create the perfect lattice top for an Italian Easter ricotta pie.
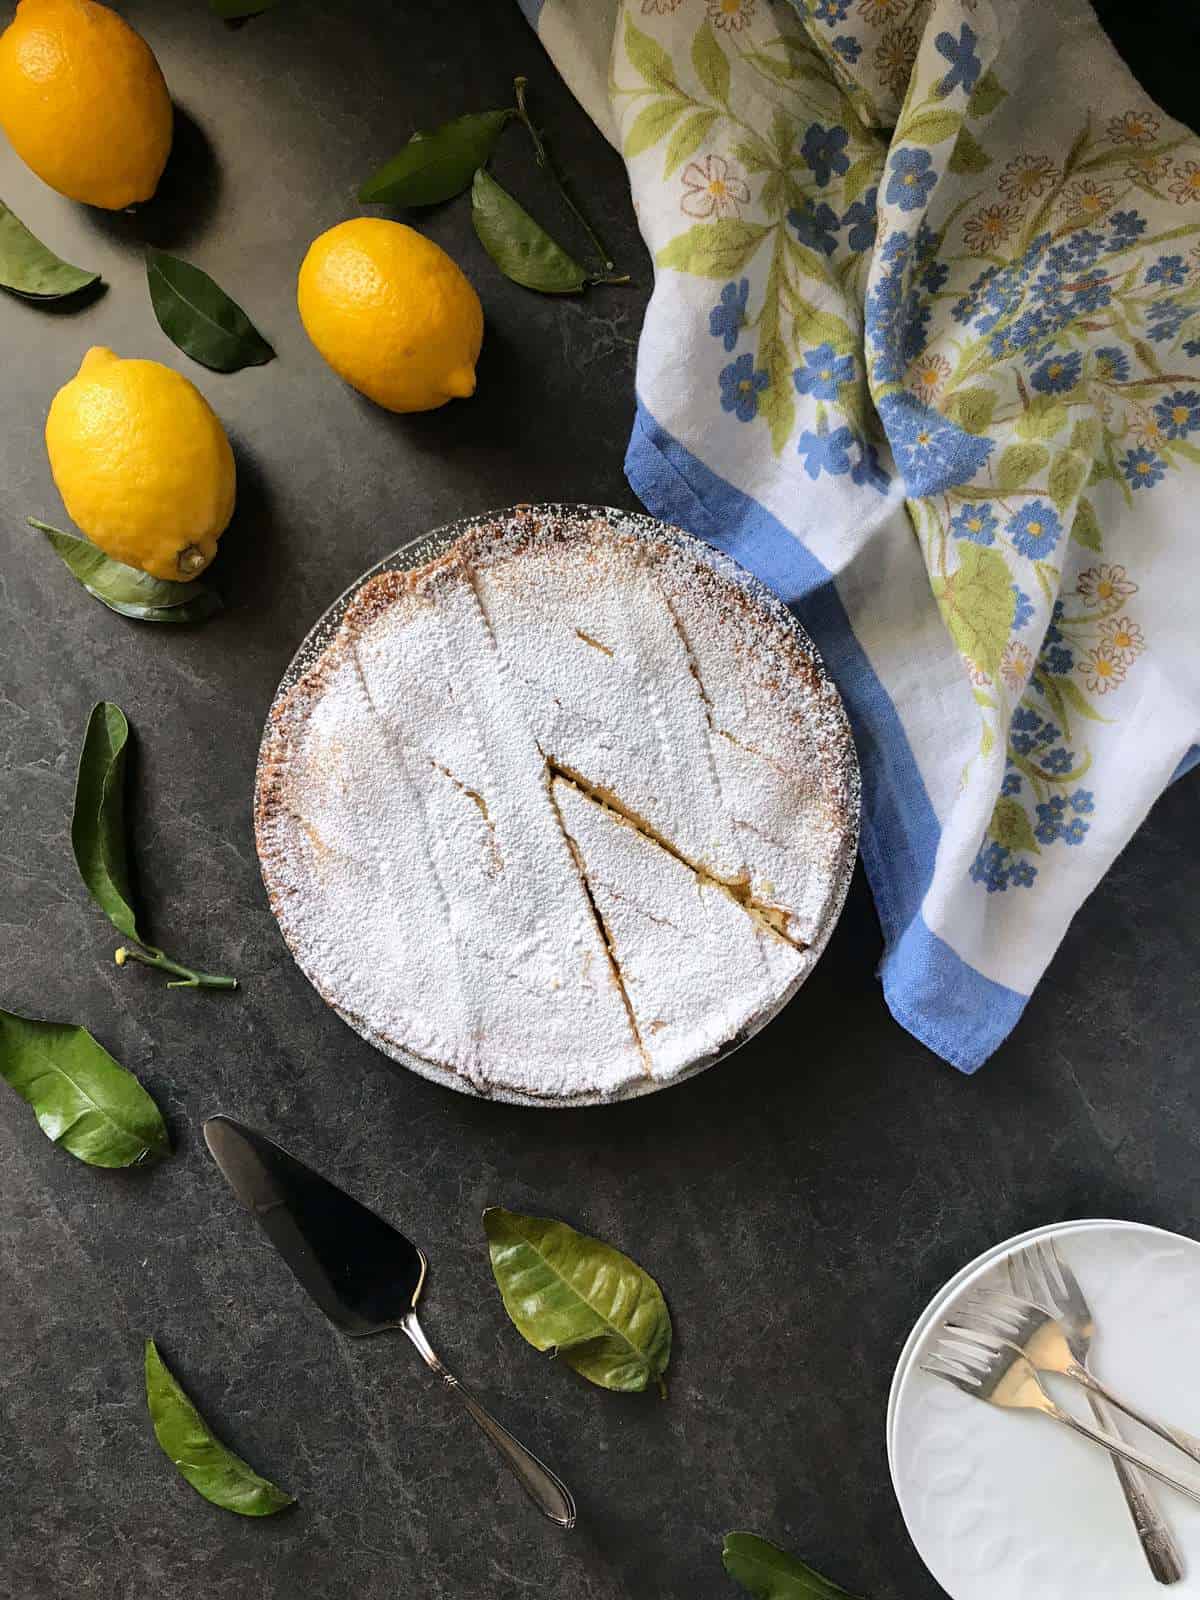
Place your pie on the oven grate in the bottom third of a preheated oven, and in less than one hour, you will have a perfect Easter ricotta pie!
Serve the sweet ricotta cheese pie in wedges at room temperature. Garnish it with a light dusting of icing sugar, or serve it with this healthy fruit salad recipe.

Tips
- Use cold butter when making the crust. This is a must.
- Do not over-manipulate the pie crust dough; form a disc and refrigerate once it comes together.
- Refrigerating pasta frolla dough before rolling helps it firm up, making it easier to handle and less likely to tear or stick to your work surface. It also allows the gluten in the dough to relax, which helps prevent the crust from shrinking as it bakes.
- Strain the ricotta cheese before using it in the pie to remove excess liquid and ensure a smooth, consistent texture.
FAQ
Ricotta pie has a creamy, slightly sweet, and mild flavor. The pasta frolla crust adds a crisp texture and buttery flavor that complements the creamy filling perfectly.
Refrigerating ricotta pie to maintain its freshness and prevent spoilage is recommended.
Once the pie is at room temperature, cover it tightly with plastic wrap before placing it in the refrigerator. When refrigerated, ricotta pie can last up to 3-4 days, but consuming it within 1-2 days is recommended for the best taste and texture.
Ricotta pie can be served at room temperature or cold, depending on your preference. If you prefer a firmer texture, refrigerating the pie for at least 1-2 hours before serving can help it hold its shape better and make it easier to slice. On the other hand, if you prefer a softer and creamier texture, serving the pie at room temperature is a good option. Ultimately, it comes down to personal preference and the desired texture of the pie.
Yes, here is how…
Whisk together all of the dry ingredients together in a medium bowl. Then,
incorporate the cubed butter with your fingertips (you can also grate the butter using the large holes of a box grater and then use your fingertips to incorporate).
Add the egg and gently “knead” until the mixture comes together;
Wrap in plastic wrap and refrigerate.
Traditional Italian Easter desserts
Traditional Italian Easter desserts are an important part of this holiday celebration, with each region boasting its specialties. One of the most popular Easter desserts is this Italian grain pie, a Neapolitan tart made with ricotta cheese, candied orange peel, and boiled wheat berries. Another favorite is Rice Ricotta Pie, a dense dessert with orange zest and cinnamon.
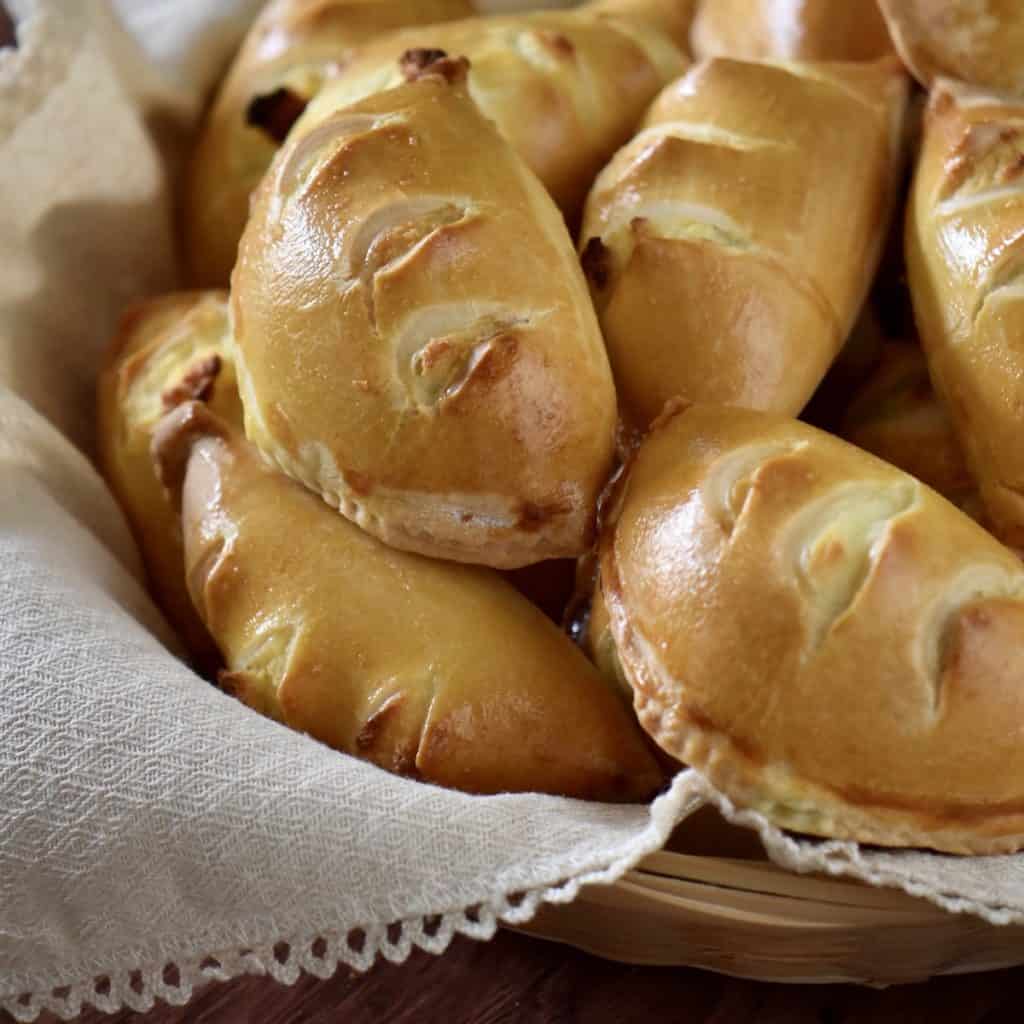
Mini Italian Easter Pie
If you’re searching for a traditional Italian Easter dessert, try these mini Fiadoni Dolci con Ricotta, Italian Easter pie. They’re made with an oil-based pastry crust that envelops a mildly sweetened ricotta filling and baked till golden brown.
So much ricotta…so little time! More Easter recipes can be found in the Easter Category.
Recipe Inspiration
Without a doubt, one of my favorite bakers is Nick Malgieri. (I previously shared his recipe for the strudel dough in this cheese strudel recipe.
I adapted one of his pie recipes for this baked ricotta dessert. A few of my friends have stated that this pie tastes exactly like a Sicilian ricotta cheesecake.
No matter what you call it, one thing is for sure, if you like ricotta (like me), you’ll love this recipe!
Just for you! A printable baking checklist to help you keep track of all your baking needs.
If you love to bake, this is for you! Simply subscribe to my weekly newsletter and receive this FREE BAKING CHECKLIST PRINTABLE!
This way, you won't miss any of my new recipes, and it's FREE!
THANKS SO MUCH for following and being part of the She Loves Biscotti community, where you will find Simple & Tasty Family-Friendly Recipes with an Italian Twist.
Ciao for now,
Maria
★★★★★ If you have made this Ricotta Pie Recipe, I would love to hear about it in the comments below and be sure to rate the recipe!
Recipe

Ricotta Pie Recipe: Perfect for Easter!
WANT TO SAVE THIS RECIPE?
Ingredients
The crust:
- 1 cup flour 142 grams, all purpose
- 3 tablespoons granulated sugar
- ¼ teaspoon baking powder
- 1 teaspoon lemon zest
- pinch salt
- 4 tablespoons unsalted butter cold and cut up in small pieces
- 1 egg slightly beaten
- extra flour for rolling
The filling:
- 2 cups ricotta whole milk, well-drained (about 15 oz), room temperature
- 5 tablespoons granulated sugar
- 1 teaspoon lemon zest
- ¼ teaspoon cinnamon
- 1 tablespoon white liquor rum, grappa,…
- 4 eggs room temperature
- 1 tablespoon milk optional, for brushing
Instructions
The crust:
- In a food processor combine the dry ingredients and pulse a few times.
- Add the cut-up butter and pulse until the mixture resembles coarse ground meal.
- Add the slightly beaten egg and pulse until the dough starts coming together.
- On a lightly floured wooden board, turn out the dough and form into a smooth disc, by pressing dough together.
- Wrap in plastic wrap and refrigerate for 60 minutes.
The filling:
- Meanwhile, in a large mixing bowl (of a stand mixer) beat the ricotta on low speed with the paddle attachment until smooth (approx 30 seconds). Make sure to scrape down the sides of the bowl a few times.
- Slowly add the sugar and continue to beat for another 30 seconds or so.
- Add the lemon zest, cinnamon, liquor, and 1 egg.
- Beat until the egg is properly incorporated. Remember to scrape down the sides of the bowl.
- Continue to add one egg at a time, making sure to properly incorporate into the mixture and scraping down the sides of the bowl.
- Set aside while you roll out your dough.
The assembly:
- Preheat oven to 350 °F (175 °C). Place oven rack to bottom third.
- Roll out the dough to fit your pie plate (9-inch). The thickness should be about ⅛of an inch. Carefully fold over and fit into your pie pan.
- Pour the filling.
- Optional step: Decorate with strips of dough and brush tops of dough strips with milk.
- Bake for approximately 40 minutes or until the center filling is set. Place foil on the edge of crust to prevent over-browning.
- Cool completely on a wire rack.
- Refrigerate until serving.
Video
Notes
-
- Use cold butter when making the crust. This is a must.
-
- Do not over-manipulate the pie crust dough; form a disc and refrigerate once it comes together.
-
- Refrigerating pasta frolla dough before rolling helps it firm up, making it easier to handle and less likely to tear or stick to your work surface. It also allows the gluten in the dough to relax, which helps prevent the crust from shrinking as it bakes.
-
- Strain the ricotta cheese before using it in the pie to remove excess liquid and ensure a smooth, consistent texture.
- whisk together all of the dry ingredients together in a medium bowl;
- incorporate the cubed butter with your fingertips (can also grate the butter using the large holes of a box grater and then use your fingertips to incorporate);
- add the egg and gently “knead” until the mixture comes together;
- wrap in plastic wrap and refrigerate.
Nutrition
This post was originally published on March 24, 2016, republished on March 15, 2019 and more recently on April 6, 2023 with updated content. Thanks for watching and sharing!
Carol Lemieux
This was a tradition in my home when growing up. My mother always made two, because we loved it. I haven’t had this in years. This year will be different!
Maria
Thanks so much for sharing Carol. It’s wonderful to hear that this dish holds such special memories for you! It’s amazing how food can connect us to our past. I’m glad you’re planning to bring this tradition back—I’m sure it will be just as delicious and nostalgic as you remember. Enjoy making it this year!