


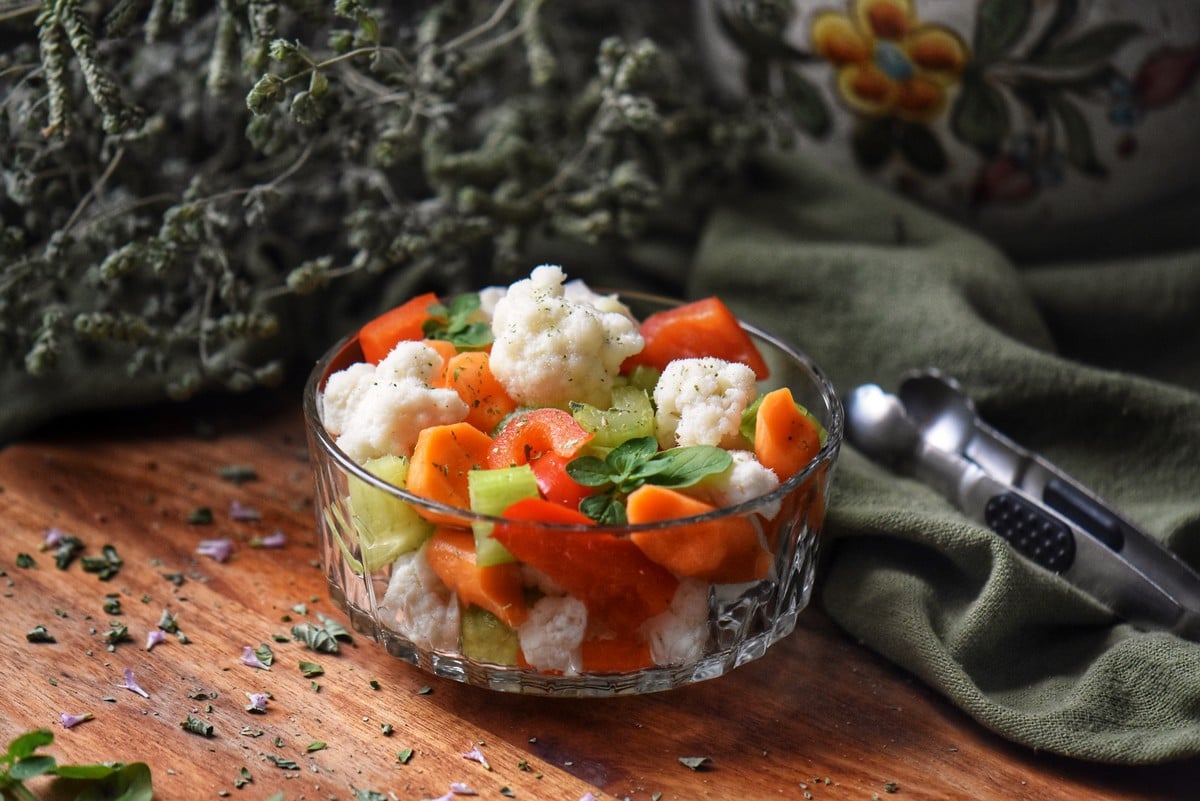
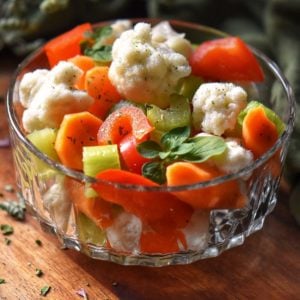
This giardiniera recipe pickles cauliflower, carrots, celery, and peppers in a simple white wine vinegar brine. It’s ready to enjoy in 24 hours; no canning experience required.
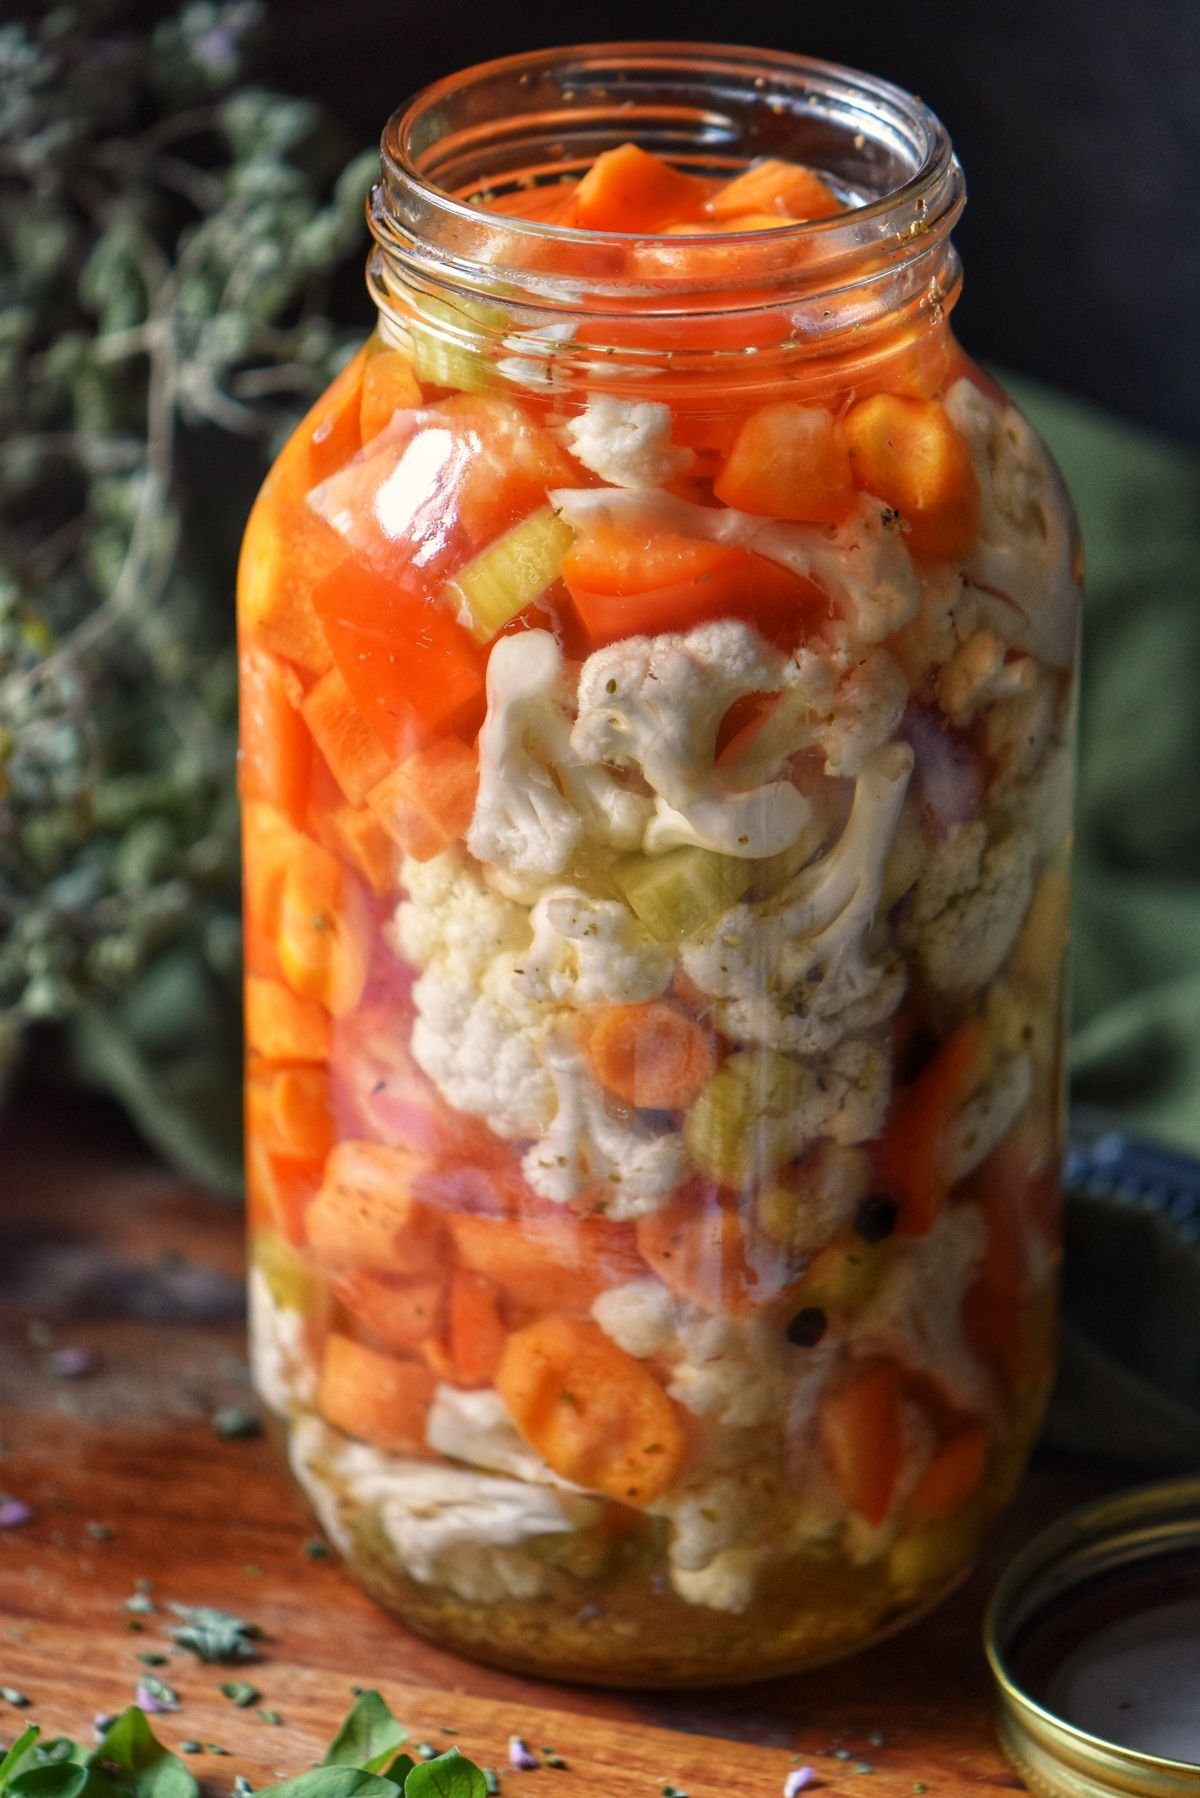
Giardiniera recipe traditions run deep in my family. This pickled mix of vegetables and seasonings has always been part of my family’s food tradition.
We serve it as part of an antipasto platter or alongside grilled meats.
As a retired dietitian, I appreciate how naturally low-calorie and vitamin-rich this dish is. It’s simply vegetables and a vinegar brine, none of the heavier oils or preservatives found in many store-bought versions.
Jump to:
Quick Overview
- Prep Time: 20 minutes
- Brine Time: At least 24 hours before serving
- Yield: 1 quart (about 2 pints)
- Method: Quick-pickled, refrigerator method (with an optional hot water bath for long-term storage)
- Special Touch: Thoroughly drying the vegetables before packing them into the jar is the key step for preventing spoilage.
- Dietary Note: Vegan, vegetarian, gluten-free.
- Serving Suggestions: Add to an antipasto platter alongside marinated olives, Italian marinated peppers, or grilled zucchini. It’s also makes a great accompaniment to grilled meats.
What is Giardiniera?
Giardiniera, pronounced as “jar-din-AIR-ah,” can be loosely translated as “from the garden” due to its ingredients. It is a salad containing pickled vegetables, such as cauliflower, carrots, celery and bell peppers. Typically it also includes spices. Giardiniera is a popular dish in Italy that can vary from region to region.
How do I Serve Giardiniera?
Giardiniera is considered an antipasto, meaning it’s typically served before the main course. Some people also consider giardiniera a side dish, making this pickled veggie salad even better when it can accompany another dish in both capacities.
Chicago-style Giardiniera vs Traditional Italian Giardiniera
Chicago-Style Giardiniera is a more recent addition to the condiment family. It has roots in Italian cuisine but takes on its unique character as it uses different combinations of vegetables, spices, and herbs.
Traditionally, Italian giardiniera has a base in white wine vinegar. In Chicago-style giardiniera, the vegetables are marinated in olive oil and vinegar.
In addition to the traditional vegetables marinated in this recipe, other possible ingredients can be added to the Chicago-style condiment, such as hot peppers, garlic cloves, olives, celery seeds, or even dill seeds.
One final distinction: traditionally, giardiniera accompanies side dishes or is served as an appetizer. On the other hand, the hot giardiniera recipe is often used as a topping for Italian beef or sausage sandwiches, hot dogs or on slices of bread or baguette.
What You’ll Need
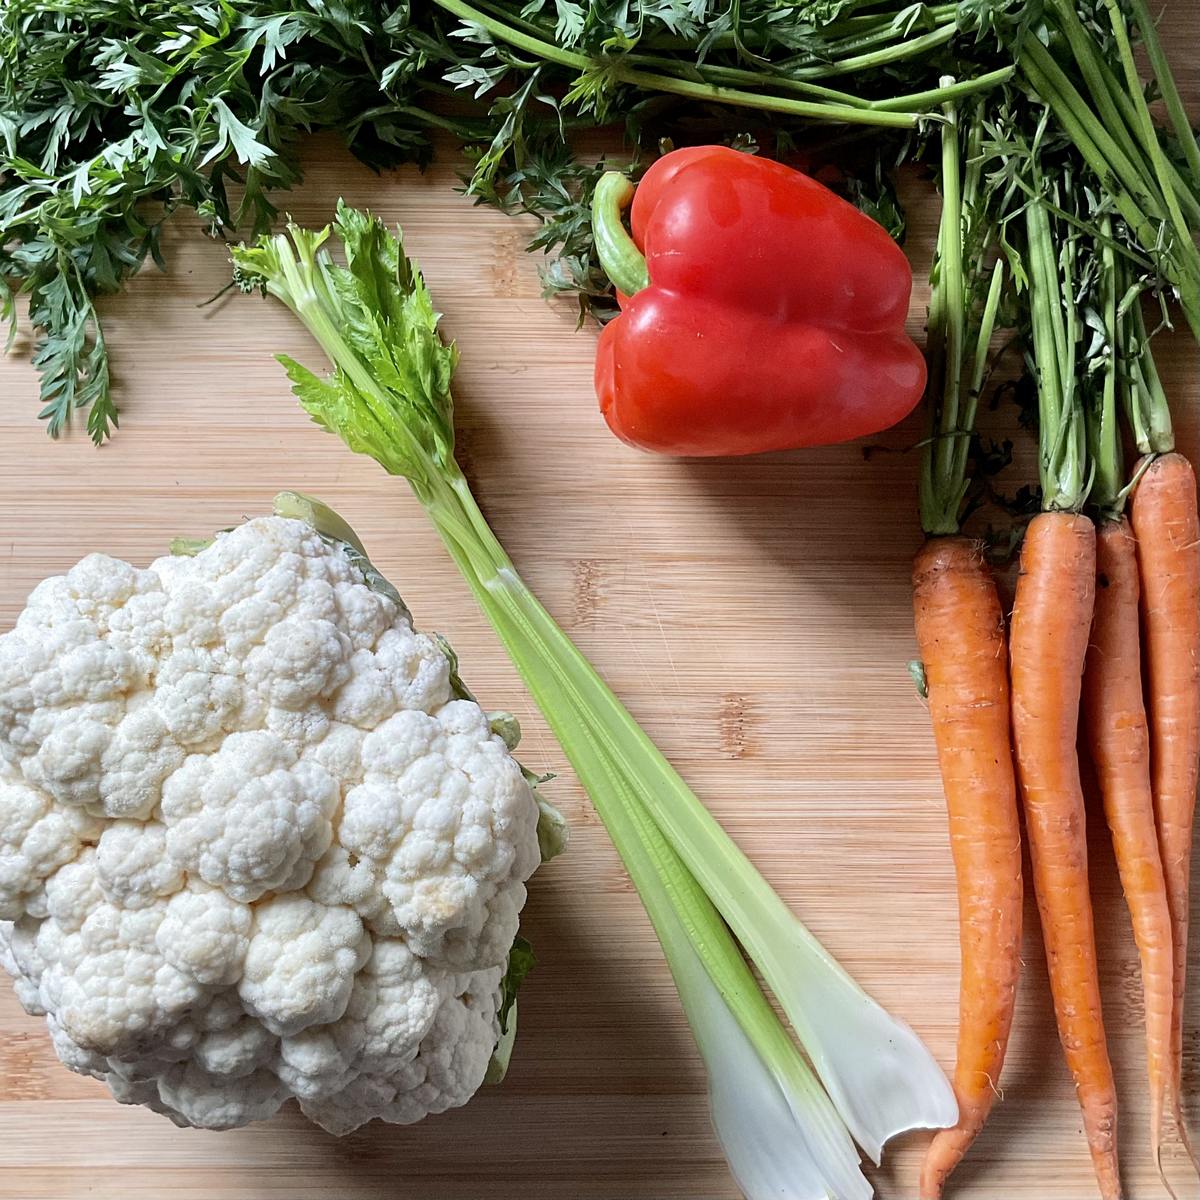
- Assorted vegetables. Cauliflower, carrots, celery, and red bell pepper are the traditional combination, though the mix is flexible based on availability and preference.
- White wine vinegar. The base of the pickling brine, gives the dish its signature tang.
- Sugar. Balances the vinegar’s acidity for that classic sweet-and-sour agrodolce flavor.
- Kosher salt. Essential for both flavor and safe preservation.
- Dried oregano, bay leaf, and whole peppercorns. The classic Italian seasoning blend for the brine.
How to Make Giardiniera
Making giardiniera is easy and simple. With this quick recipe, you’ll learn how to make your marinated vegetable medley in no time!
Prepare sterilized jars
You’ll need to use sterilized jars that have been washed clean. You can place them in boiling water or the oven (225°F/107°C) for at least 10 minutes to sterilize them. Keep them hot until ready to use. While waiting, let’s prep our brine solution and vegetables.
Prepare the pickling liquid
In a small saucepan, combine 1½ cups of cold water, 1½ cups of white wine vinegar, 3 tablespoons of sugar and 2 tablespoons of Kosher salt. Bring to a boil over medium-high heat and stir for 1-2 minutes to dissolve sugar and salt. Remove from heat.
Add 1½ teaspoons of dry oregano, 1 bay leaf, and 1 teaspoon of whole peppercorns. Cover and allow to steep for about 10 minutes. While waiting, let’s chop up our vegetables.
Choose the right vegetables
Choose the vegetables you want to pickle based on availability and personal preference.
Use any combination but the most common include cauliflower, carrots, celery ribs and red bell peppers. You need about 1 pound (or ½ kilogram) of fresh vegetables.
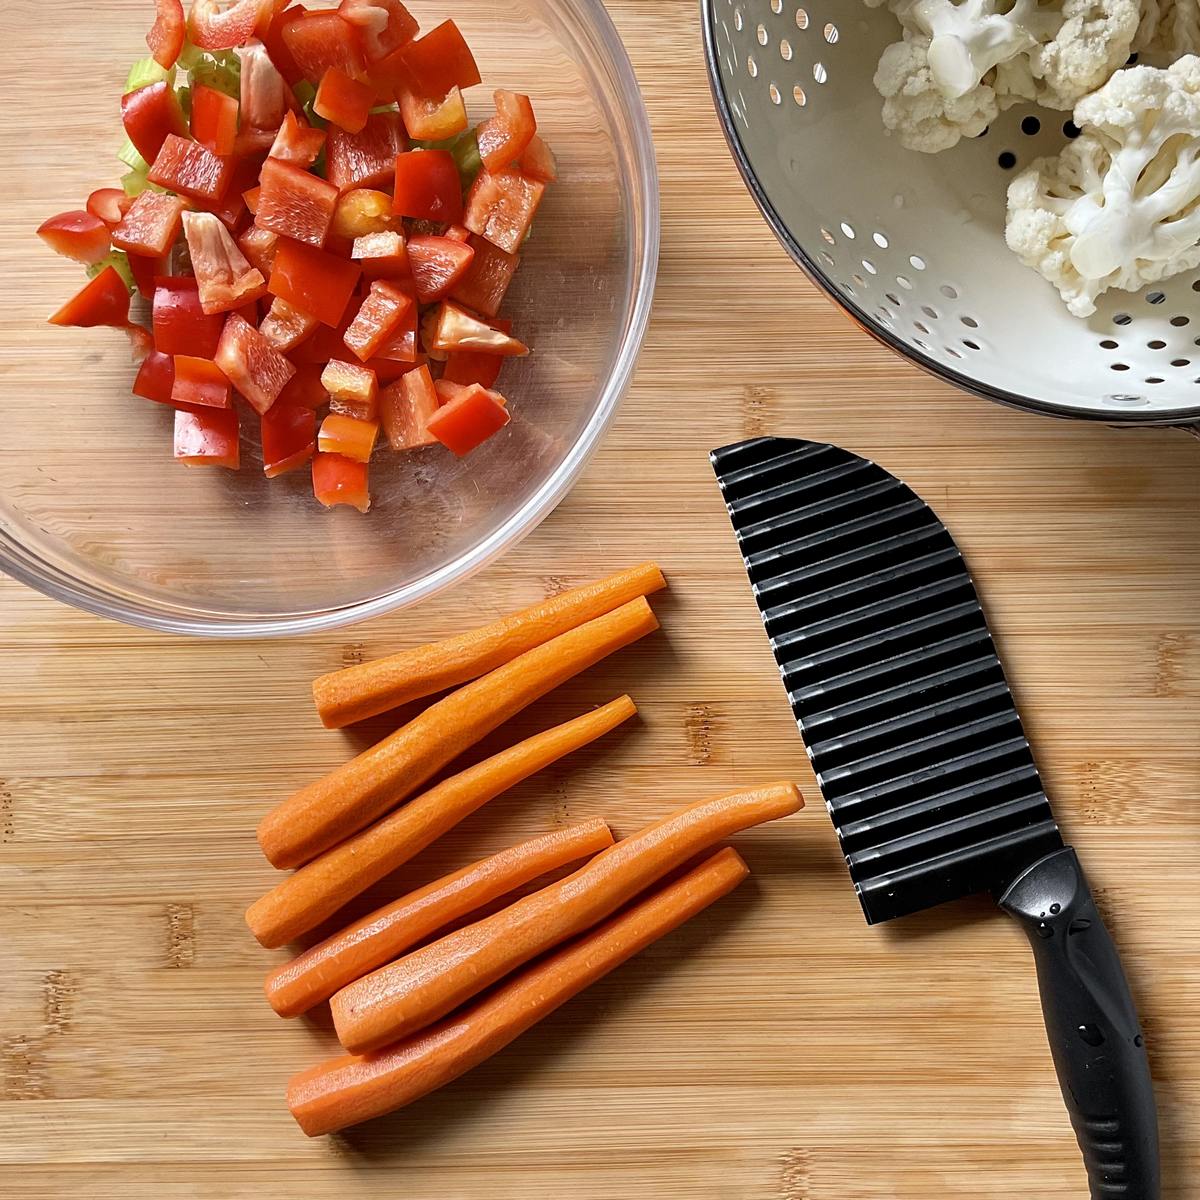
Thoroughly wash the vegetables in cold running water and pat dry with paper towels or a clean tea towel so no moisture is left on them.
Separate the cauliflower into bite-sized florets. Slice the celery stalks, red pepper, and carrots.
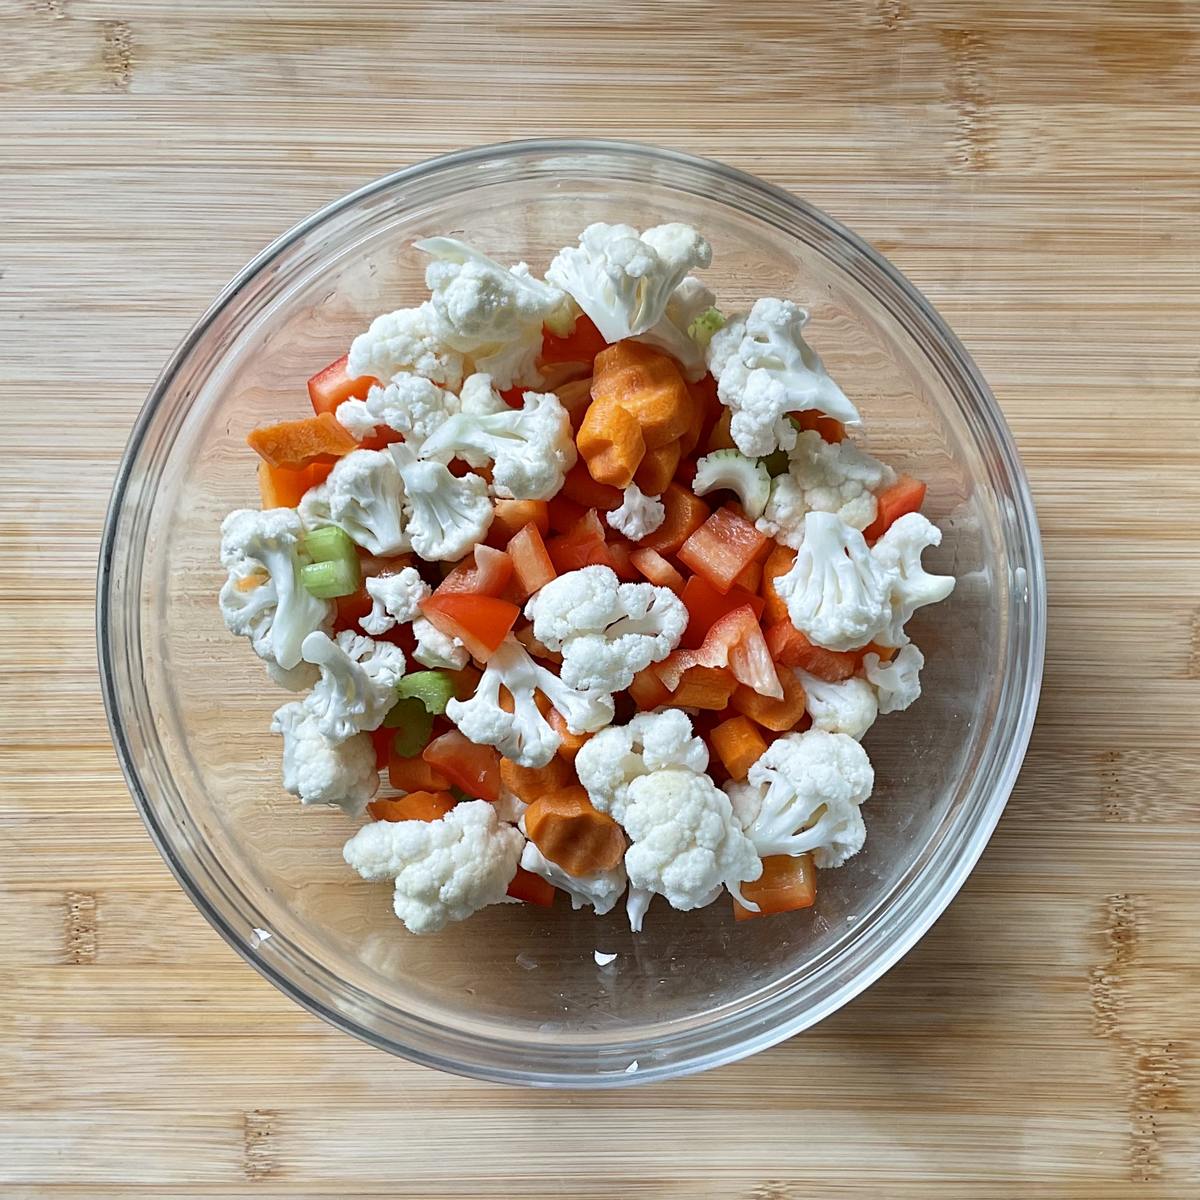
Pack vegetables into your jar
Bring the brining solution back to a boil.
In the meanwhile, carefully pack the veggies into your hot sterilized jar. Keep going until you’ve packed the vegetables as tightly as possible.
Carefully top off vegetables with the hot pickling liquid until all veggies are covered. At this point, you may be able to add more veggies to ensure the jar is filled. With the help of a wooden spoon, push down on them to create some space to add some more.
Ensure that all vegetables are covered with liquid. Leave a half-inch space between the top of the brine and the lid.
Allow the jars to cool down completely to room temperature.
Then, seal the jars and refrigerate.
It’s best if you wait at least 24 hours for flavors to develop before enjoying them.
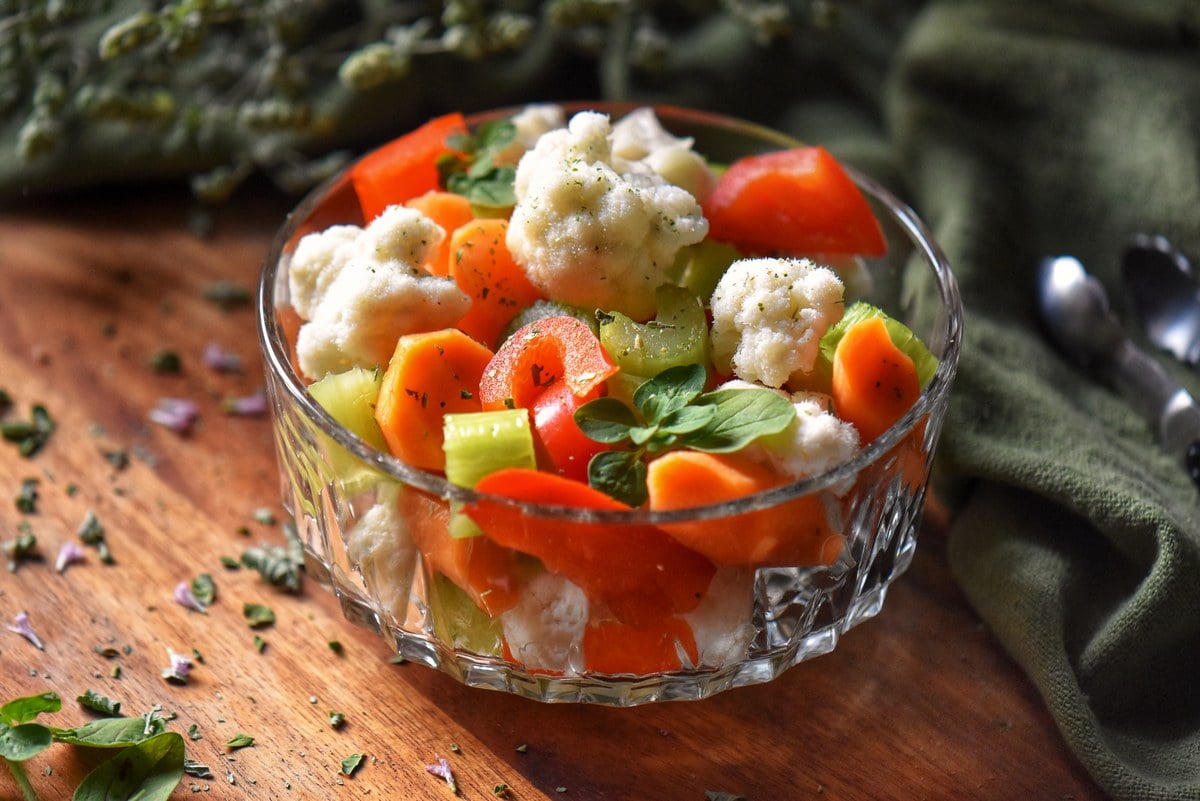
Hot Water Processing
If you’d like to store your giardiniera for up to 6 months instead of just a few weeks in the fridge, a hot water bath makes that possible. Here’s how.
- Place the sealed jars in a lukewarm water bath. Ensure the water is at least 1 inch above the jars.
- Bring the water to a rolling boil and start the timing process. Process for 10 minutes at sea level. If necessary, add boiling water to maintain the water level. Please note that process times can vary based on your altitude. Please refer to this chart for recommendations. GOOD TO KNOW: To prevent rough mineral deposits on the outside of your jars and the inside of your water bath pot, pour about ½ cup of white vinegar into your water bath.
- Safely remove jars from the canner.
- Inspect jars to ensure a proper seal (lids should be depressed in the center).
- Store in the pantry or cold room for up to 6 months.
Additional Flavorings
If you want to add a bit more flavor, consider adding some additional ingredients such as:
- garlic cloves (peeled and slightly crushed)
- caraway seeds (lightly crushed)
- coriander seeds
- celery seeds
- dill seeds
- fennel seeds
- chili flakes
- dried hot peppers
- green bell pepper
- cherry peppers (whole or sliced in half)
- Serrano peppers
- green beans
- fennel bulb (sliced into thin rounds)
- lemon zest
You can also simply replace the white wine vinegar with different kinds of white vinegar for added flavor.
Tips
- Thoroughly drying the vegetables helps prevent spoilage of your homemade giardiniera recipe.
- One pound of vegetables fills 2 pints or a one-quart mason jar.
- Use any variety of vegetables such as cauliflower, carrots, peppers, green beans, fennel, etc.
FAQ
It’s hard to get excited about sterilizing jars. But it is essential because even though these pickled vegetables will be refrigerated, the jars must be sterilized to prevent any harmful bacteria from developing in your final product. These harmful bacteria can ruin your pickling efforts; worse, they can make you sick and nobody wants that!
Consume these pickled vegetables within 2 weeks of making them. They may be safe to eat for up to 1 month, but the quality may decrease. For longer storage, consider processing in a hot water bath.
Yes, if you plan to eat the giardiniera within 2-4 weeks, refrigerator storage alone is fine, the hot water bath is only needed for longer-term pantry storage.
This is usually just the natural starches and minerals from the vegetables settling into the brine, it doesn’t mean the giardiniera has spoiled. If you’re concerned, look for other signs like an off smell or mold.
It’s not recommended. The brine loses acidity and flavor after the first use, and reusing it can compromise the safety of your pickled vegetables.
Italian Appetizers We Love
Looking for something delicious and easy for your next Italian dinner? Here are some ideas to get you started!
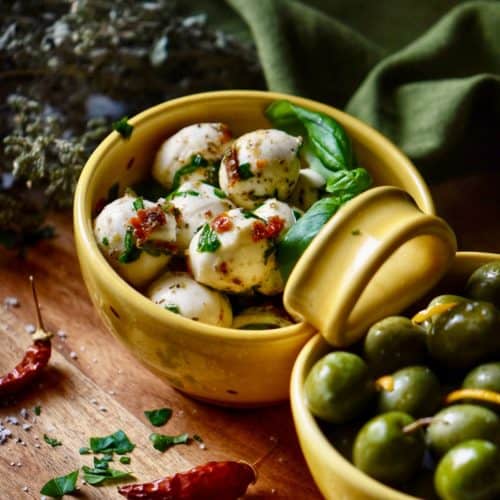
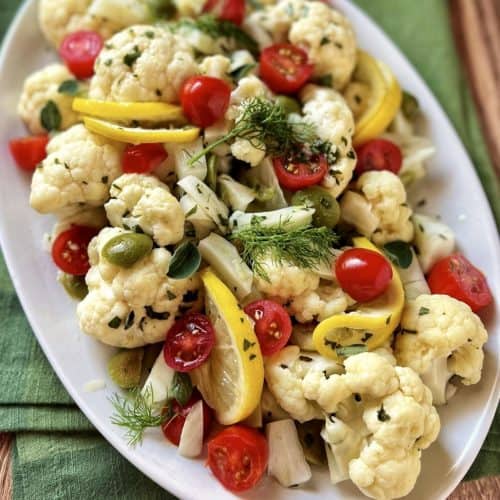
Browse the full collection of Italian appetizers for more inspiration.
Recipe Inspiration
This is the pickled vegetable recipe from my childhood.
My mom would refer to it as “giardiniera agrodolce.” As you can probably guess, it is a sweet and sour version of giardiniera and one that I grew up with.
Hundreds of variations are available, but this one has been passed down through our family, and I wanted to share it with you!
Over the years, I have made variations to include different combinations of spices and vegetables, but the truth is that I always come back to this recipe.
It’s a simple recipe that just tastes great.
I hope you get a chance to try it.
And if you are new here, welcome! You may want to sign up for my weekly e-mail newsletter. You can unsubscribe any time you want.
THANKS SO MUCH for following and being part of the She Loves Biscotti community, where you will find Simple & Tasty Family-Friendly Recipes with an Italian Twist.
Ciao for now,
Maria
★★★★★ If you have made this homemade giardiniera, I would love to hear about it in the comments below and be sure to rate the recipe!
Recipe
Giardiniera Recipe (Quick Italian Style)
WANT TO SAVE THIS RECIPE?
Ingredients
- 1 pound assorted vegetables (see notes) trimmed and cut into small pieces
- 1½ cups white wine vinegar
- 1½ cups water
- 3 tablespoons sugar
- 2 tablespoons salt
- 1½ teaspoons oregano dried
- 1 teaspoon peppercorns whole
- 1 bay leaf
Instructions
Prepare sterilized jars
- You'll need to use sterilized jars that have been washed clean. You can place them in boiling water or the oven (225°F/107°C) for at least 10 minutes to sterilize them. Keep them hot until ready to use. While waiting, let's prep our brine solution and vegetables.
Prepare the pickling liquid
- In a small saucepan, combine the water, wine vinegar, sugar and Kosher salt. Bring to a boil over medium-high heat and stir for 1-2 minutes to dissolve sugar and salt. Remove from heat.
- Add dry oregano, bay leaf, and whole peppercorns. Cover and allow to steep for about 10 minutes.
Pack vegetable into your jar
- Bring the brining solution back to a boil.
- In the meanwhile, carefully pack the veggies into your hot sterilized jar. Keep going until you've packed all of the vegetables as tightly as possible.
- Carefully top off vegetables with the hot pickling liquid until all veggies are covered. At this point, you may be able to add more veggies to ensure the jar is filled. With the help of a wooden spoon, push down on them to create some space to add some more.
- Ensure that all vegetables are covered with liquid. Leave a half-inch space between the top of the brine and the lid.
- Allow the jars to cool down completely to room temperature.
- Then, seal the jars and refrigerate.
- It's best if you wait at least 24 hours for flavors to develop before enjoying them.
Video
Notes
- This recipe yields 1 quart, 16 servings, ¼ cup each.
- Thoroughly drying the vegetables helps prevent spoilage of your homemade giardiniera recipe.
- One pound of vegetables fills 2 pints or a one-quart mason jar.
- Use any variety of vegetables such as cauliflower, carrots, peppers, green beans, fennel, etc.
- Recipe can easily be doubled, tripled, etc…
Nutrition
I originally published this post on September 3, 2021, and republished it on September 3, 2026, with updated content. Thanks for sharing!
Vee
This recipe brings back great memories. My dad used to make this as well as “preserves” which were pickled eggplant, pickled green peppers and pickled green tomatoes. I will try to make this in his memory.
Maria
Thank you for sharing Vee ♥
Elisa
Hello! Does the hot liquid make the veggies soft. Prefer them to be firmer.
Maria
Thanks for your interest Elisa. I would say they are tender crisp.
Laura
thanks so much Maria. I made the giardinieri today including the hot water bath as I want to save them for winter use. They look great and am sure they will taste great too. Love your website, recipes and videos. Thanks again.
Maria
My pleasure Laura! Enjoy!
Geri
Enjoy this lovely recipe and it came out tasting yummy. Thank you
Maria
Thanks so much Geri!
Connie Romeo
hi maria,
I made the giardiniera recipe, biscotti and roasted bell pepper recipes. Easy to do, great to eat. Thank you for giving us traditional Italian recipes. I’m Italian and didn’t have the chance to learn these same recipes from my Nonna. Thank you thank you thank you.
Maria
I am so thrilled to read this! Thanks so much for sharing Connie ♥
Laura NAPOLI
i would like to make this for thanksgiving, how far in advance can i make it? Thank you
Maria
Thanks for your interest Laura. These are best if consumed within 2 weeks of making them. I would humbly advise sterilizing the jar if making it that far in advance. Enjoy!
Renee
I have put this together today and will eagerly await the results after a couple of days!
I remember having this as a child and was looking for a recipe.
Thank you Maria!
Renee
Maria
My pleasure Renee! It always fascinates me how we crave the foods of our childhood. I’m the same… Enjoy!
Meredith
Hello Maria!
Is it possible to make this in a bowl rather than jars if it will be consumed within a couple days?
Thanks!
Maria
Thanks for your interest, Meredith. Yes, that is perfectly okay. If possible use a glass or ceramic bowl. Enjoy!
Lee
Hi Maria…..these look so delicious! Can you let me know if these can be preserved for a longer period of time like 6 months. If so what would be the procedure. Thanks
Maria
Thanks for your interest Lee. Yes, they can be stored for a longer period by using the water bath method. As a summary, start with sterile jars, lids and bands. Fill your jars making sure to top them off with enough pickling liquid. Try to remove air bubbles with a wooden spoon. Place jars in a water bath, completely immersed, and bring the water to a boil. Boil and process for 10 minutes. Adjust for altitude. Remove jars when cool enough to handle, bring to room temperature and store.
I will update the post this week to include this information as there seems to be a lot of interest in long-term storage. In the meanwhile for more details, feel free to consult this post on canning tomatoes. Thanks again for asking Lee. Enjoy.
Laura
hi Maria, do you have to do the hot water bath if the jars contain vinegar. I wondered if you can seal immediately after the hot liquid is poured in and that is it. cover with a towel until the jars are cooled. but just checking with you to see what you say about this.
Maria
Hi Laura, My mother used the traditional Italian technique for preserving giardiniera and pickled eggplants, which did not involve a hot water bath. However, if you were to search for safety guidelines regarding pickling vegetables, it would recommend using a hot water bath to prevent the risk of food poisoning. Therefore, I have included this step in my process. I hope this information is helpful.