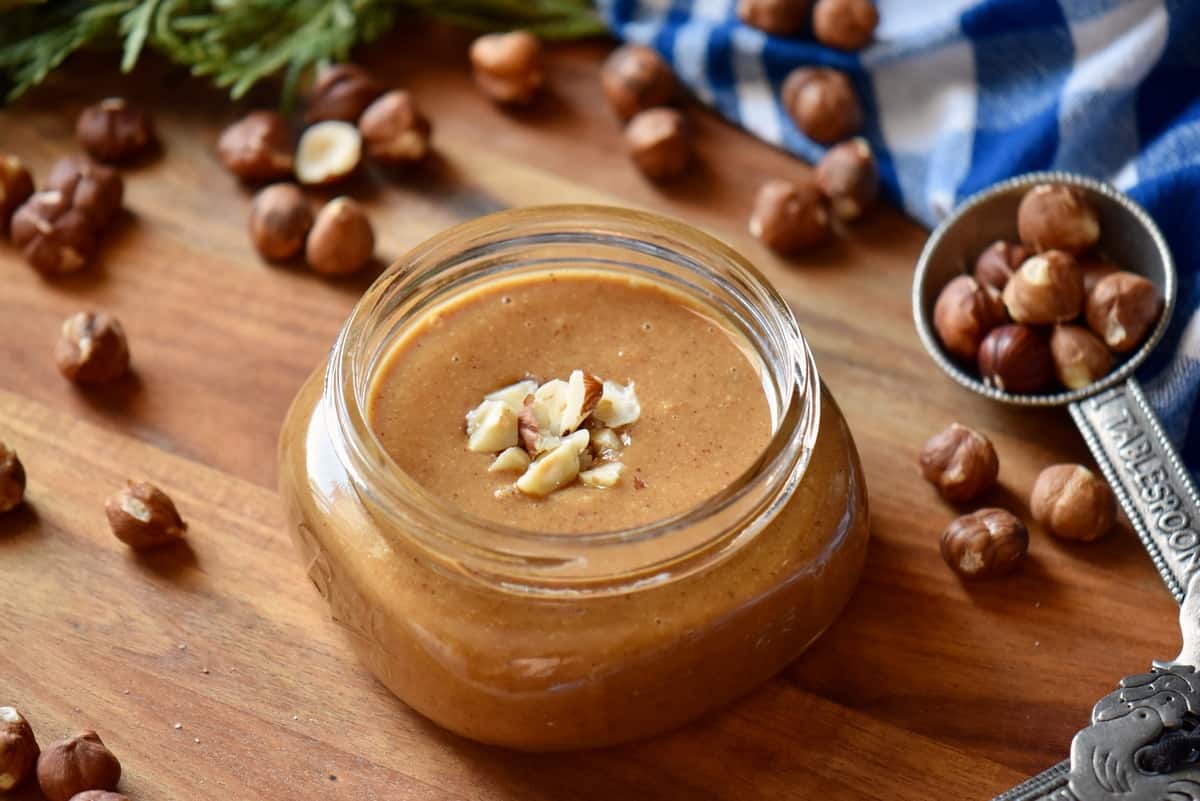
All it takes is a few minutes to process roasted hazelnuts and the addition of a secret ingredient to make the best hazelnut butter ever! Naturally vegan, gluten-free and with no added sugar.
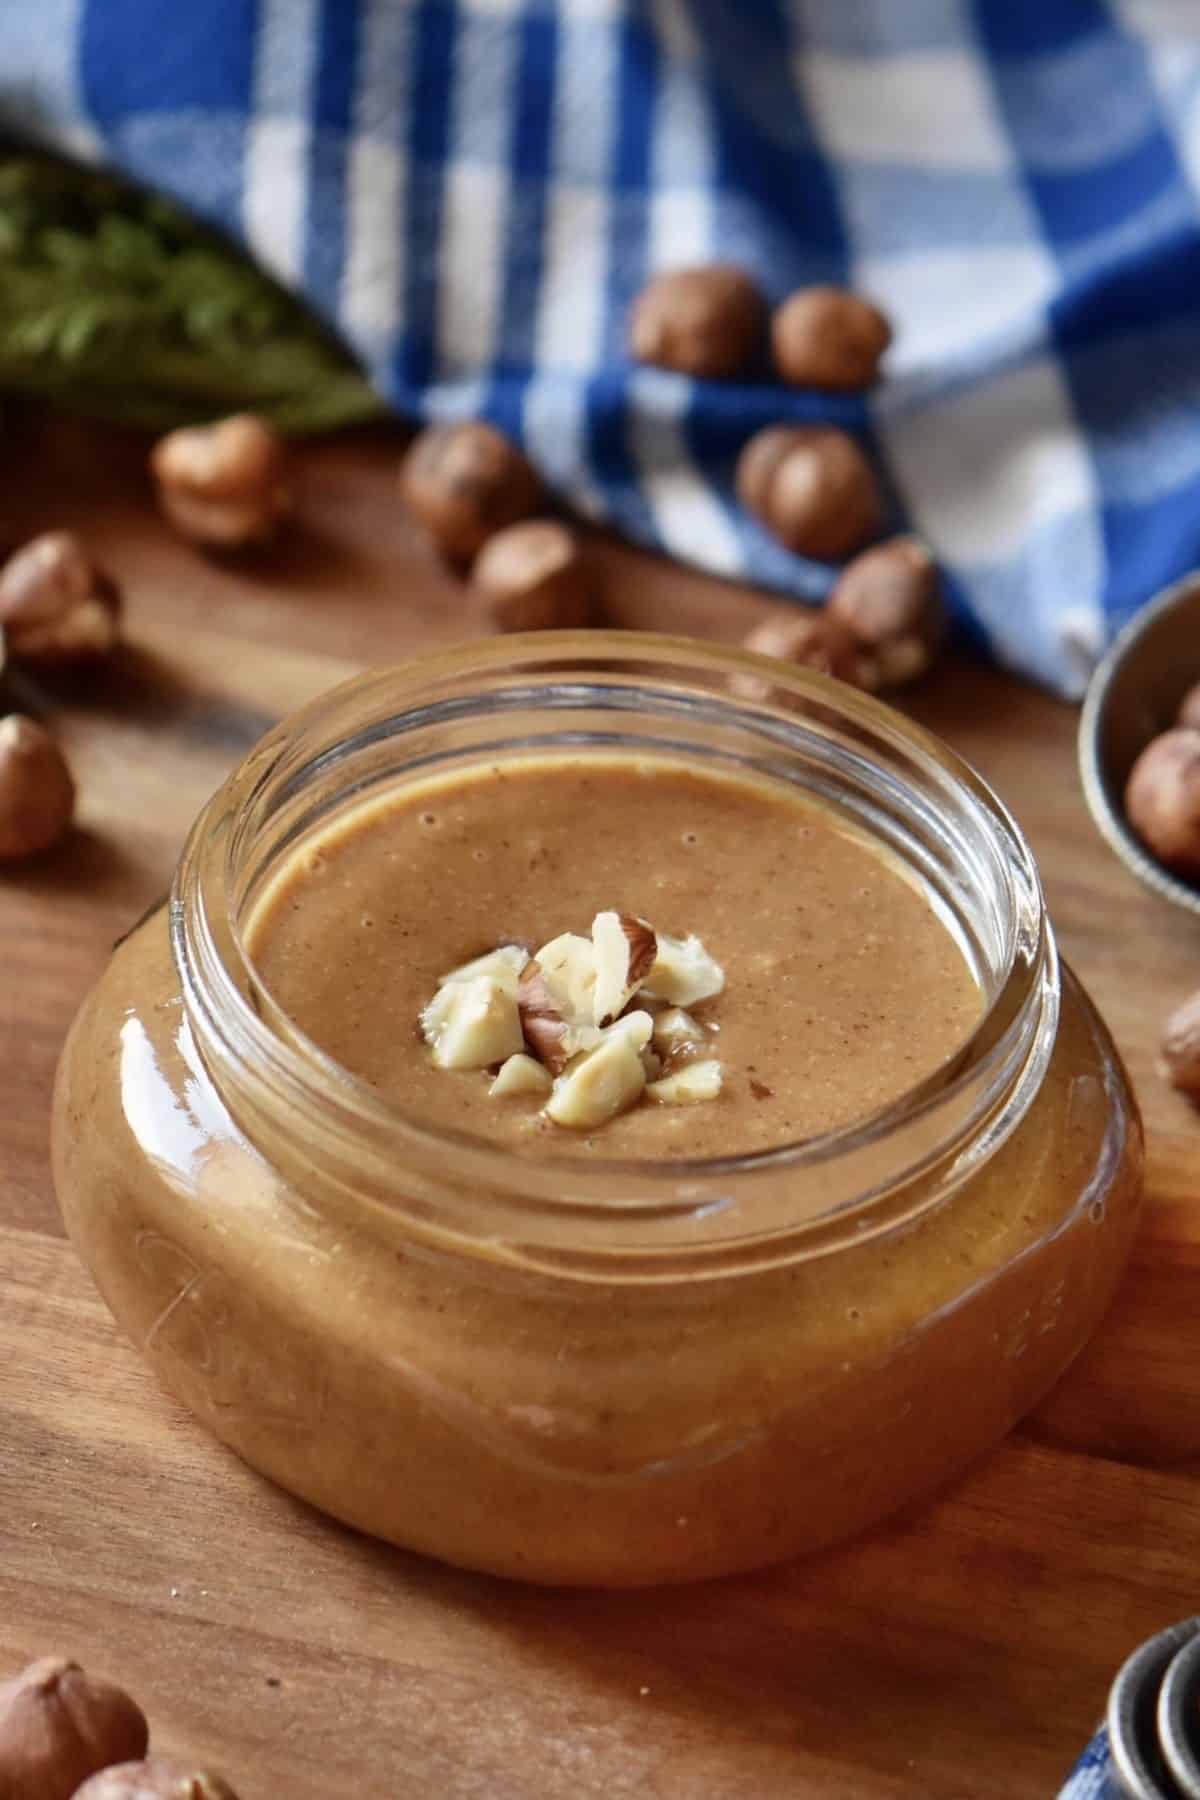
Did you know you can make delicious and nutritious homemade nut butter from almost any variety of nuts or seeds?
One of the advantages of making your own is having the ability to use healthy ingredients. One great example is this homemade chocolate hazelnut spread.
What is even more impressive is how easy this technique is. All you need is a food processor and a little bit of time.
For example, processing almond butter can take up to 20 minutes. That’s because almonds are one of the densest nuts. The total time will depend on the strength of your food processor.
In comparison, the processing time to make this hazelnut butter recipe is approximately 5 minutes, due in part to a slightly higher amount of fat when compared to other nuts.
This slight difference in fat content creates a thinner and more fluid consistency when hazelnuts are ground. Adding just one teaspoon of water increases the viscosity, making it less runny.
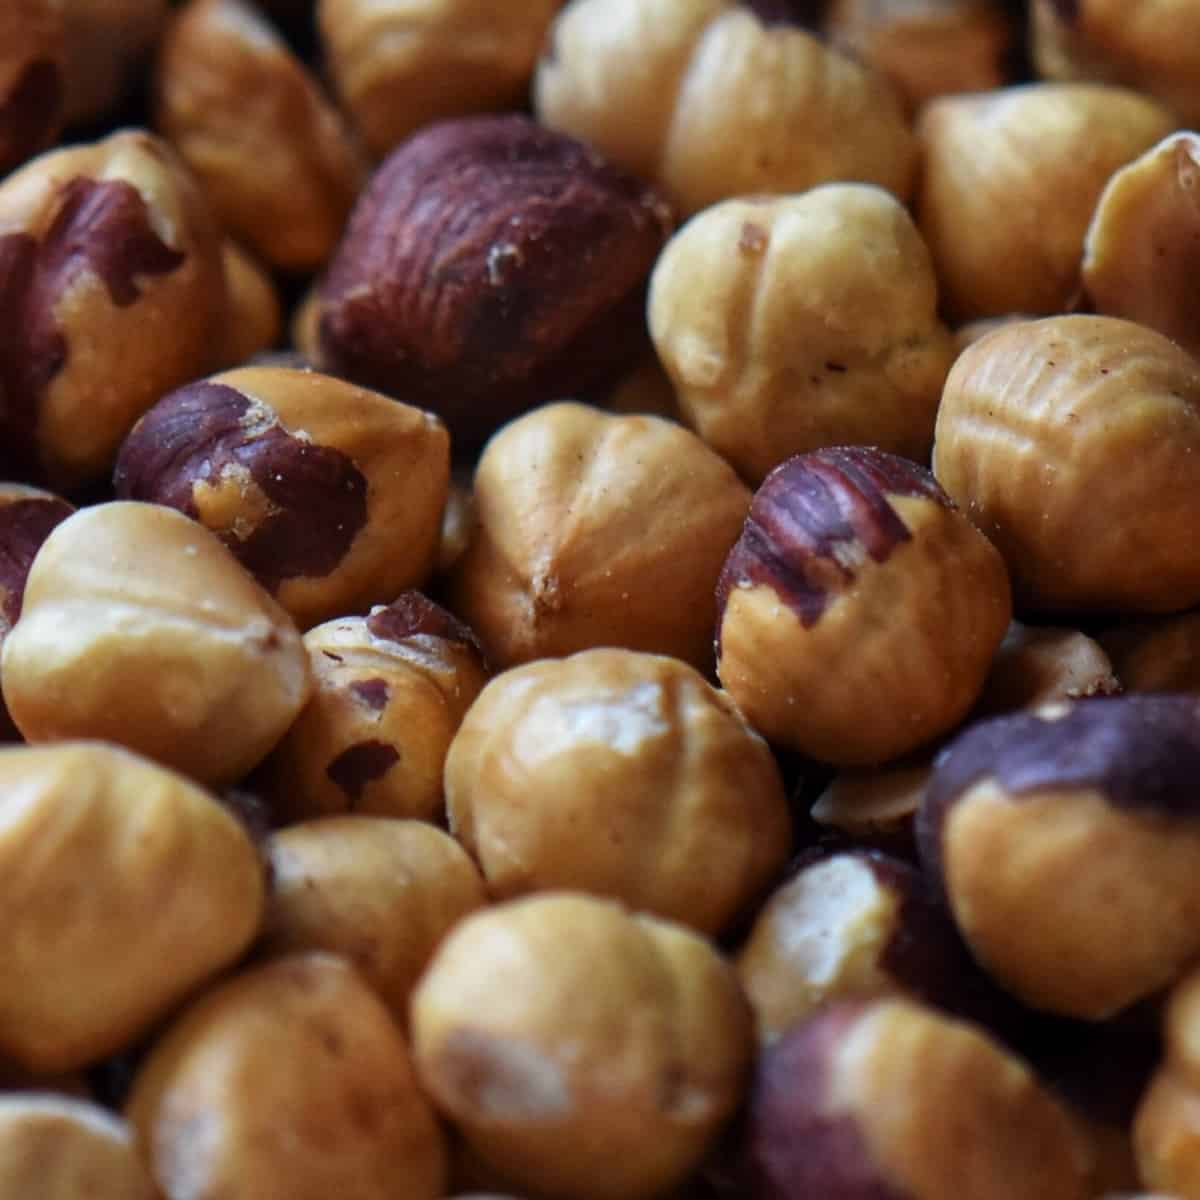
The whole process begins with toasted hazelnuts.
Homemade hazelnut butter
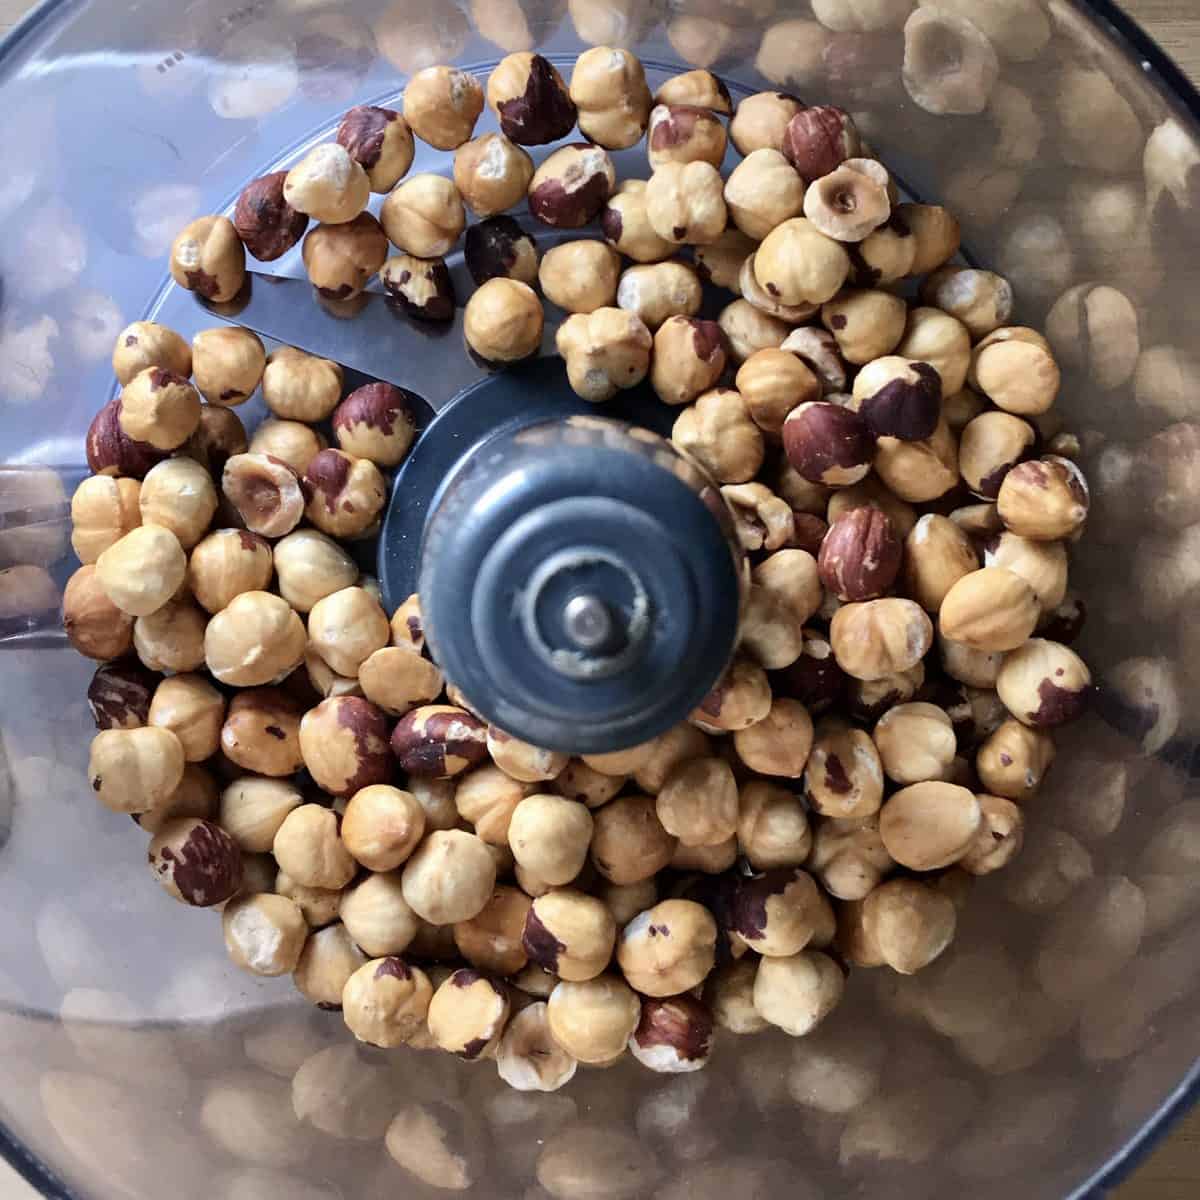
Place 2 cups (300 grams) of slightly warm roasted and skinned hazelnuts in the food processor. Please refer to this article on How to Roast Hazelnuts for all the details.
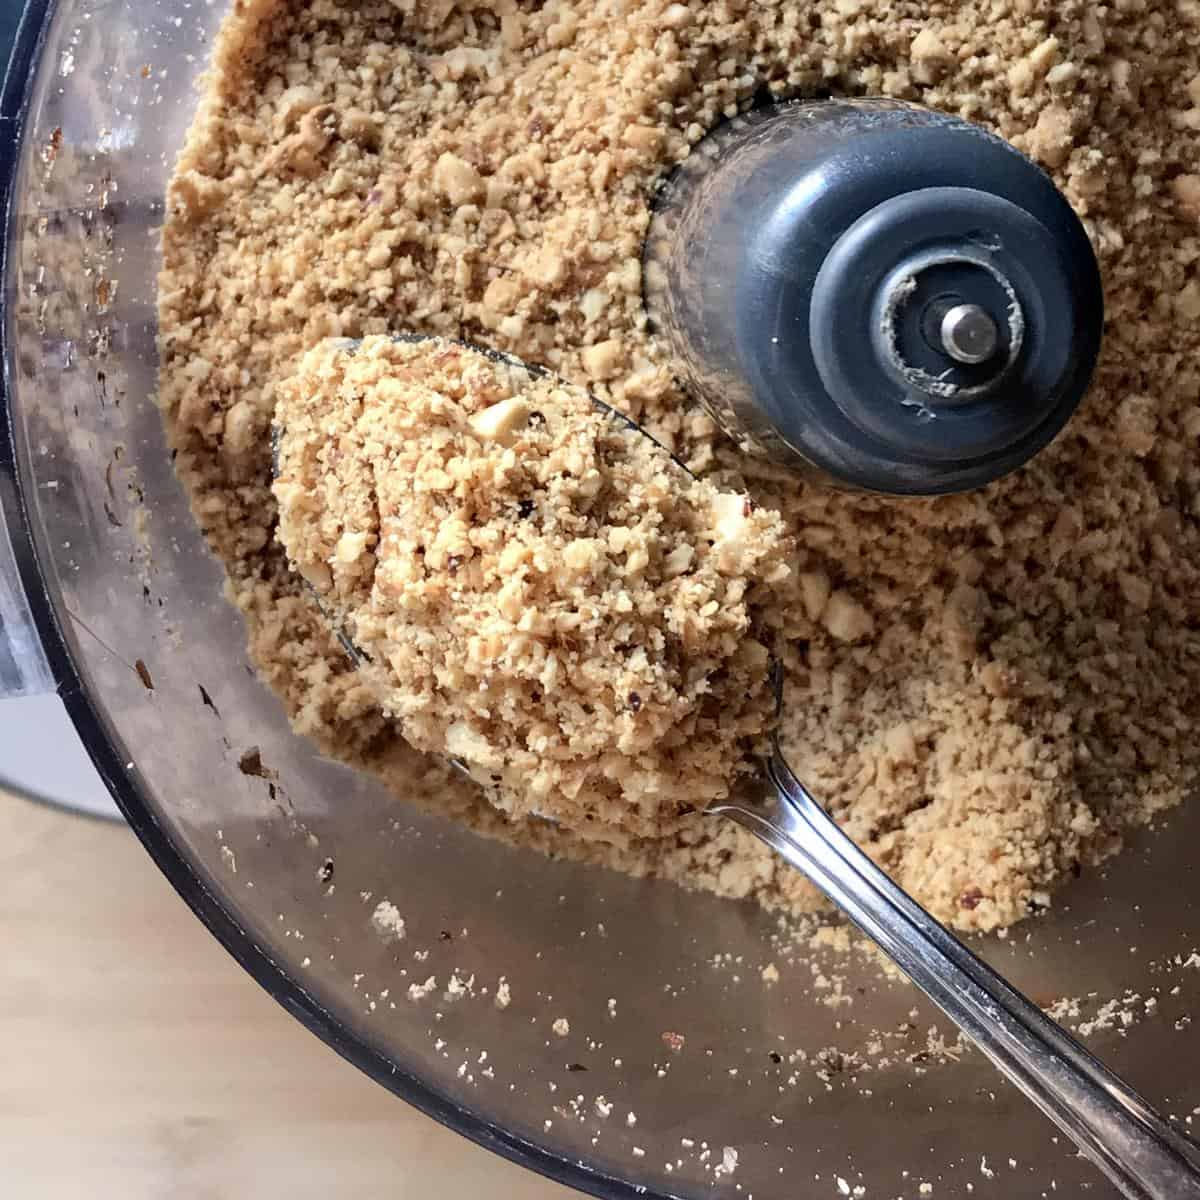
Begin by pulsing for one minute or so until you obtain the texture of finely chopped nuts.
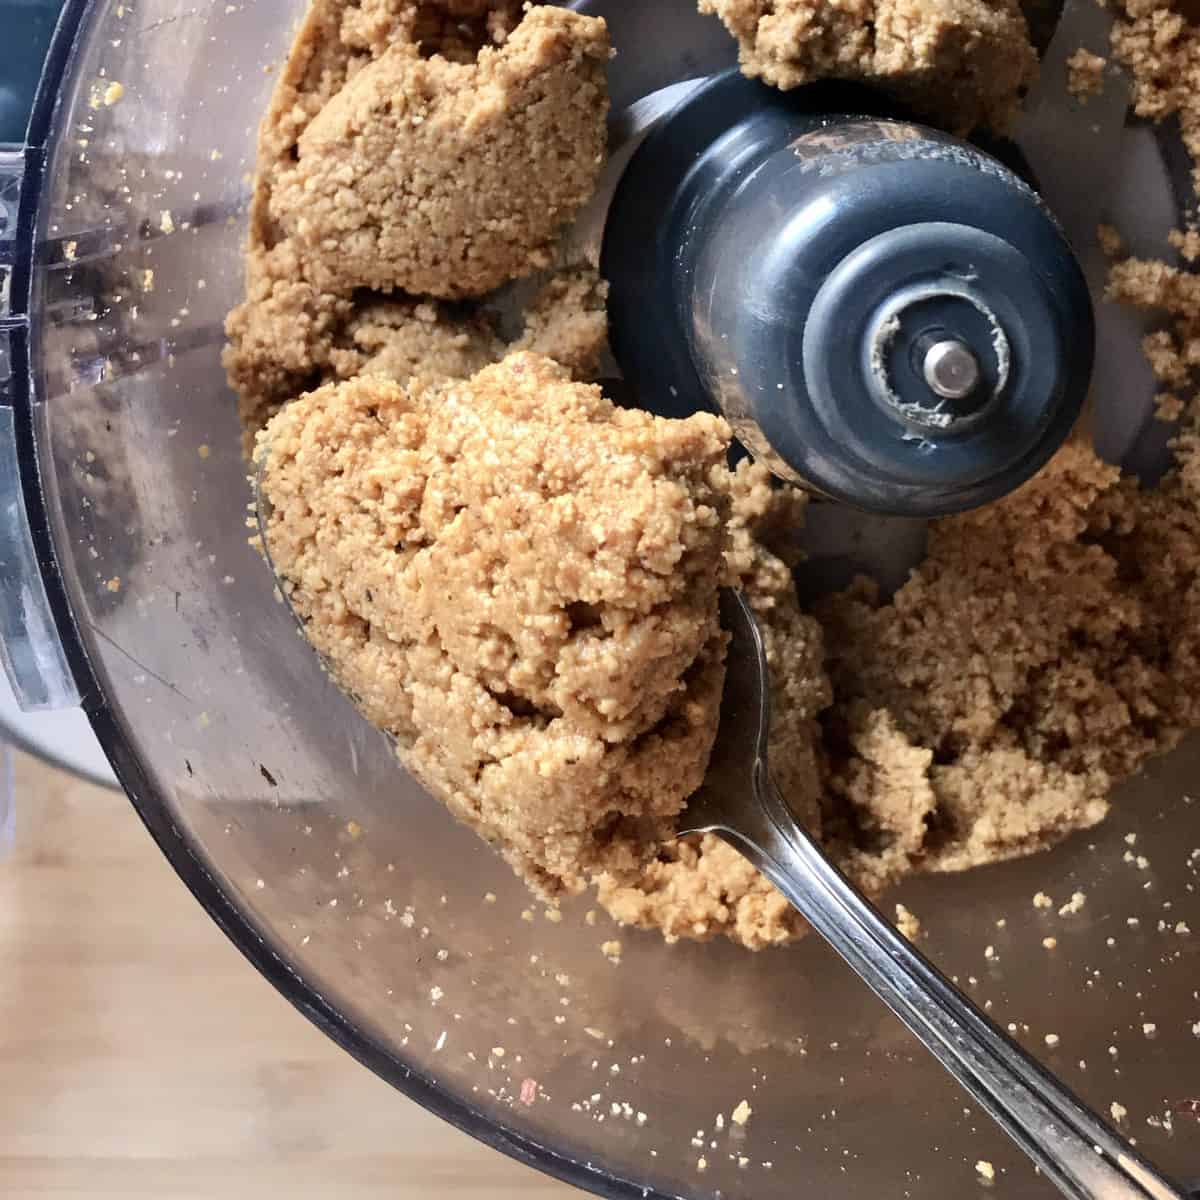
Next, process the nuts at high speed for another minute or so. Notice the ground hazelnuts “sticking” to the sides of the bowl. Scrape them down.
The next minute of processing creates a clump that moves together as a mass.
As the oils continue to be released, this mass transforms into a grainy, not very thick, nut butter spread.
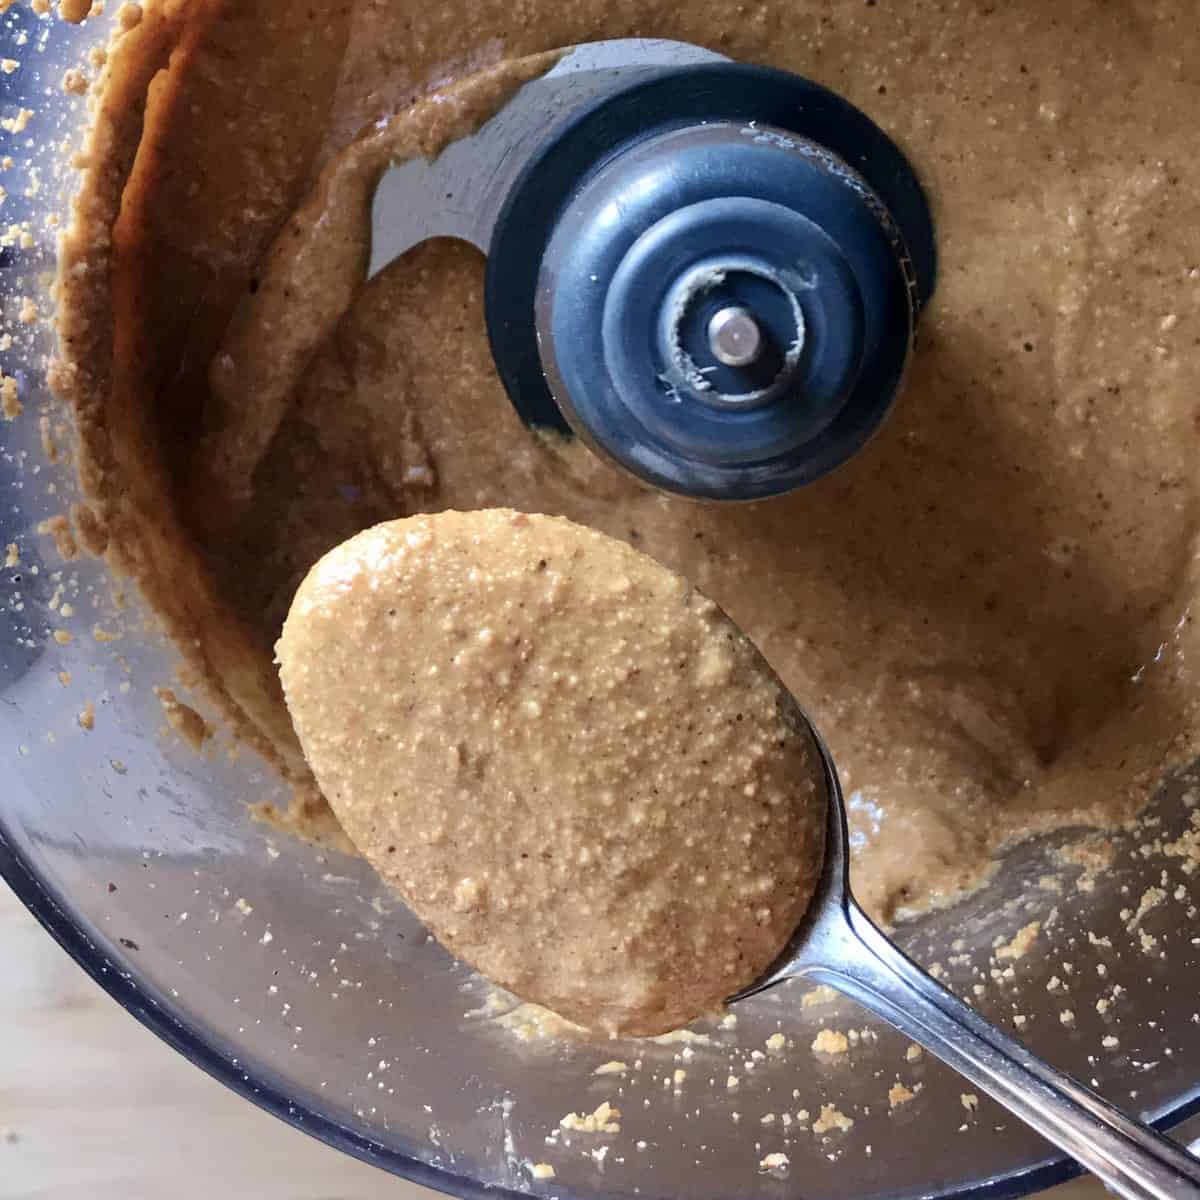
If you like this texture, you can stop here. Transfer to a sterile Mason jar and allow it to come to room temperature before refrigerating.
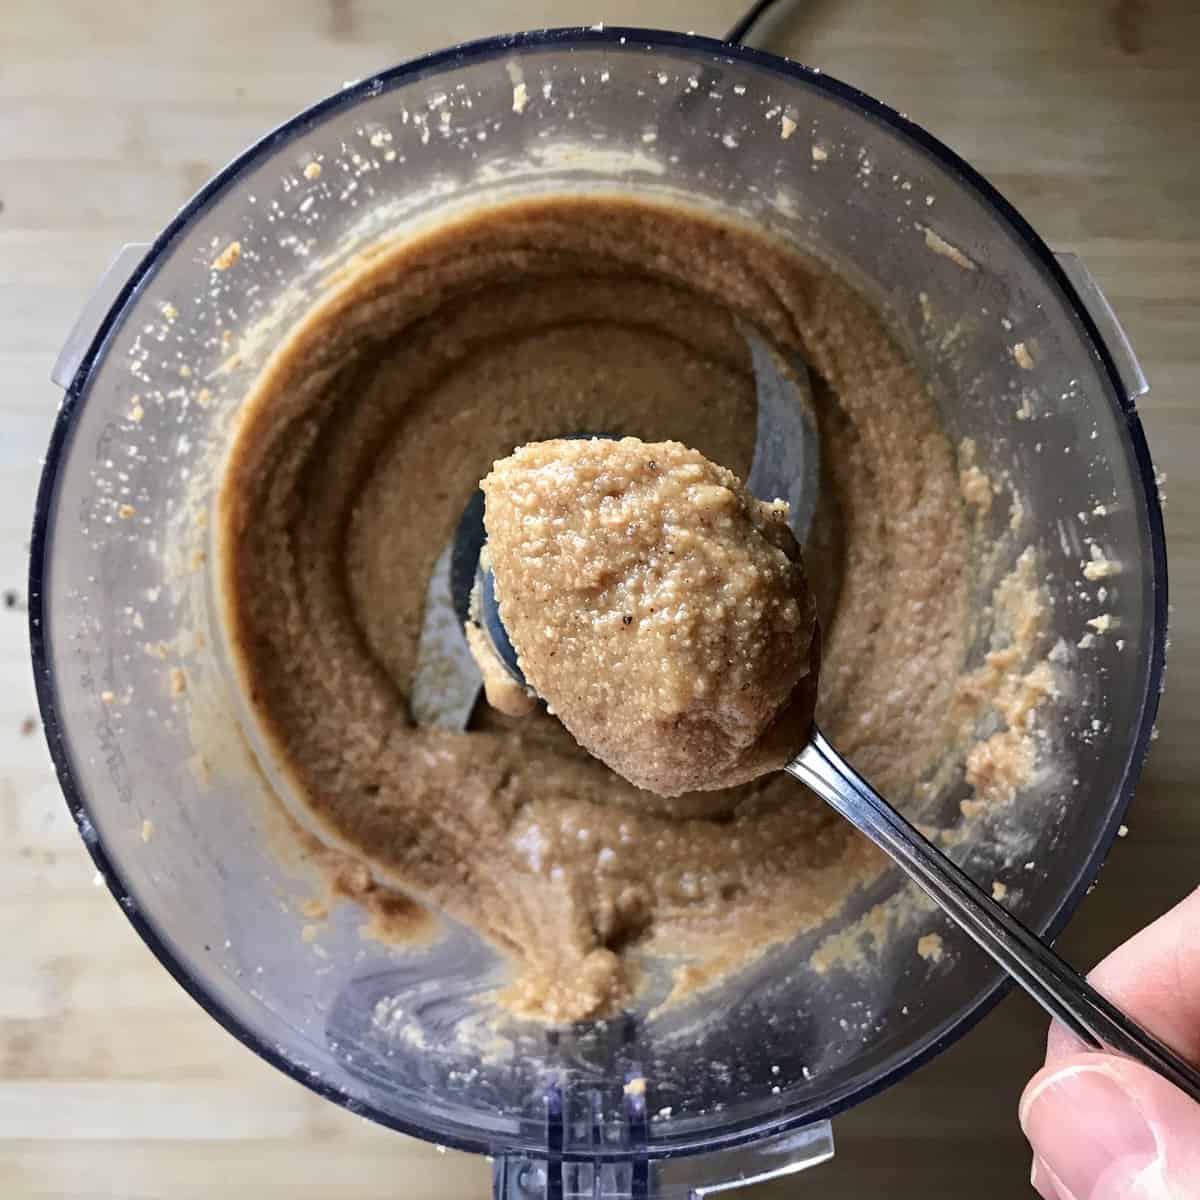
If you prefer a less fluid and thicker consistency, add one teaspoon of room-temperature water and pulse for 15-30 seconds. Notice how the nut butter becomes thicker.
If desired, add a pinch of salt at the end of the process.
Transfer to a sterile mason-type jar, allow to come to room temperature, and then refrigerate.
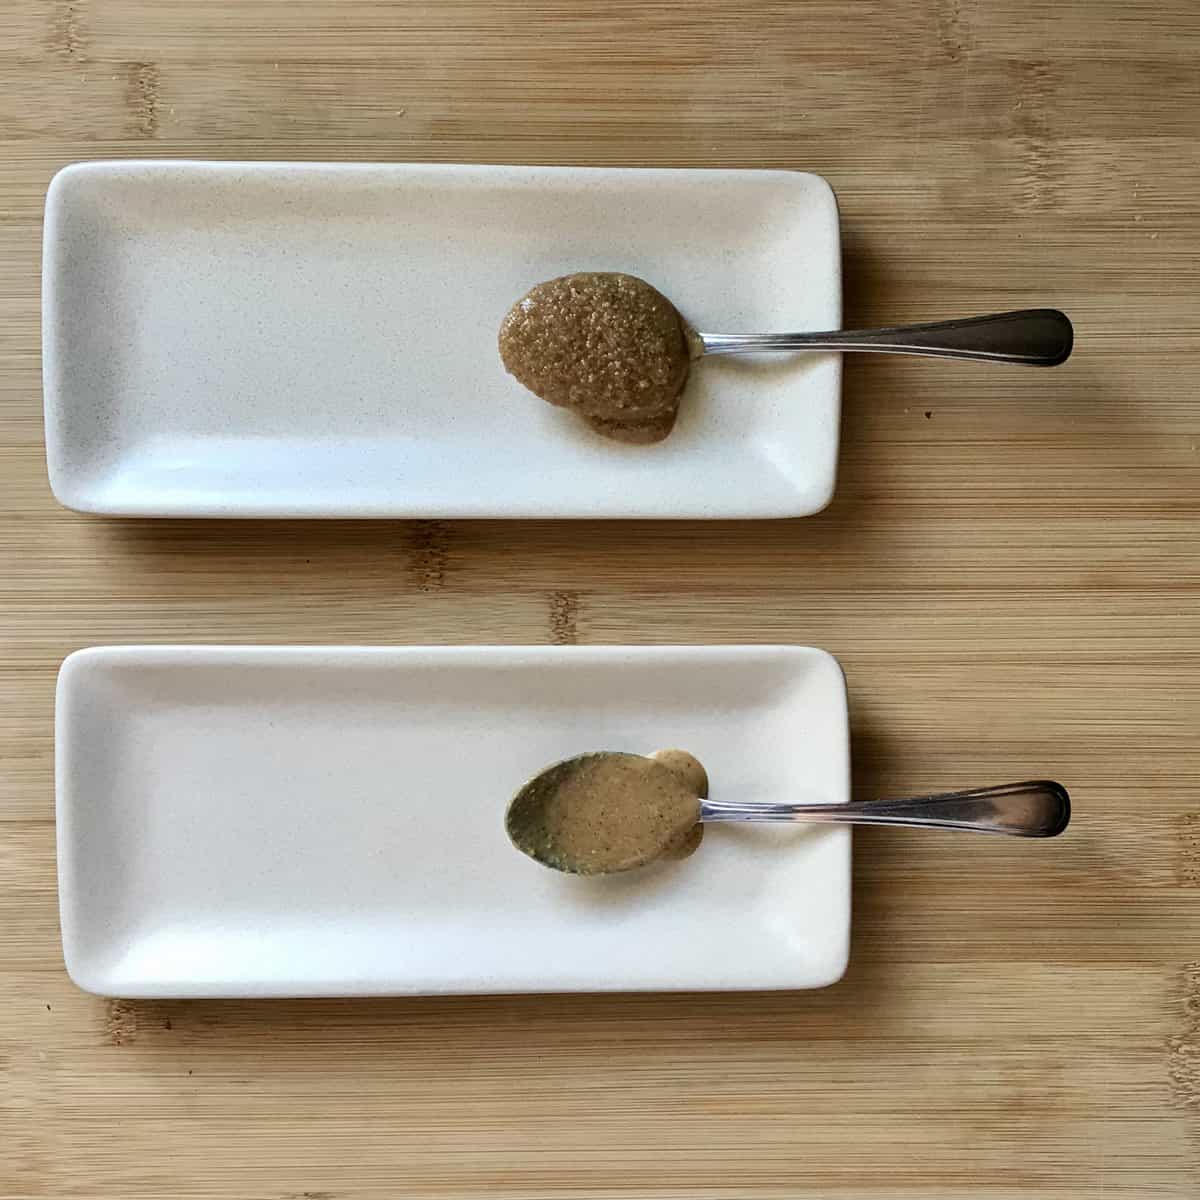
Adding one teaspoon of water can change the overall consistency of the hazelnut butter from thin and runny to thick and spreadable.
Let’s take a closer look
- Processing roasted and skinned hazelnuts creates a thin, runny nut butter.
- The addition of water creates an emulsion.
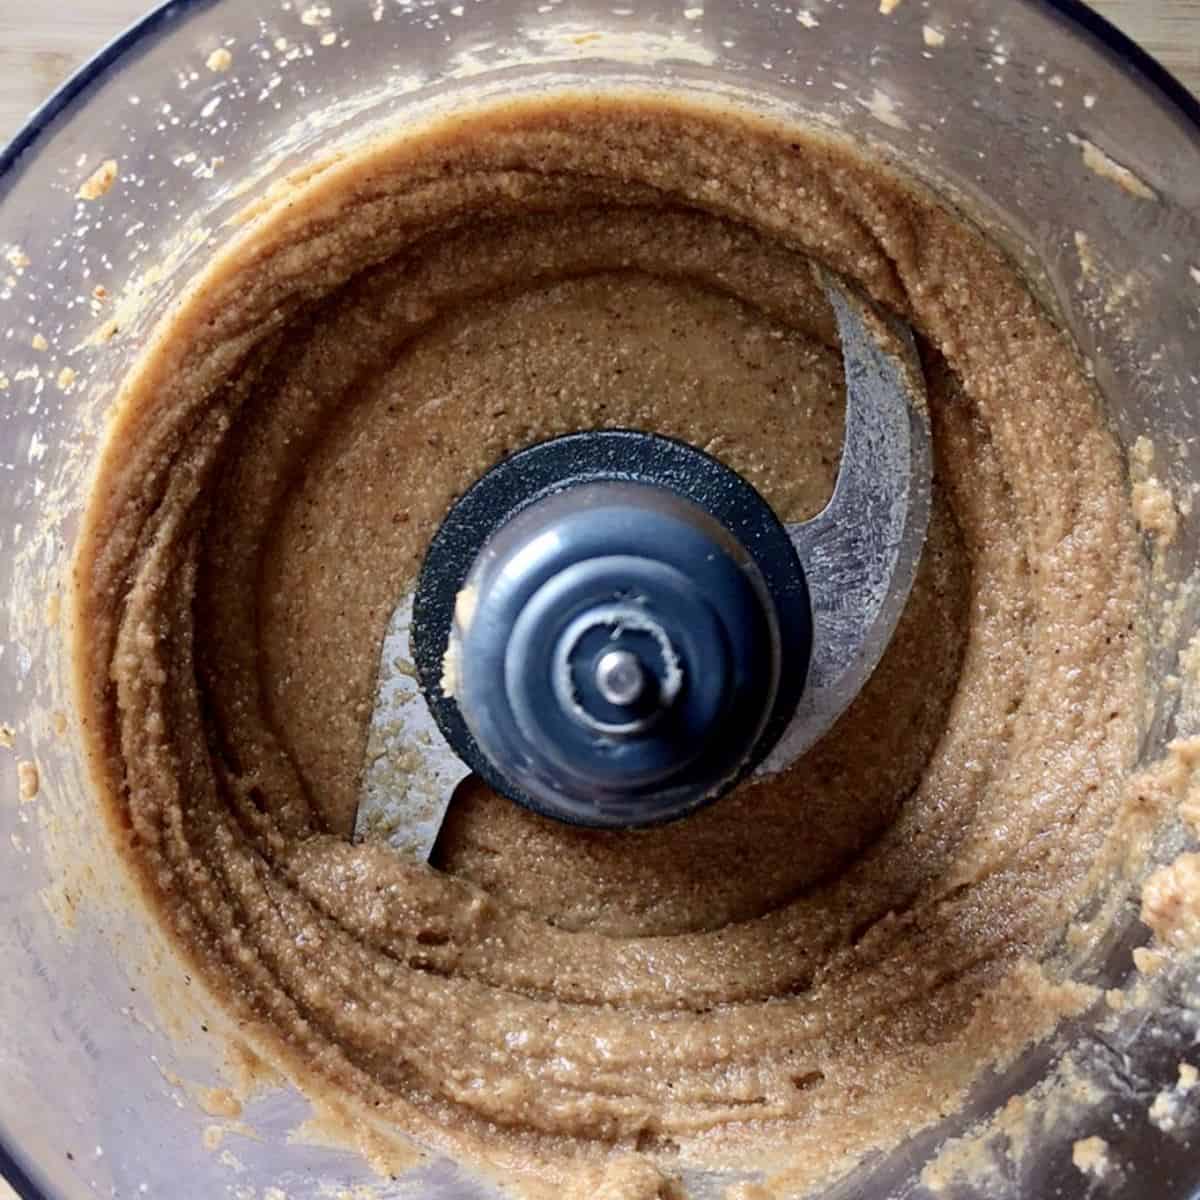
- At the end of the process, the texture of hazelnut butter is thick and rich-looking
Tips
- Roasting the hazelnuts might seem like an extra step, but you will be compensated with a flavorful spread.
- When processing warm roasted hazelnuts, the breakdown of the oils occurs more quickly.
- Throughout the process, allow your food processor to rest every minute or so to prevent the motor from overheating.
- Be patient. Depending on the type of food processor you have, it can take up to 5 minutes for the hazelnuts to transform into smooth consistency.
- Scrape down the sides throughout the process to ensure an even transformation of the texture.
- Use a sterile jar and lid to maximize the storage period.
FAQ
Once you have attained the right consistency, transfer to sterile jars and allow to come to room temperature before refrigerating. This hazelnut spread can be refrigerated for up to one month.
Yes! When processing the nut, remove a couple of tablespoons of the ground hazelnuts and add them at the end of the process.
Go ahead and experiment with the addition of your favorite sweet or savory spices to enhance the flavor. Start with 1 teaspoon, taste and adjust. Warm spices like cinnamon, nutmeg, or even pumpkin spice contribute a wonderful depth of flavor. If you like heat, try adding turmeric or even cayenne pepper!
How to use hazelnut butter
This hazelnut spread without chocolate makes a healthy snack when combining it with fresh fruit, especially apples. Swirl it into your oatmeal breakfast bowl or a dish of ricotta. Spread it on a slice of banana bread or banana muffins, or if you prefer, slather it on pancakes. Or enjoy a spoonful straight out of the jar.
THANKS SO MUCH for following and being part of the She Loves Biscotti community, where you will find Simple & Tasty Family-Friendly Recipes with an Italian Twist.
Ciao for now,
Maria
★★★★★ If you have made this homemade hazelnut butter, I would love to hear about it in the comments below and be sure to rate the recipe!
Recipe
How to Make Hazelnut Butter
WANT TO SAVE THIS RECIPE?
Ingredients
- 2 cups hazelnuts roasted and skinned
- 1 teaspoon water
- pinch of salt optional
Instructions
- Place slightly warm roasted and skinned hazelnuts in the food processor.
- Begin by pulsing for one minute or so until you obtain the texture of finely chopped nuts.
- Next, process the nuts at high speed for another minute or so. Notice the ground hazelnuts “sticking” to the sides of the bowl. Scrape down the sides.
- The next minute of processing creates a clump that moves together as a mass.
- As the oils continue to be released, this mass transforms into a grainy, not very thick, nut butter spread. If you like this texture, you can stop here.
- If you prefer a less fluid and thicker consistency, add 1 teaspoon of room temperature water and pulse for 15-30 seconds. Notice how the nut butter becomes thicker.
- If desired, add a pinch of salt at the end of the process.
- Transfer to a sterile mason type jar, allow to come to room temperature and then refrigerate.
Notes
- prep time includes roasting and skinning the hazelnuts
- Roasting the hazelnuts might seem like an extra step, but you will be compensated with a flavorful spread.
- When processing warm roasted hazelnuts, the breakdown of the oils occurs more quickly.
- Throughout the process, allow your food processor to rest every minute or so to prevent the motor from overheating.
- Be patient. Depending on the type of food processor you have, it can take up to 5 minutes for the hazelnuts to transform into smooth, consistency.
- Scrape down the sides throughout the process to ensure an even transformation of the texture.
- Use a sterile jar and lid to maximize the storage period.


Susan Dubose
Hi, I absolutely loved this recipe. I blended mine for a bit longer to get a yummy smooth finish. It is TO DIE FOR! Thanks so much.
Maria
How wonderful Susan! Thanks so much for sharing.
val
I just love nut butters! Thanks for sharing this secret! I can’t wait to try it!
Maria
Thanks for stopping by Val! You are going to love this!