

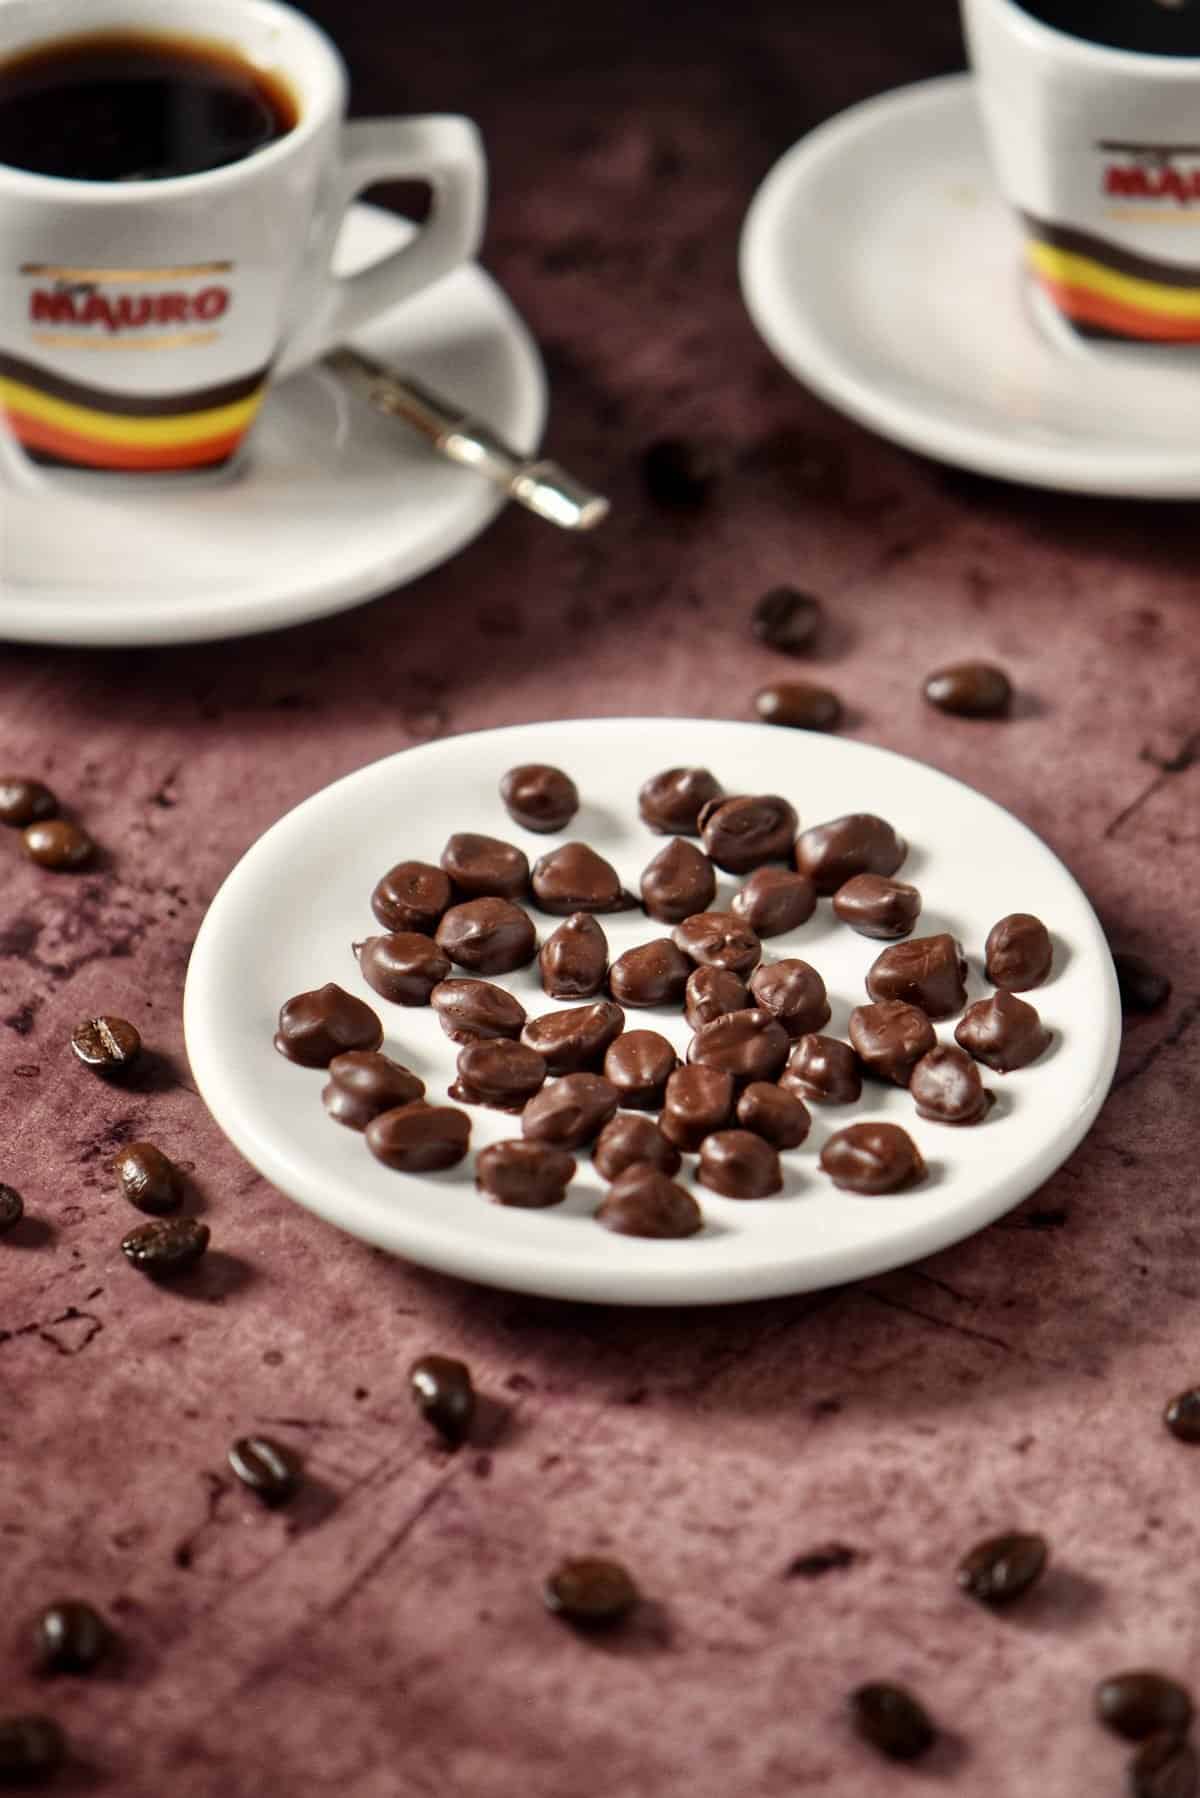
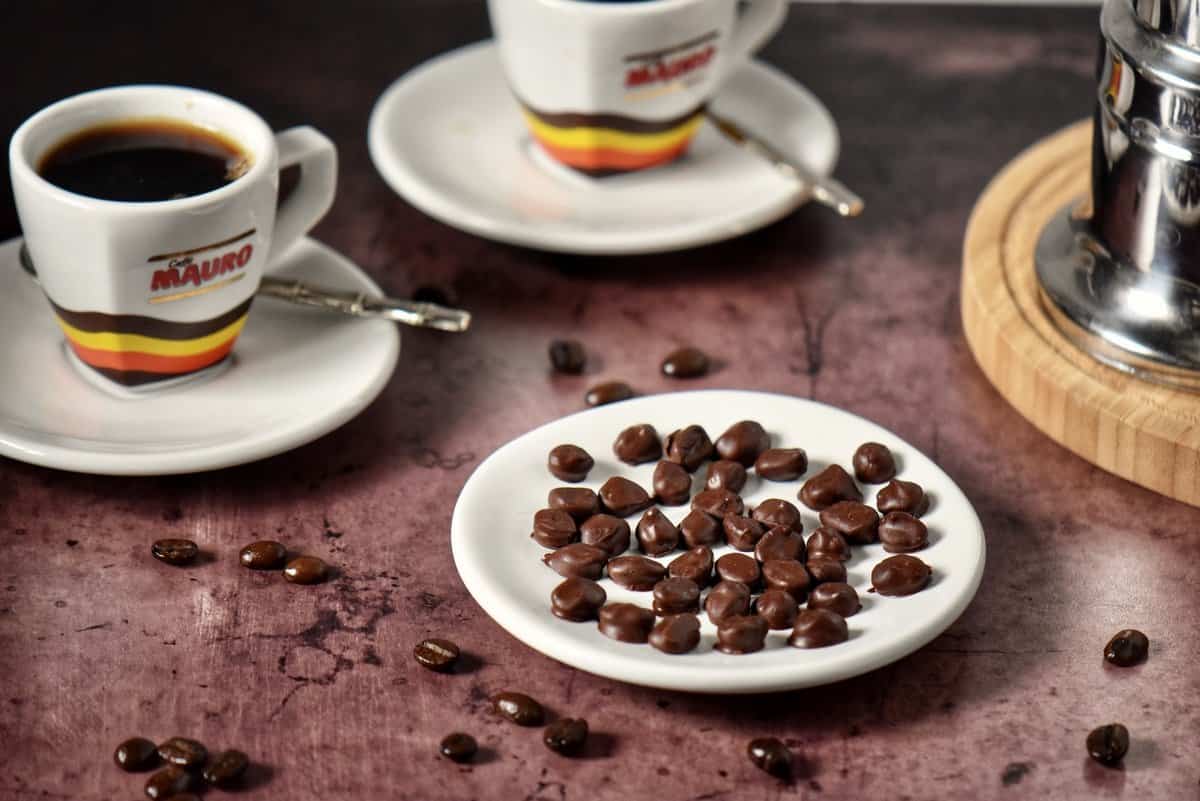
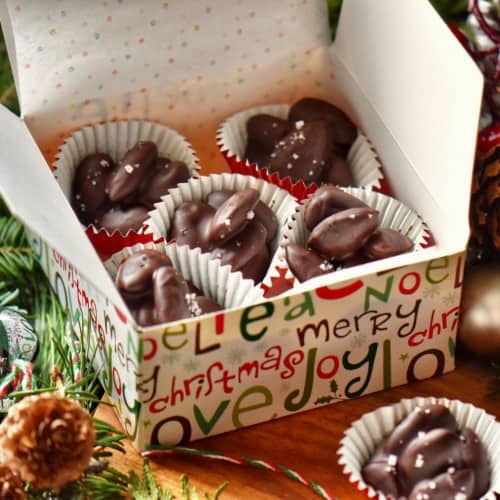
Learn how to make chocolate covered espresso beans with this easy-to-follow step-by-step recipe. These homemade treats are perfect for coffee lovers! They’re delicious to eat as a sweet treat, make excellent garnishes on desserts, and are a great DIY gift idea!
Do you love the taste of espresso or a good cup of coffee?
How about chocolate?
If you answered yes to both questions, you would love this recipe for homemade chocolate-covered espresso beans!
Espresso beans covered in chocolate are an edible, delectable, and satisfying treat that can be created at home with two simple components: whole coffee beans and dark chocolate.
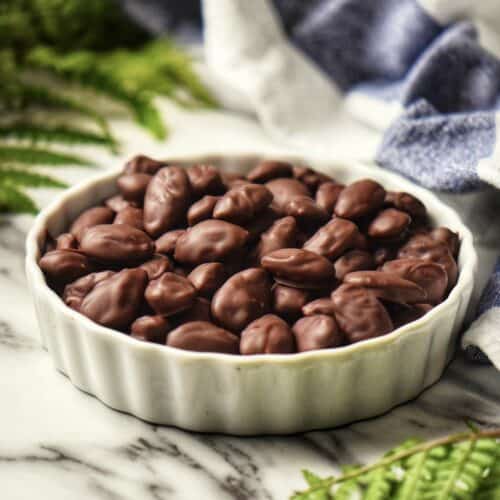
We’ll utilize the same basic technique as we did when we made these chocolate covered almonds.
You can create a beautiful and professional-looking finish by melting the best chocolate and using it to coat the coffee beans. Not only do they provide you with an energy boost, but they will make your homemade desserts look store-bought.
We will look at two ways to properly melt chocolate and the easiest way to use it to cover your coffee beans for a beautiful finishing touch.
You won’t believe how easy making this no-bake chocolate recipe is.
Jump to:
Mise en place
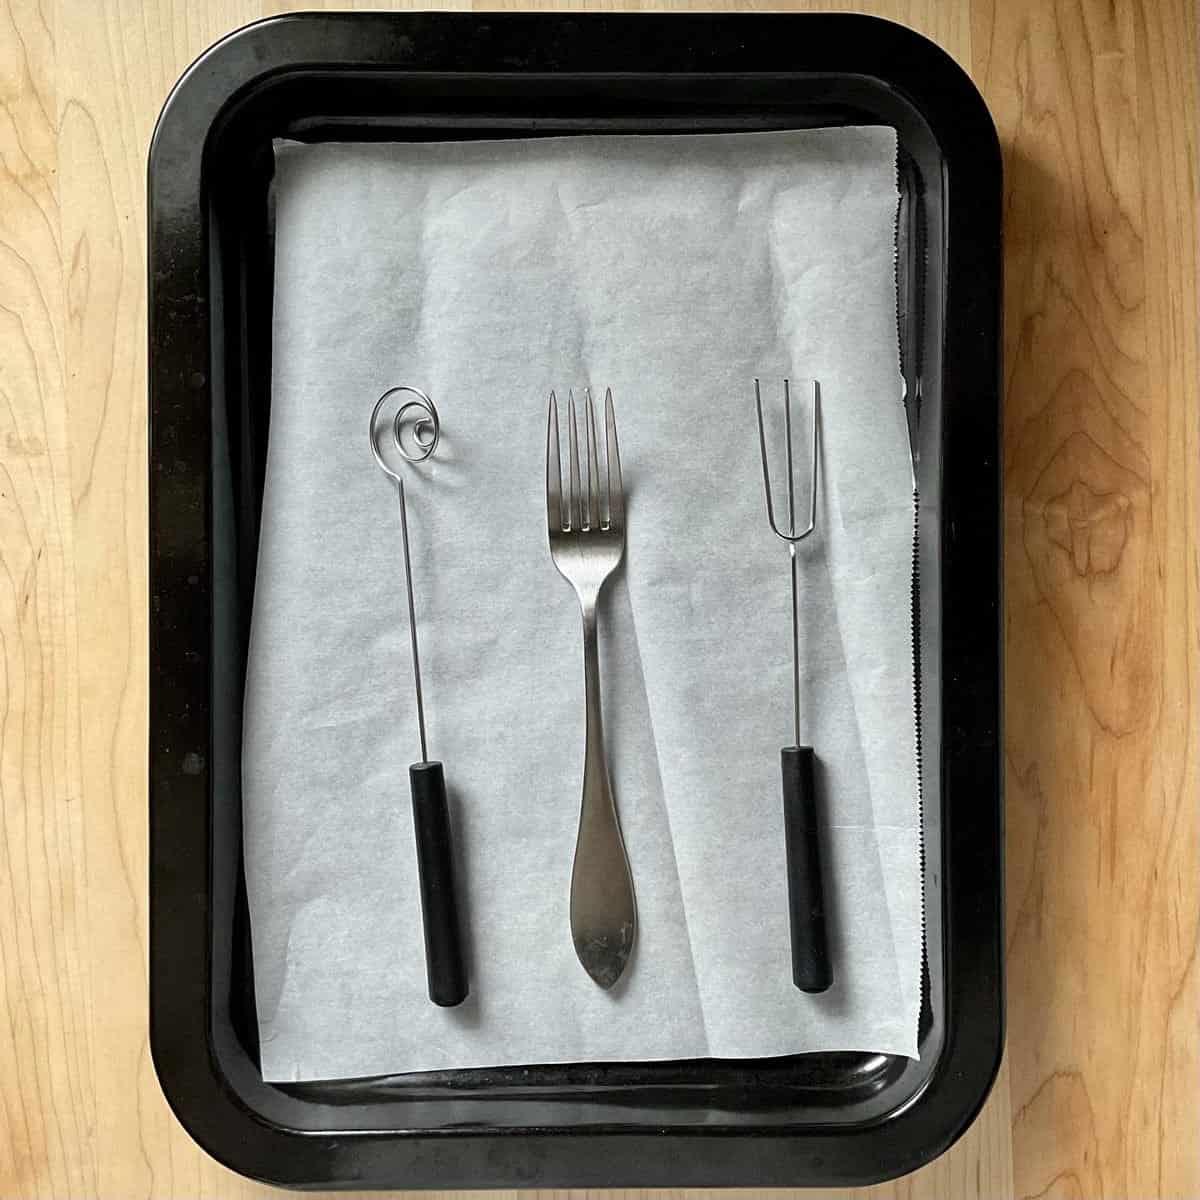
The whole process of making these delicious treats begins by lining a large baking sheet with parchment paper. Set it aside for now. You will also want to prepare the dipping tools, forks, and a heat-proof bowl to melt the chocolate. Please ensure they are dry and free of any moisture before using them.
Ingredients
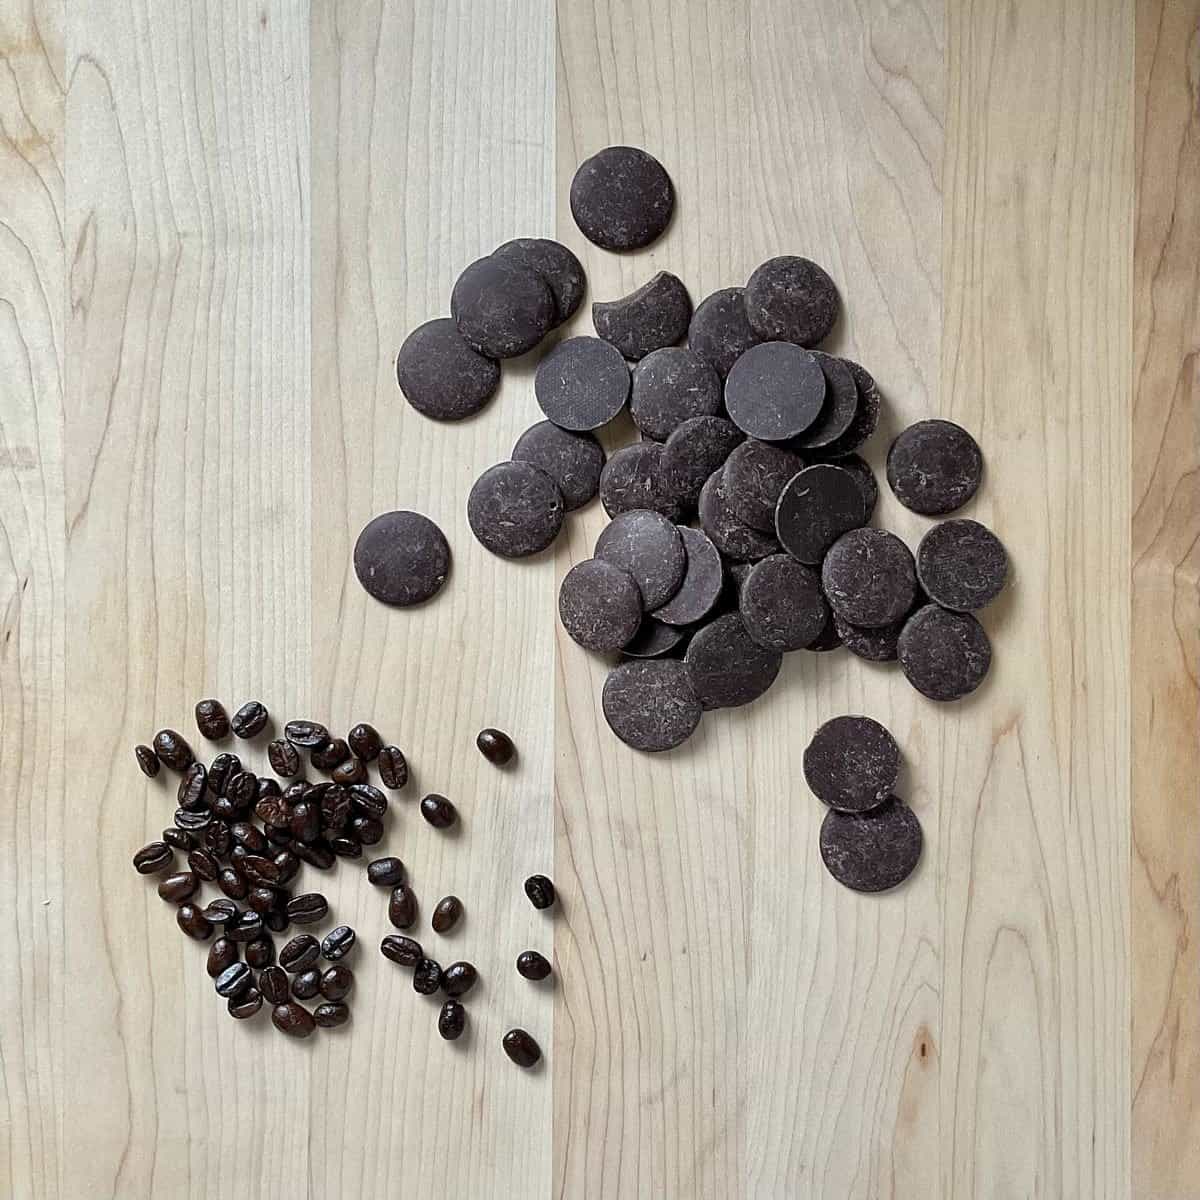
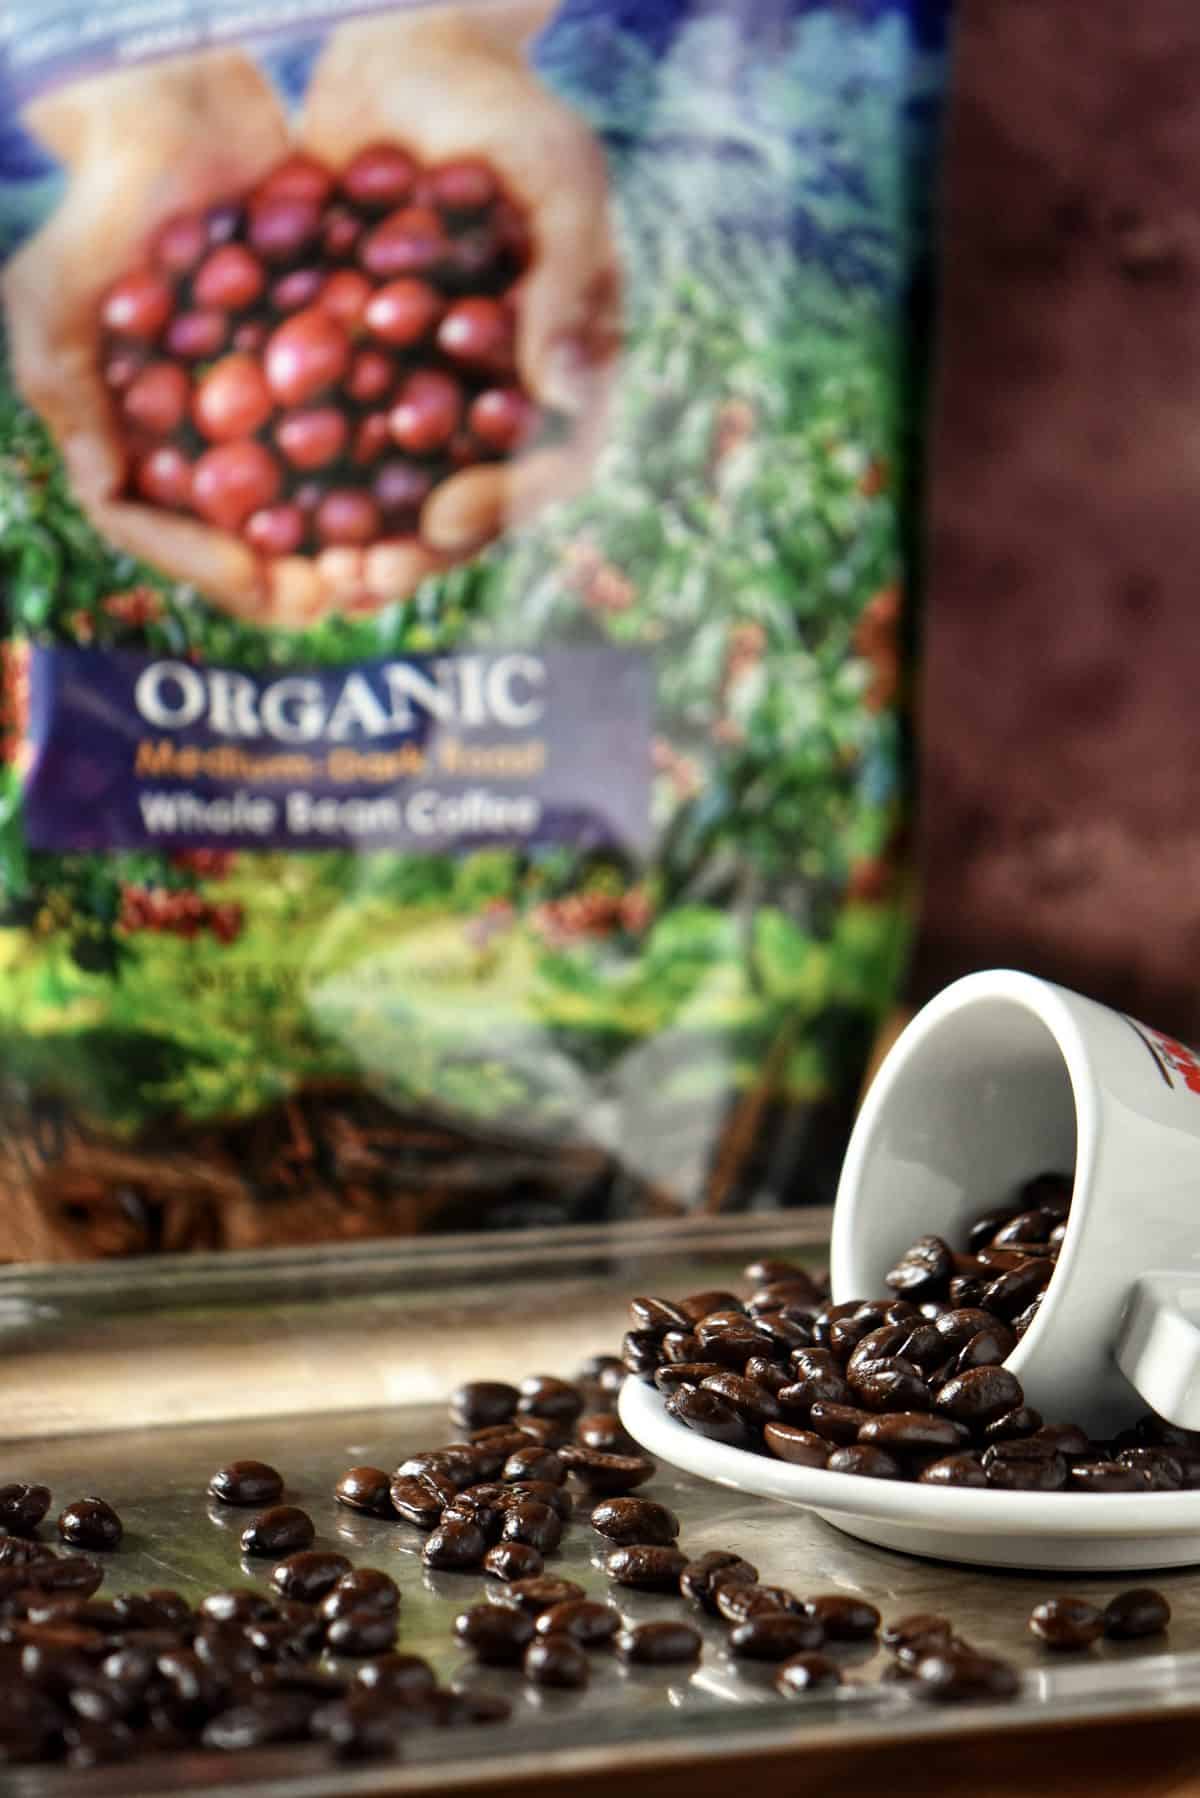
Homemade chocolate-covered beans require just two ingredients. Your preference will influence the type of chocolate and espresso beans you use.
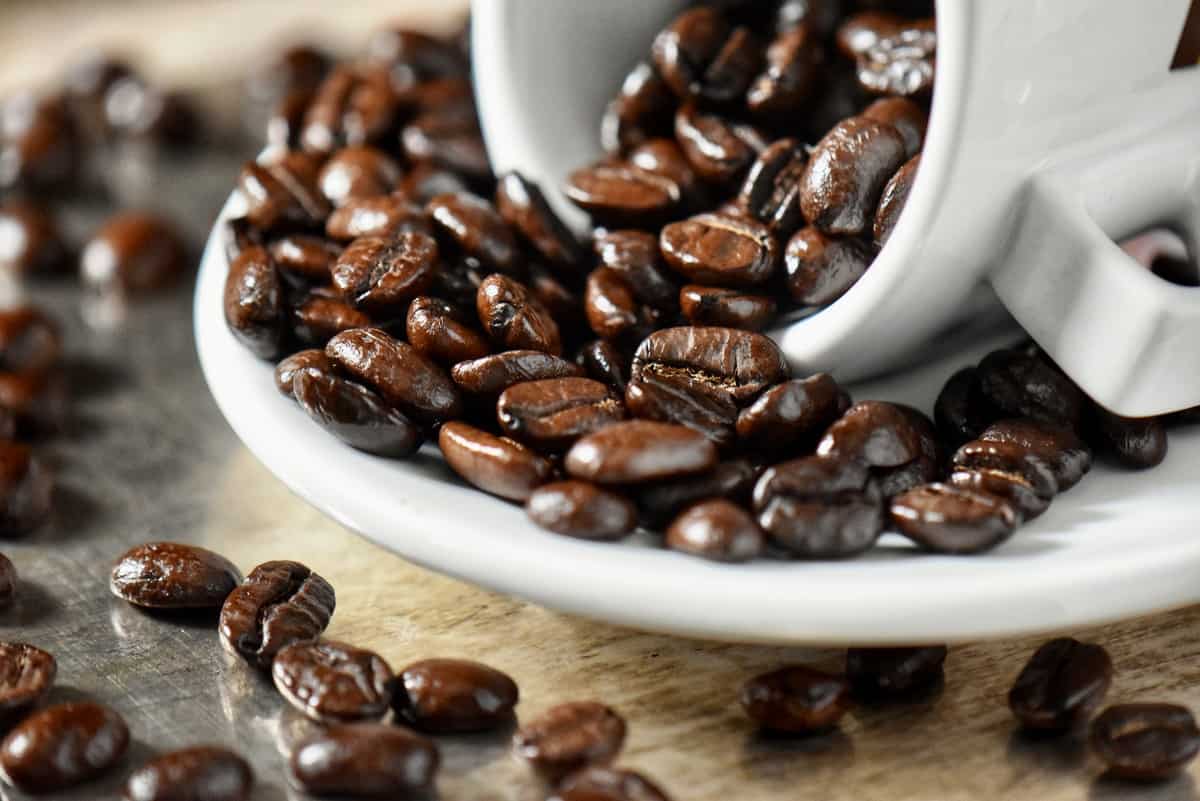
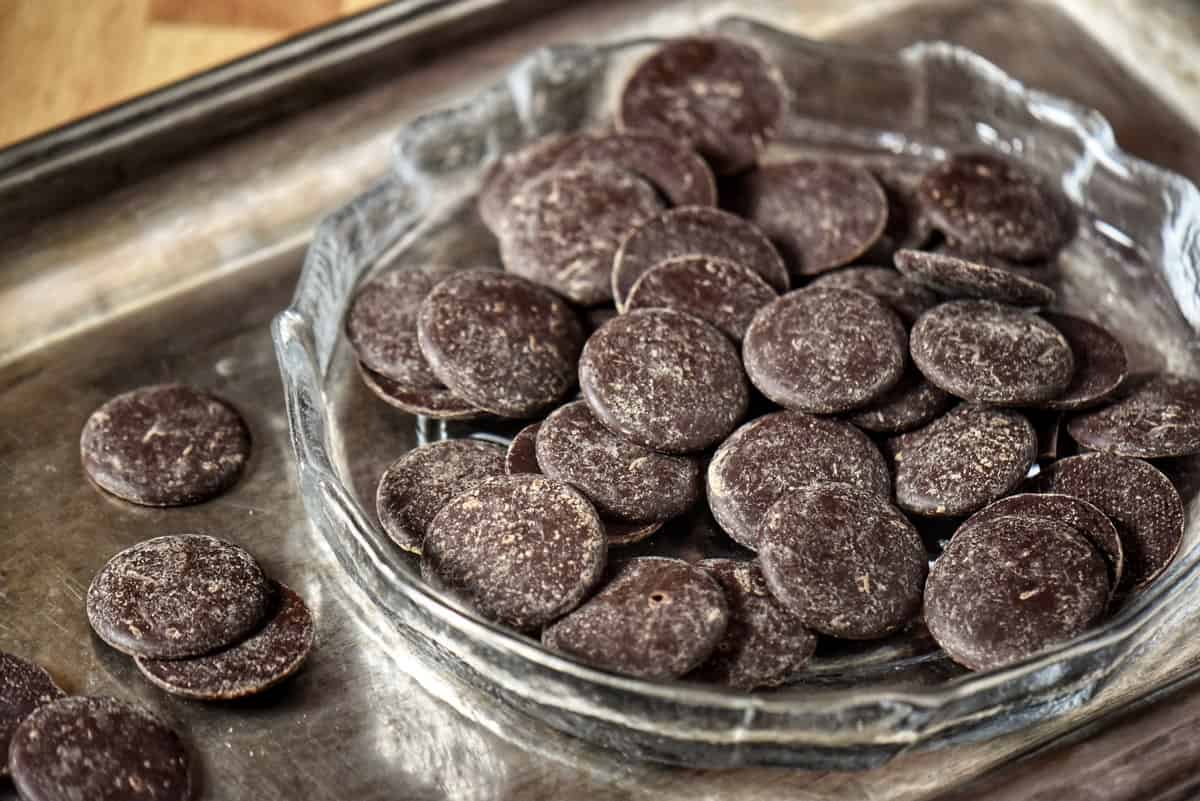
Select high-quality chocolate with at least 60% cacao content for best results. The ideal espresso coffee beans in this easy recipe are medium to dark roast in terms of roast intensity.
Regarding quantities, you can make a small or large batch depending on your needs. For example, for a small batch, use 2 tablespoons, about 30 grams (1 ounce) of fresh coffee beans, and for a half cup of chocolate, about 85 grams.
Melting the chocolate
You may use a double boiler or the microwave to melt the chocolate, but first, we must prepare it.
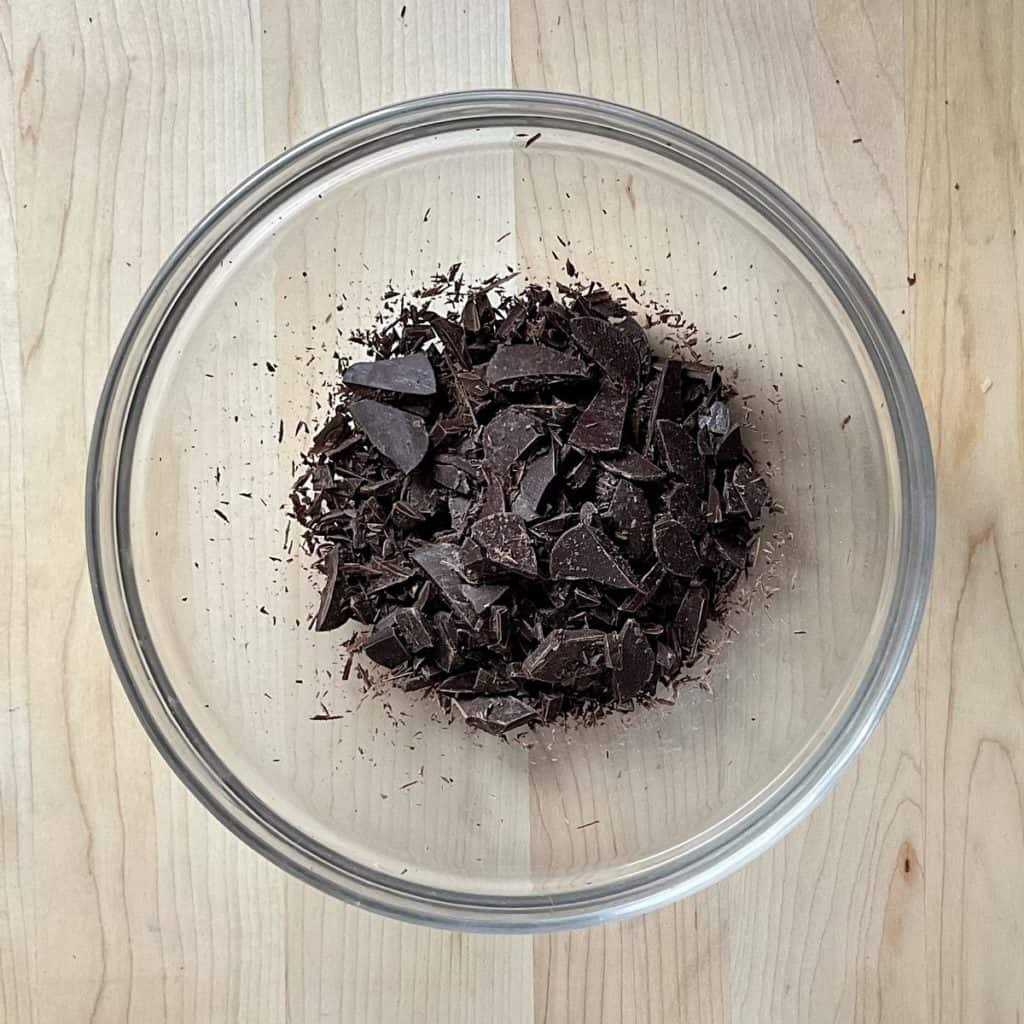
Chopping the chocolate
Place the chocolate on a cutting board and, using a sharp knife, chop it as finely as possible. It’s best to chop the chocolate into tiny pieces since this will help it melt evenly and quickly, preventing scorching.
Using a double boiler
When using a double boiler to melt chocolate, fill the bottom pot with about an inch of water and set it over medium heat. Place the chopped chocolate in a heat-safe bowl or pot and set it on top. Make sure that it fits snugly on top.
Do not let the water boil or touch the bottom of the upper pot where the chocolate is located.
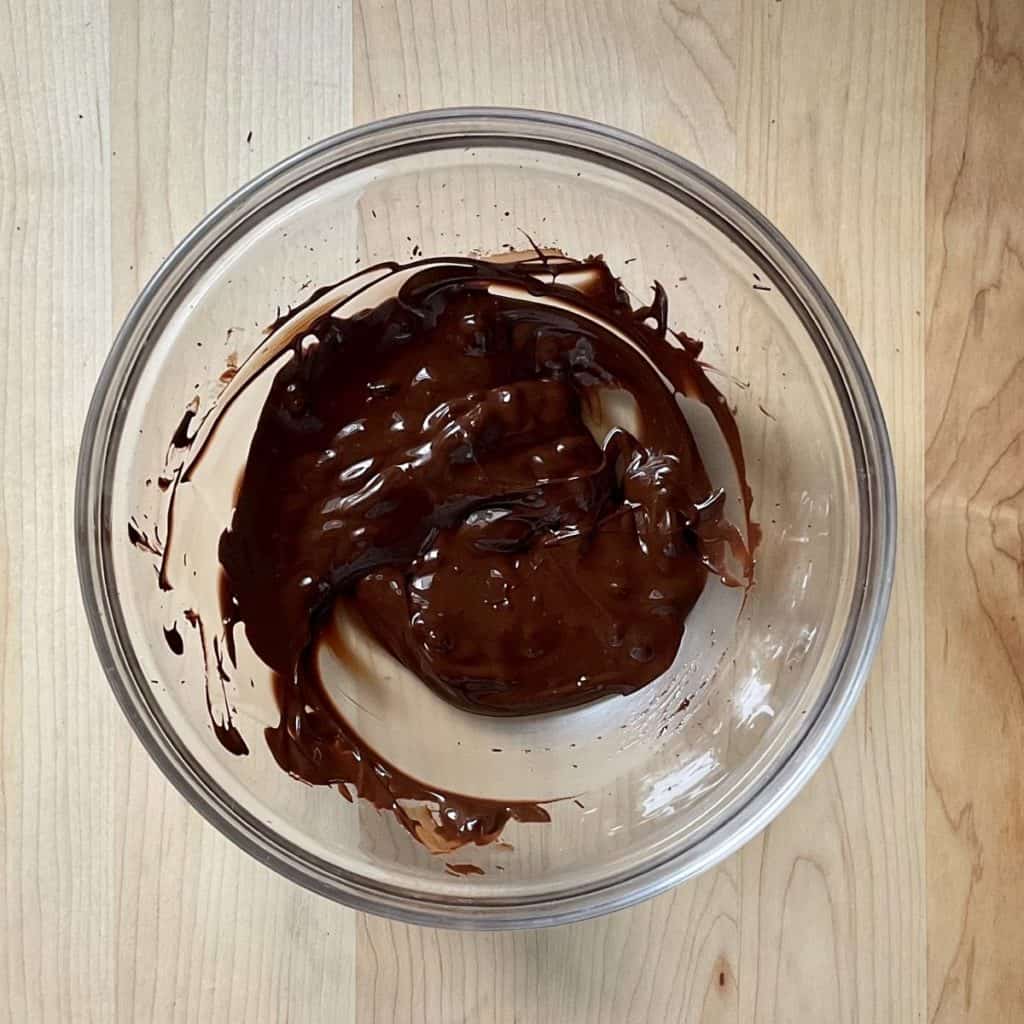
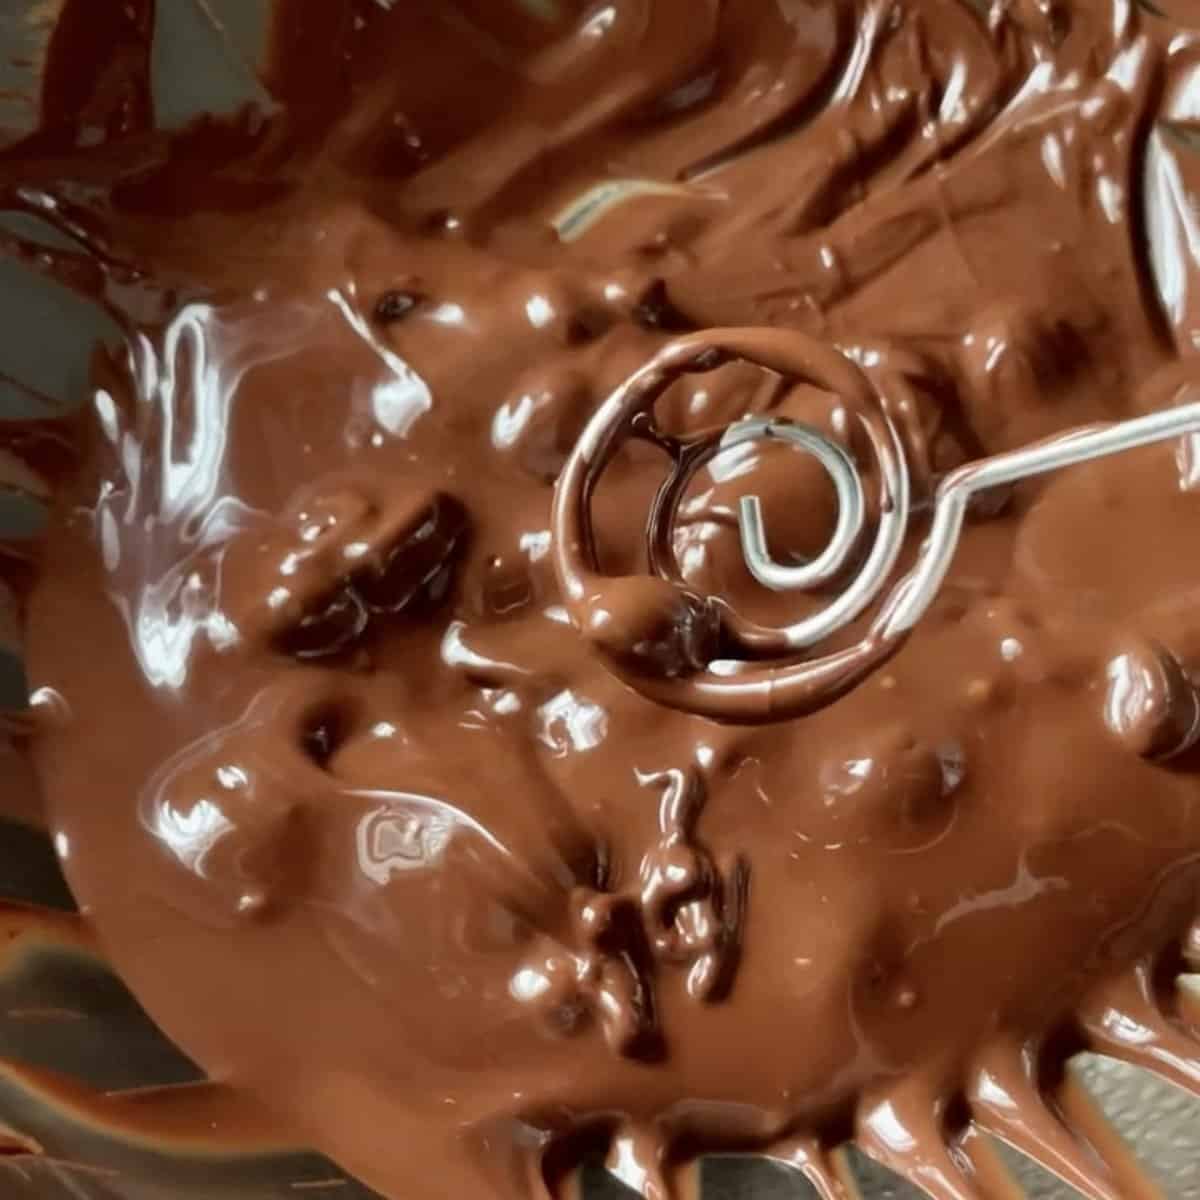
Gently stir with a rubber spatula. When the chocolate is almost completely melted, remove it from the heat and stir it to melt.
Using the microwave
If you are melting the chocolate in the microwave, place it in a microwave-safe bowl Use short bursts of heat at 15-second intervals, stirring in between each one.
When the chocolate looks glossy yet maintains its form, mix it uniformly to distribute the heat. Keep stirring until the residual heat in the chocolates melts the rest of the chocolate pieces.
Dipping the beans in chocolate
We’re almost ready to dip our coffee beans into the melted chocolate. But first, let’s arrange our workstation to work in one direction without doubling back on our steps.
Set up your workstation
Place all of the necessary tools and ingredients within reach. This will help the chocolate coating process go more smoothly.
You will need the following:
- a bowl of melted chocolate set over a bowl of hot water
- a large baking sheet with parchment paper
- espresso beans
- a fork with a long handle or a dipping skewer
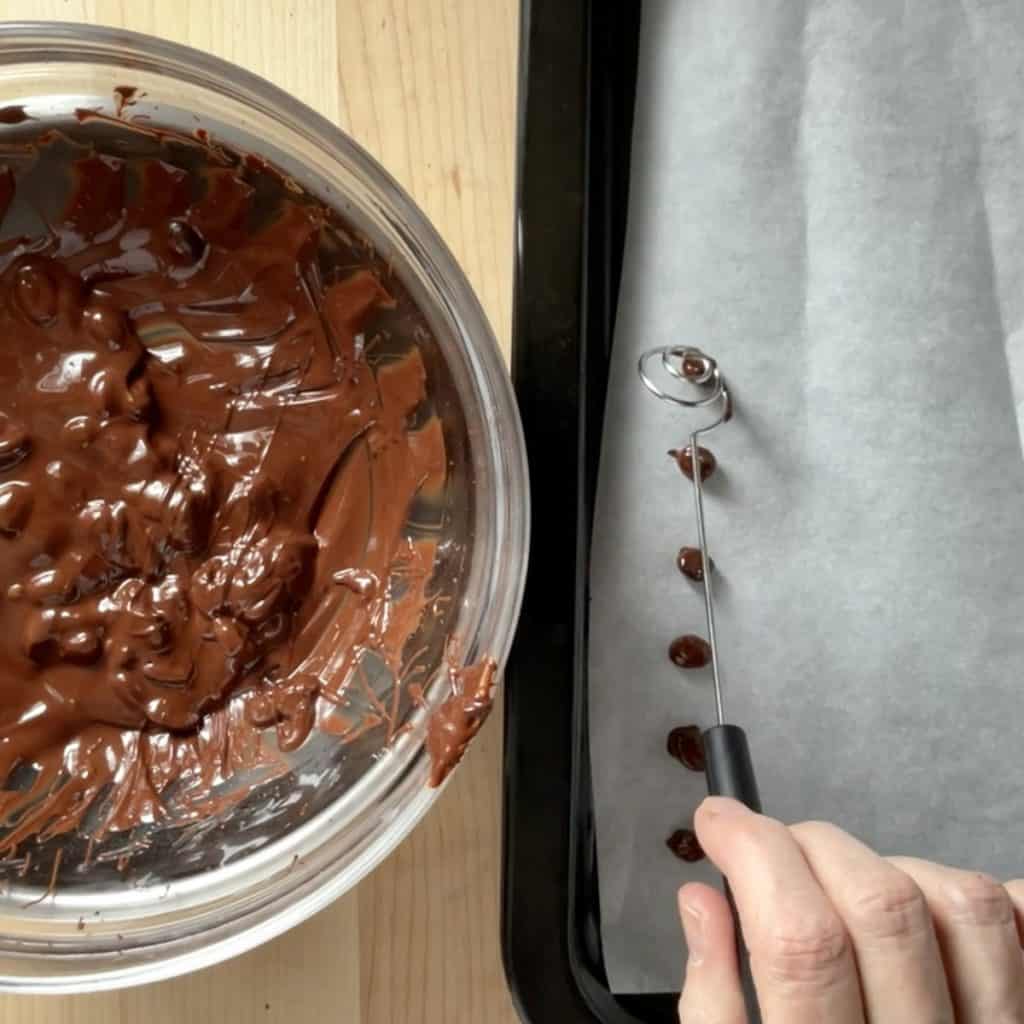
Chocolate dipping
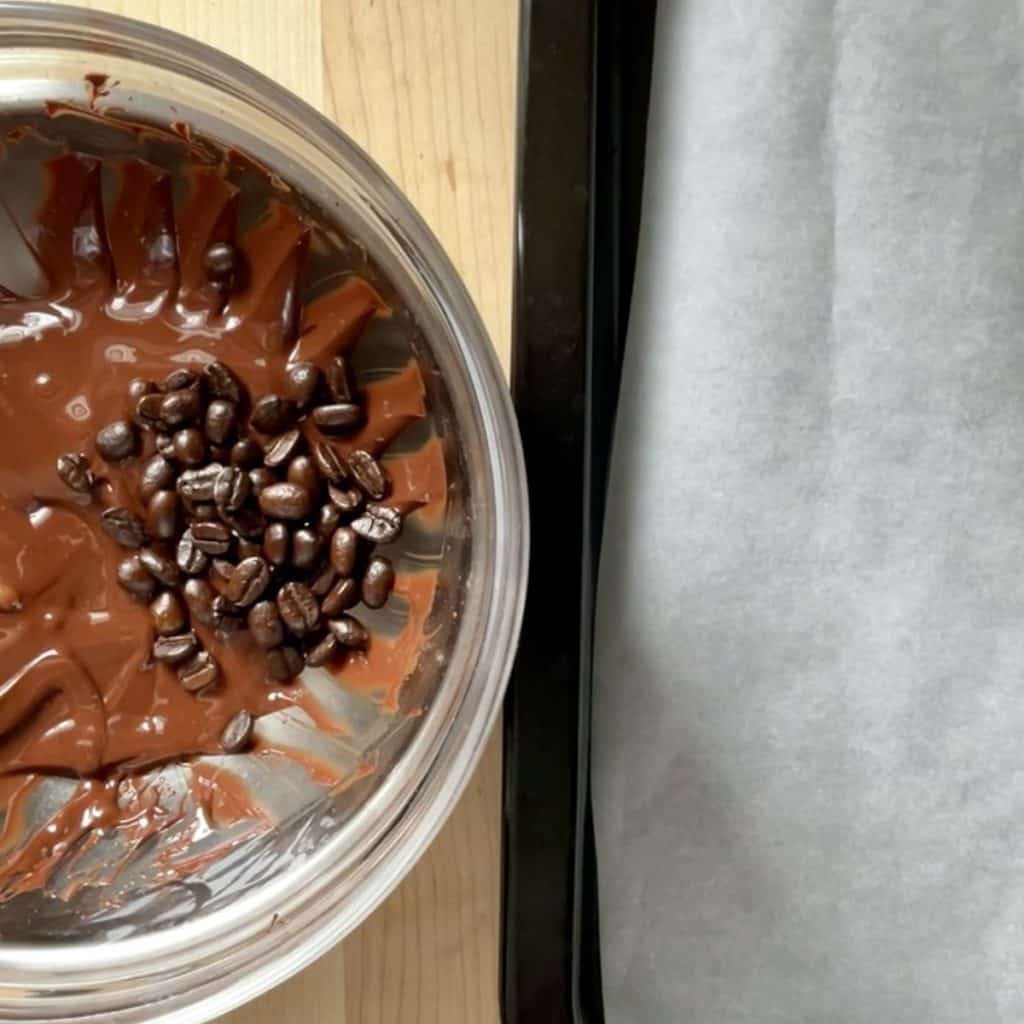
Once everything is in place, add the 2 tablespoons of whole beans to the bowl of melted chocolate.
Using a fork or a dipping tool, guide them in and out of the chocolate as needed to coat the beans properly.
One by one, drain any excess by tapping the side of the bowl when raising them out of the chocolate. Scraping against the bowl’s side also removes any excess chocolate drips.
Transfer the evenly coated chocolate coffee beans to parchment paper one by one and in a single layer, keeping them separate. This will prevent them from sticking together when the chocolate solidifies.
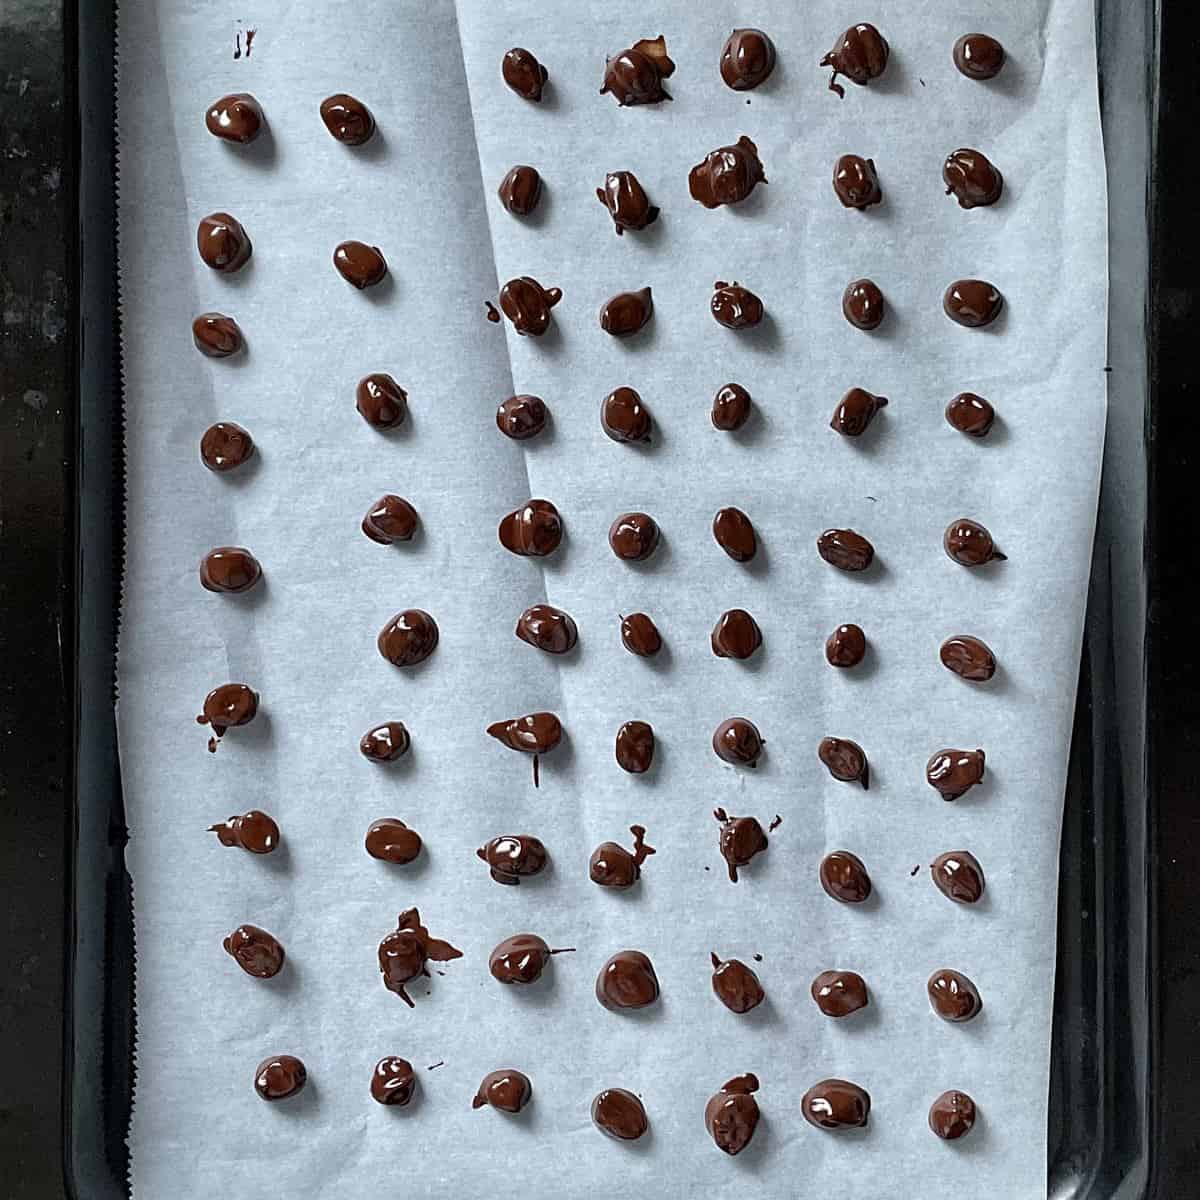
Allow the chocolate to set
You can let the chocolate set at room temperature for a few hours or speed up the process by placing them in the fridge.
Please note that there is a risk of streaks forming on the surface when refrigerating chocolate.
Double-dipping (optional step)
If you wish to make a thicker chocolate coating, it’s feasible to use this technique to create a second layer of chocolate. Repeat the whole process once the first coating is completely dry.
How to store
Once the chocolate is set and thoroughly dry, store your dark chocolate espresso beans in a mason jar at room temperature for up to one week. As previously mentioned, refrigerating is another option, but white streaks may become visible.
They also freeze well in an airtight container for up to one month, although streak formation is possible again.
How to use
Although they are delicious as a snack, there are many ways to enjoy dark chocolate coffee beans. Here are a few ideas:
- Use them as an ice cream topping.
- Decorate cakes or cupcakes for that special occasion.
- Sprinkle them on top of a smoothie bowl.
- Add them to homemade granola for a chocolatey crunch.
- Create elegant party favors with this homemade edible gift.
- It makes a wonderful addition to a gift basket.
Flavor variations
To enhance the flavor, add sea salt, cinnamon, or even chili powder for a bit of spicy heat.
Tips
- Ensure any equipment that comes into contact with the chocolate is completely dry and without any moisture.
- Dipping tools or forks with long handles makes lifting the beans and draining the excess chocolate easier.
- For the best results, set the bowl with the melted chocolate over a pot of hot water. This helps keep the liquid consistency of the chocolate.
- The most important thing to remember when melting chocolate is to ensure that it is melted over low heat and that you pay close attention so it doesn’t scorch.
FAQ
The most common reason for this appearance is excessive heating of the chocolate and/or the use of chocolate with excessive moisture (frozen/cold chocolate). This is known as “chocolate bloom.”
Yes. Depending on your personal preference. make these chocolate-coated beans with dark, semi-sweet, or milk ch
Yes, but it’s important to note that chocolate chips have added stabilizers that help them hold their shape. However, if the chocolate is overheated, streaks may appear in it.
A chocolate-covered coffee bean has around 12 milligrams of caffeine per bean, including the caffeine in the chocolate [source]. As with everything, practice moderation.
What to do with leftover melted chocolate
Conclusion
There you have it!
Espresso chocolate beans are a delicious and easy-to-make snack. You can have a tasty treat perfect for any occasion with just a few simple ingredients.
Whether you want to garnish cakes or cupcakes to serve at a dinner party or a fun addition to your next movie night, chocolate-covered espresso beans are the perfect solution.
THANKS SO MUCH for following and being part of the She Loves Biscotti community, where you will find Simple & Tasty Family-Friendly Recipes with an Italian Twist.
Ciao for now,
Maria
★★★★★ If you have tried these espresso beans covered in chocolate, I would love to hear about it in the comments below and be sure to rate the recipe!
Recipe

How to Make Chocolate Covered Espresso Beans
WANT TO SAVE THIS RECIPE?
Ingredients
- 30 grams espresso beans 2 tablespoons (1 ounce)
- 85 grams dark chocolate (70%) ½ cup
Instructions
- Line a standard baking sheet with parchment paper. Set aside.
- Chop the dark chocolate and place it in a heatproof bowl.
- Set bowl of chocolate over pot of water. Ensure water does not touch the bottom of the bowl.
- Bring a pot of water to a simmer.
- When the chocolate is almost completely melted, remove it from heat and stir to finish melting. (Read notes if using the microwave to melt chocolate).
- Add the espresso beans.
- Stir to completely coat the espresso beans with the melted chocolate.
- Using a fork or a dipping tool, Transfer the evenly coated chocolate coffee beans to parchment paper one by one and in a single layer, keeping them separate. Remove as much excess chocolate as possible.
- Continue in this manner until all the coffee beans have been transferred.
Video
Notes
- Make sure any equipment that comes into contact with the chocolate is completely dry and without any moisture.
- Using dipping tools or forks with long handles makes it easier to lift up the beans and drain the excess chocolate.
- For the best results, set the bowl with the melted chocolate over a pot of hot water. This helps keep the liquid consistency of the chocolate.
- The most important thing to remember when melting chocolate is to ensure that the chocolate is melted over low heat and that you pay close attention so it doesn’t scorch.
Nutrition
We are a participant in the Amazon Services LLC Associates Program, an affiliate advertising program designed to provide a means for us to earn fees by linking to Amazon.com and affiliated sites.
You can find the dipping tools, chocolate discs and espresso beans I am using in my amazon store. If it is of interest to you, head on over to my amazon store for all the details.
Val
This is such a great idea to decorate coffee desserts! Thanks Maria!
Maria
My pleasure Val! Thanks for stopping by!