

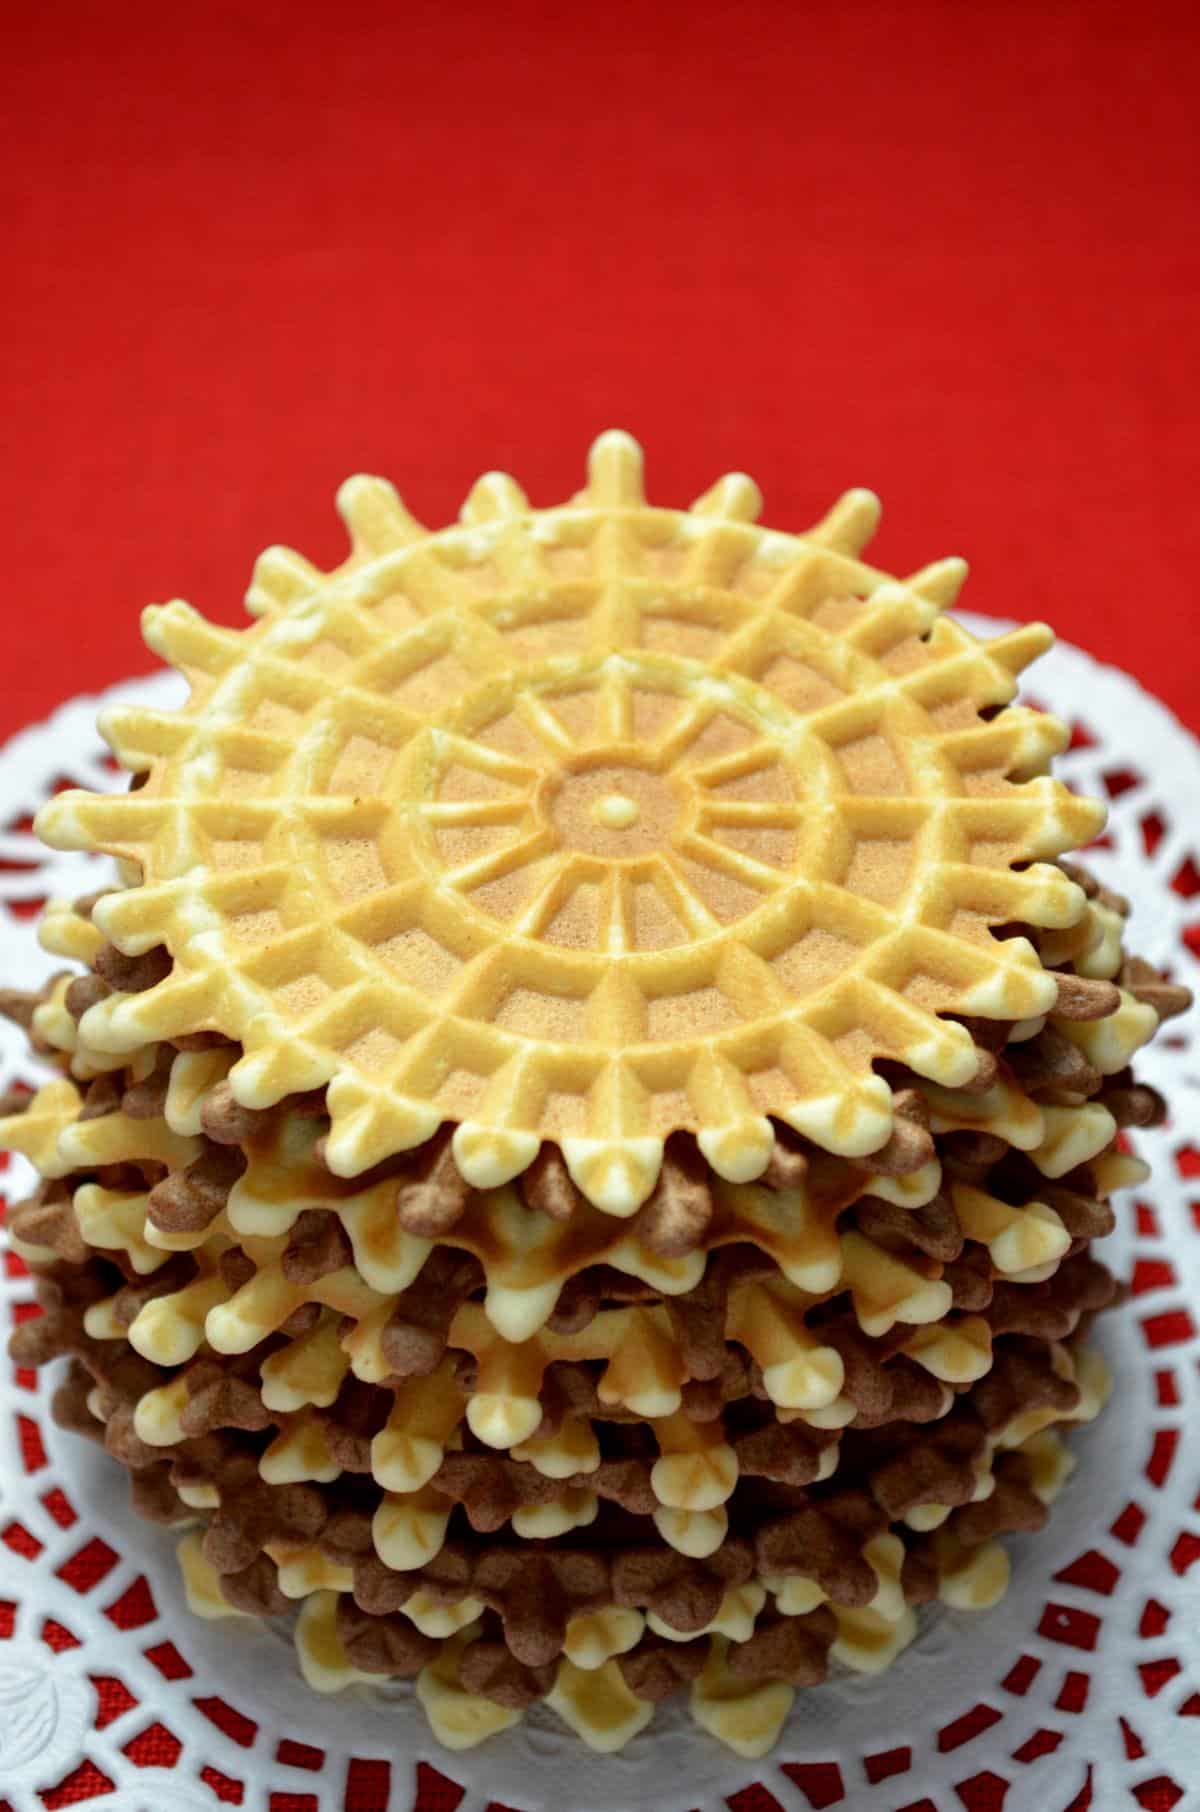
Delicate. Thin. Crispy. Wafer like. This is how I would describe this classic, authentic Italian cookie: Pizzelle della Nonna. This easy, simple, no butter recipe can be flavored with vanilla, anise, or even chocolate. Your search for the perfect pizzelle recipe is over!
WANT TO SAVE THIS RECIPE?
According to history, the first pizzelle cookies were made in the region of Abruzzo (geographically located in Central Italy) back in the 8th century.
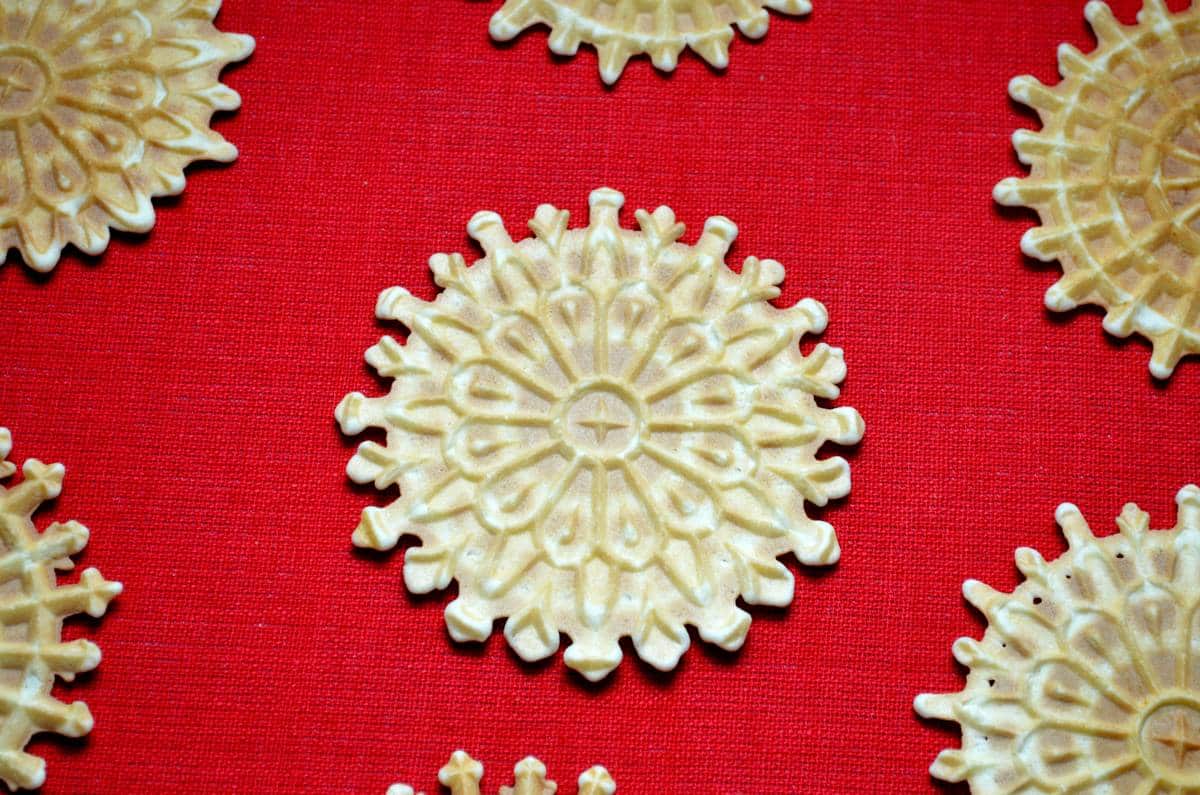
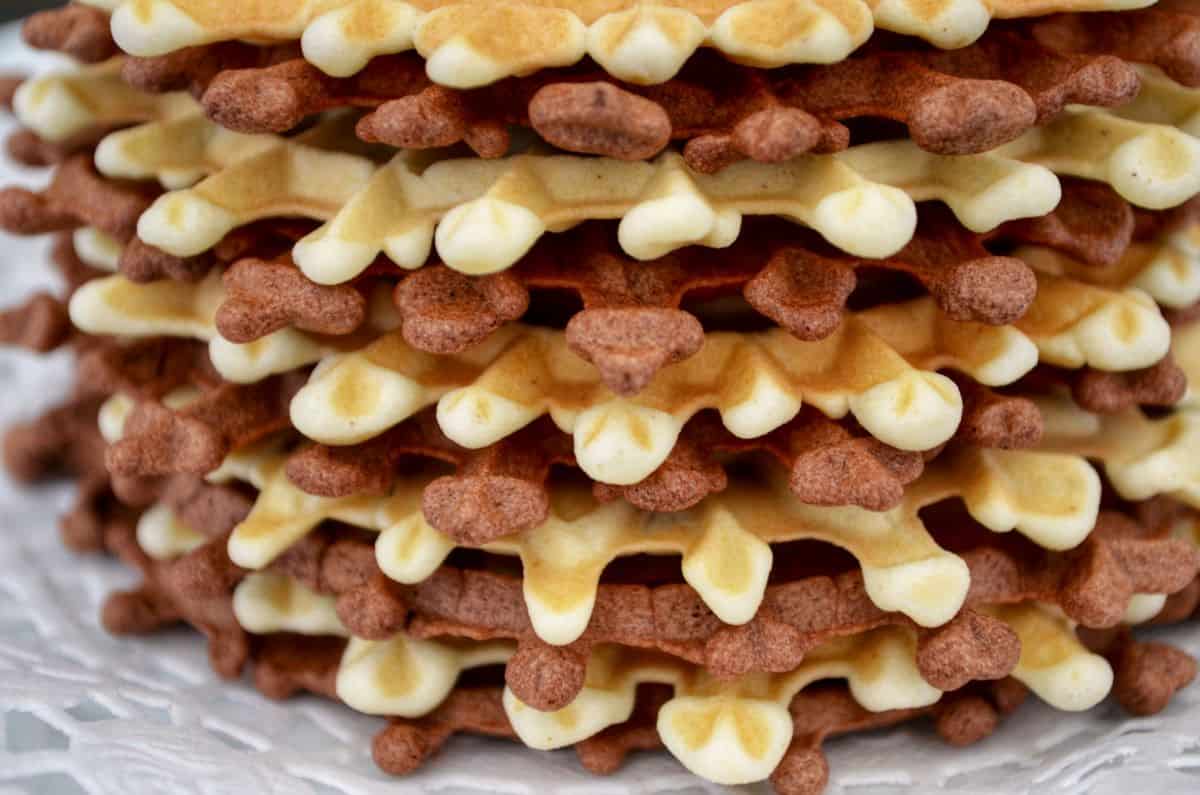
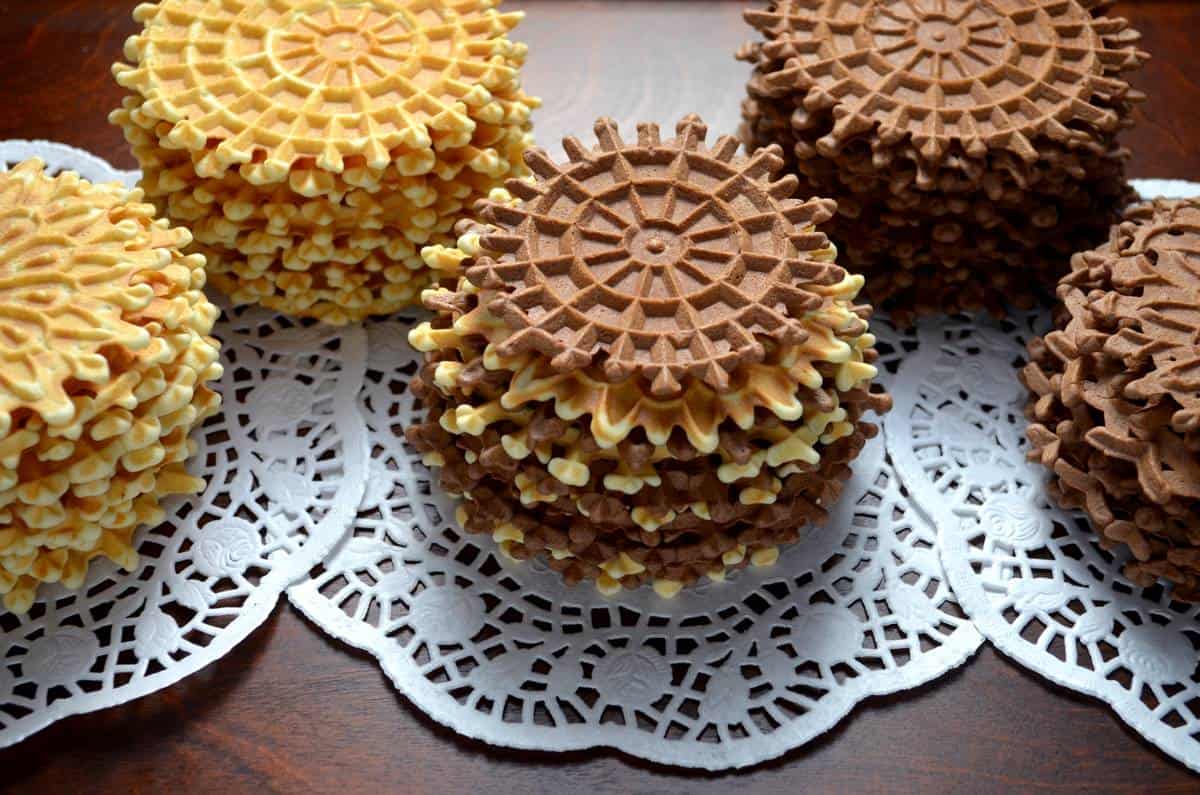
These highly recognizable flat Italian cookies get their shape by flattening the batter between two hot iron plates (just like waffles). These plates (rectangular or round) often had the pattern of the family crest engraved on them.
Nowadays, the pizzelle maker’s imprint is a geometric/waffle design, a flower, or a snowflake pattern.
This authentic family recipe I am sharing today is made without butter and classically flavored with anise and vanilla. Over decades of experimenting, I have created different variations, including a chocolate pizzelle and a vegan pizzelle recipe.
Although traditionally made at Christmas, my nonna would make them throughout the year simply because they were everyone’s favorite Italian cookie.
It’s time to dust off that old pizzelle maker and make some classic Italian cookies!
Jump to:
Pizzelle ingredients
- Eggs: The foundation of the batter, eggs provide structure and moisture. They help create the light, crisp texture that pizzelle are known for.
- Sugar: Adding sweetness to the pizzelle, sugar also contributes to the cookie’s caramelization, giving it a lovely golden hue.
- Flour: This essential ingredient forms the bulk of the batter, creating the cookie’s base. All-purpose flour works perfectly, providing the right balance of strength and tenderness.
- Oil: Unlike some recipes that use butter, this family recipe uses vegetable oil, which makes the cookies slightly lighter and gives them a delightful, crispy texture.
- Essence: Flavoring is key in pizzelle. Vanilla essence adds a warm, sweet note, while anise essence imparts a distinctive, aromatic licorice flavor. Together, they create a harmonious and nostalgic taste profile.
The quantities and the type of fat used will determine the texture and thickness of these cookies. As for the flavoring, it really is a question of taste. My personal preference is the flavor of my childhood, vanilla and anise.
Let me show you how you can easily make the best pizzelle recipe with a pizzelle maker.
Instructions
Begin by whisking the three room-temperature eggs until they begin to thicken. Next, add the granulated sugar (½ cup) and whisk for a few minutes. As you can see, I like to use my whisk. If it is easier for you to use your stand mixer, use the whisk attachment.
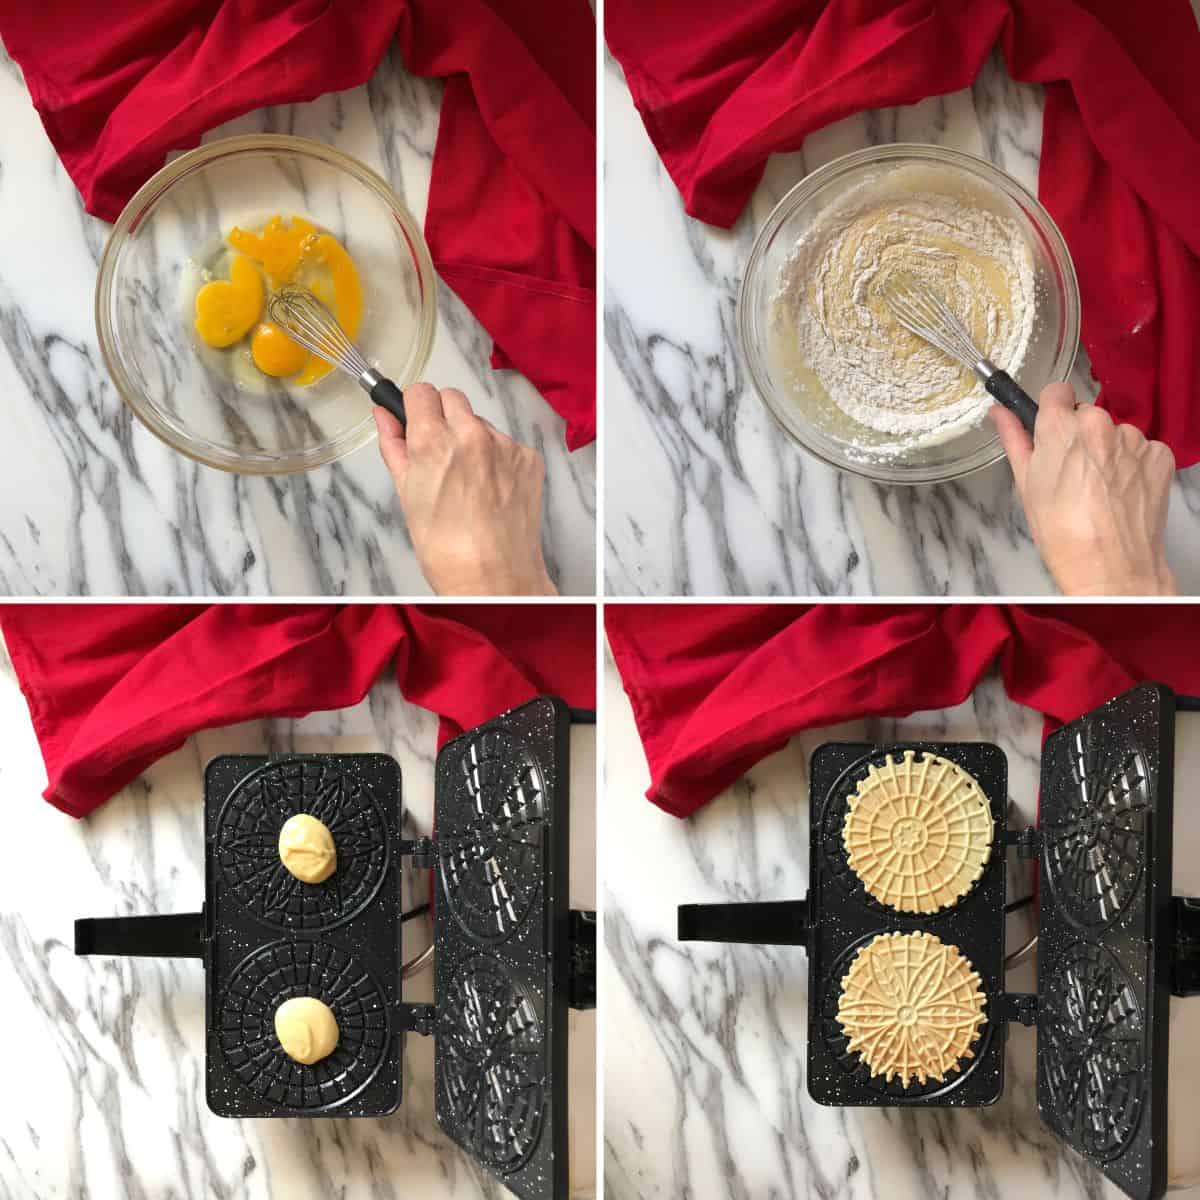
Next, add the vegetable oil (¼ cup ), vanilla extract (1 teaspoon) and anise extract (1 teaspoon).
Moving right along, whisk in the dry ingredients, which consist of flour (1¼ cups), baking powder (¾ teaspoon) and salt (just a pinch).
That’s it! You now have the perfect pizzelle batter.
Now for the fun part!
Preheat the pizzelle iron. Depending on your model, this usually takes just a few minutes.
Your model will also dictate whether or not you need to use cooking spray. As you can see, my pizzelle iron has a non-stick coating, so I do not use any.
Once your pizzelle iron is hot, drop about one tablespoon of dough in the middle of each plate. Lower the upper heated element and press. You may notice some steam escaping from the sides of your pizzelle maker, this is normal. It’s also normal to hear a sizzling sound. When both subside, your cookies are done.
In order to avoid scratching the non-stick plates, use a non-metal utensil to remove the pizzelle. Transfer to a cooling rack and allow to cool down. Repeat this procedure with the rest of the dough.
What to make with pizzelle cookies
When they are removed from the iron plate and still warm, they are extremely malleable. You have a few seconds to obtain any desired shape, which you can use to create wonderful pizzelle desserts. Transform the shape from flat to curvy.
Here are a few dessert ideas:
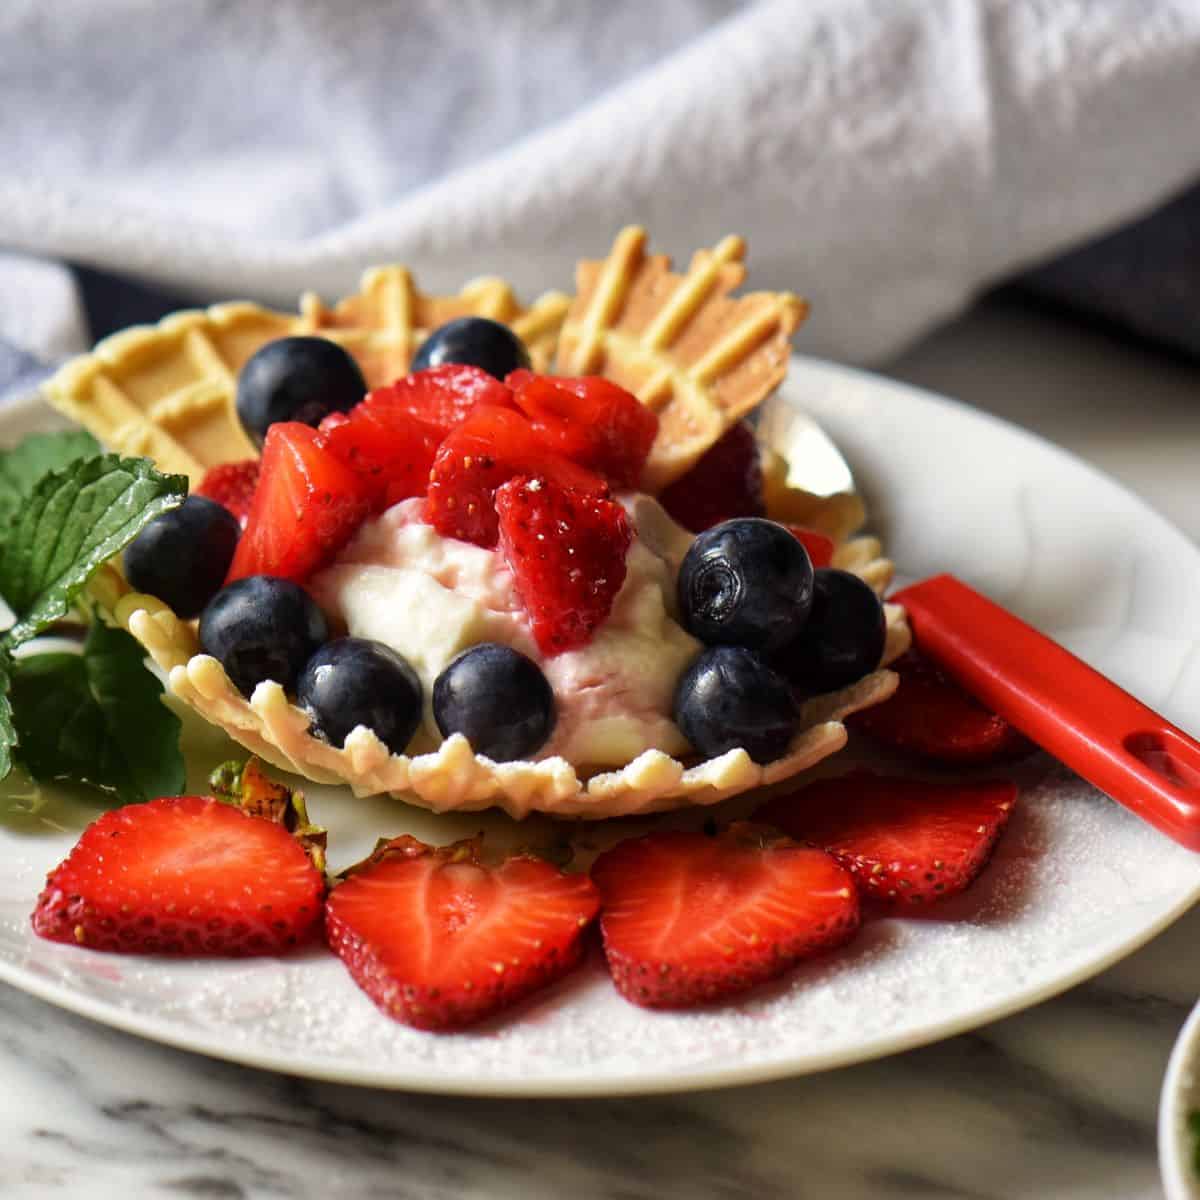
- Edible bowls: Make a bowl or cup by pressing the freshly made, still-warm pizzelle inside a bowl. In just a few seconds, you have a crisp bowl shape that can be filled with ice cream or whipped sweet ricotta and topped with roasted strawberries or even macerated strawberries. Add some blueberries, and it becomes the perfect dessert for the 4th of July!
- Pizzelle cannoli: To make a cannoli shell, wrap the “hot off the press” still-warm pizzelle around a wooden dowel or cannoli tube. Once they harden, you can fill them with whipped ricotta and sprinkle them with icing sugar.
- Pizzelle waffle cones: Use a cone-shaped mold to shape the hot pizzelles. Notice how within seconds, the pizzelle harden. Fill with ice cream or any other filling to make the perfect summer treat.
Tips
- This recipe comes together easily in a bowl. Although there is no need to use a stand or hand-held mixer, please use one if it is easier.
- Individual makers have different heating elements, so consult your owners’ manual for guidelines on specific times. It usually takes approximately 45 seconds to obtain light golden brown cookies.
- As an option, dust the pizzelle with powdered sugar just before serving.
FAQ
Yes. Replace the 1 teaspoon of anise extract with ¼ teaspoon of anise oil.
Yes. Use 1 cup of flour sifted with ¼ cup unsweetened cocoa powder (eliminate the anise flavor-only use vanilla). You can find the full recipe details in this article on chocolate pizzelle.
A pizzelle iron is essential for achieving the traditional thin, crispy texture and pattern. Unfortunately, a waffle maker or a similar appliance does not work.
If your pizzelle have softened, you can re-crisp them in the oven. Preheat your oven to 300°F (150°C). Arrange the pizzelle in a single layer on a baking sheet and bake them for about 5-10 minutes. Let them cool completely on a wire rack before enjoying them.
You can easily freeze pizzelle for up to 3 months. When they are at room temperature, wrap them in groups of 4-5 first in plastic wrap and then in aluminum foil to prevent freezer burn. Then, place them in a freezer container to avoid being crushed in the freezer. Label and freeze.
What is the secret to obtaining the perfect pizzelle that stay crispy?
- as soon as they are removed from the pizzelle maker, lay them flat and allow them to cool completely (you can use a cooling rack);
- do not stack them, as the steam will cause them to lose their crispiness;
- once you are done, allow them to air dry for a few hours.
How do I store pizzelles so that they stay nice and crisp?
- wrap in aluminum foil;
- place in cookie or coffee tins;
- place in paper bags.
Pizzelle, stored in this manner, will stay well for a few weeks. Whatever you do, do not place them in a plastic or airtight container (like Tupperware), as they will get soft.
Authentic Italian Cookies
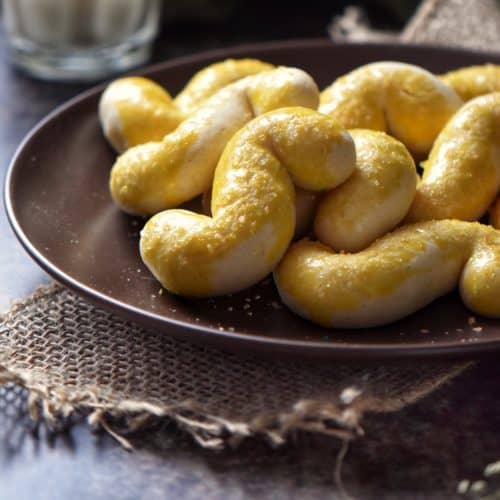
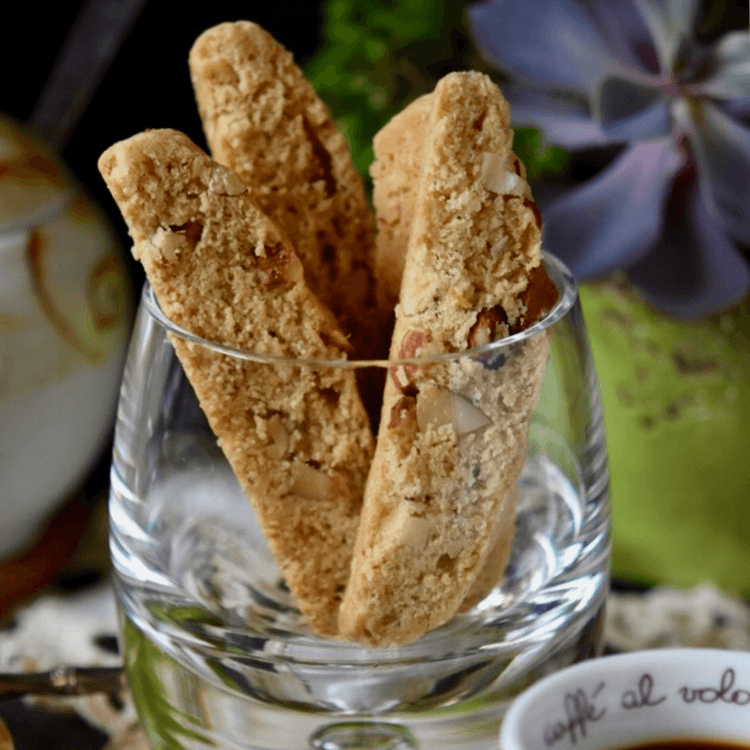
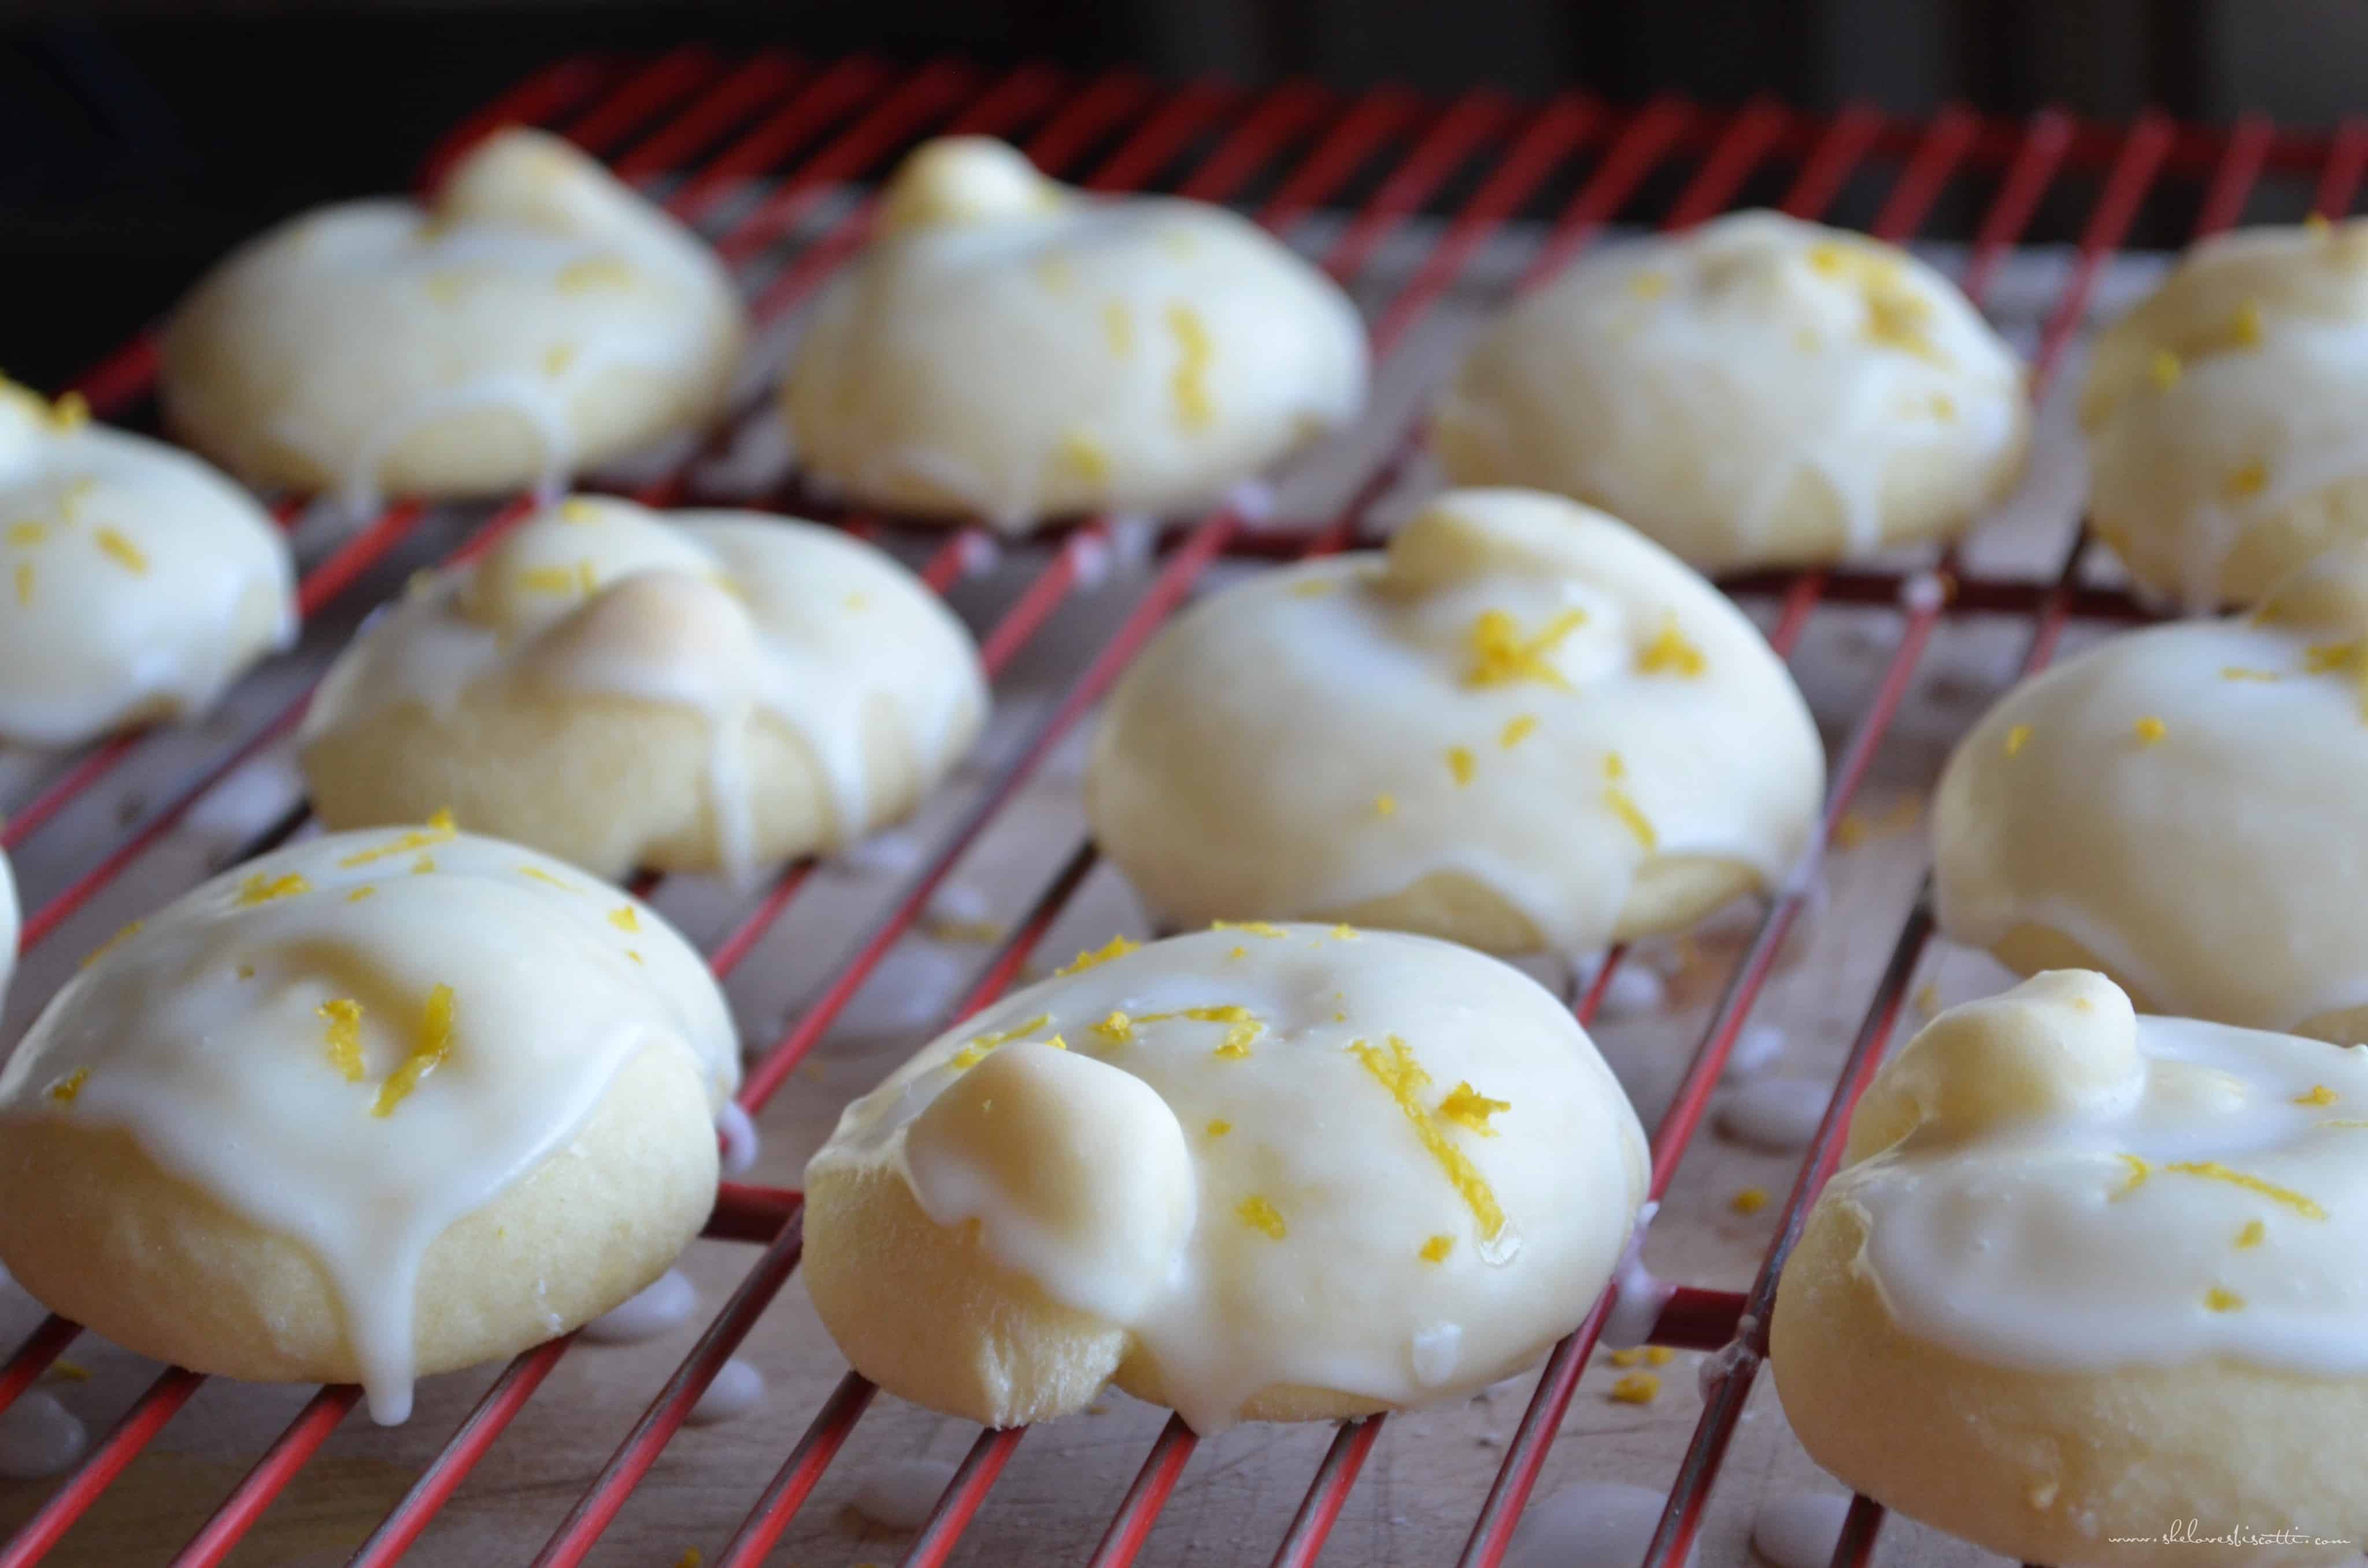
There’s nothing quite like the taste of authentic Italian cookies, and I’ve grown up enjoying many of your favorite recipes. From classic S cookies and almond biscotti to lemon knot cookies and anise biscotti, a delightful variety of Italian cookies await you to bake and savor all year round.
Recipe inspiration
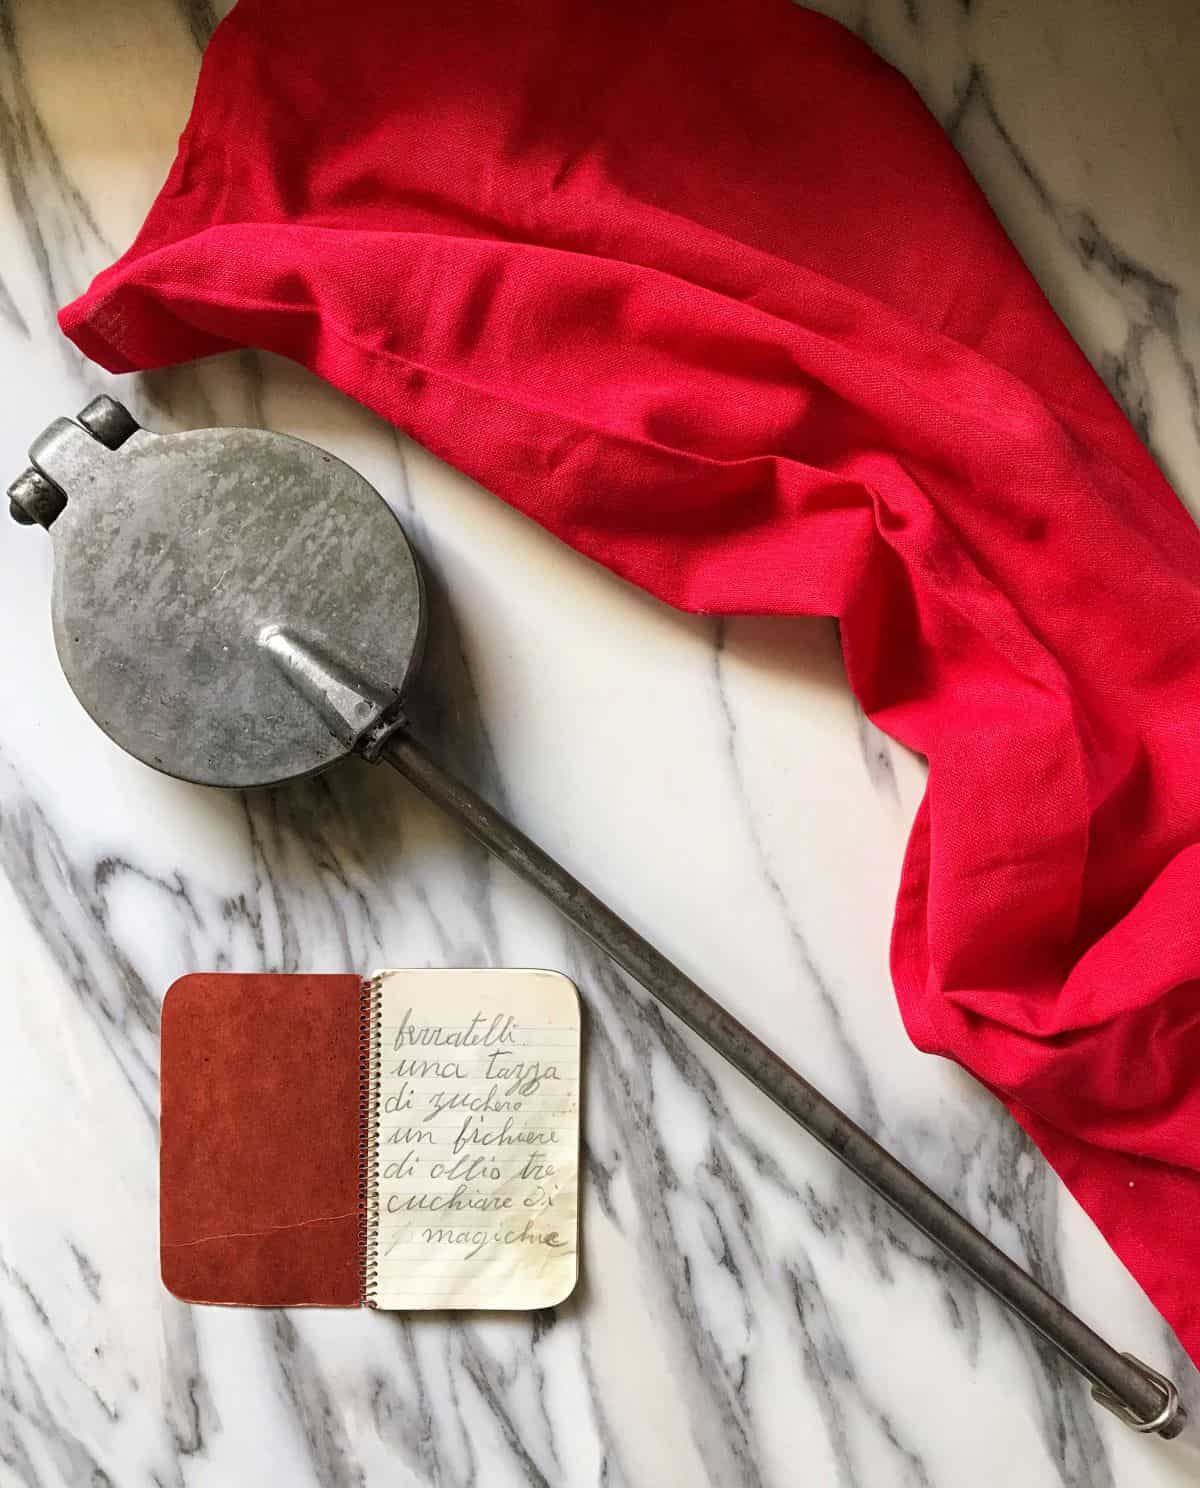
In my nonna’s Italian dialect, she would refer to these simple cookies as “ferratelle.”
My dad’s mother was born in Ripabottoni, in Campobasso, in the Italian region of Molise. I have many fond memories of my mom and grandmother making these special treats, especially at Christmas.
I can remember eating pizzelle faster than they could make them. Back then, my mom and grandmother would make “ferratelle” one at a time with a stovetop press with long handles. In fact, I still have the press which is pictured above.
Imagine the afternoons spent making this authentic Italian pizzelle recipe when the basic recipe called for one dozen eggs…a dozen!!!
Would you like to know my nonna’s secret to perfect pizzelles?
She stored the pizzelle in a bread box that she placed in the pantry. There was no bread in that box—only pizzelle. They were always crispy and delicious. I thought they were the best after-school snack!
When my grandmother passed away, we found a small notebook with some recipes in it. It is remarkable that a woman born in 1908 in a small village learned to read and write. This little booklet symbolizes so much more than recipes.
This is truly priceless.
I have scaled down the original recipe, but if required, it can easily be doubled…or quadrupled and stored in your bread box 🙂
Enjoy!
Just for you! A printable baking checklist to help you keep track of all your baking needs.
If you love to bake, this is for you! Simply subscribe to my weekly newsletter and receive this FREE BAKING CHECKLIST PRINTABLE!
This way, you won’t miss any of my new recipes, and it’s FREE!
THANKS SO MUCH for following and being part of the She Loves Biscotti community, where you will find Simple & Tasty Family-Friendly Recipes with an Italian Twist.
Ciao for now,
Maria
★★★★★ If you have made these Italian wafer cookies, I would love to hear about it in the comments below and be sure to rate the recipe!
Recipe
Pizzelle della Nonna
Equipment
- Pizzelle Maker
WANT TO SAVE THIS RECIPE?
Ingredients
- 1¼ cups all-purpose flour 177 grams
- ¾ teaspoon baking powder
- pinch salt
- 3 eggs room temperature
- ½ cup sugar 100 grams
- ¼ cup vegetable oil
- 1 teaspoon vanilla extract
- 1 teaspoon anise extract optional
Instructions
- Preheat pizzelle iron.
- In a medium bowl, sift together flour, baking powder and salt. Set aside.
- In a large mixing bowl or the bowl of an electric mixer fitted with the whisk attachment, beat the eggs until frothy and beginning to thicken (about 2-3 minutes).
- Add sugar. Continue to whisk until well thickened, about 3-4 minutes.
- Add the oil and extracts. Mix well together.
- Slowly add the flour mixture at low speed until well combined -the dough will be soft and sticky.
- Drop 1 tablespoon of batter on hot pizzelle press. You can also use a small cookie scooper.
- Close lid and cook 30 – 45 seconds or until slightly golden.
- Remove from the press with the help of a fork.
- Transfer to flat surface or mold into the desired shape.
Video
Notes
Nutrition
This post was originally published on November 24, 2014, republished on July 2, 2019, March 6, 2021 and again on May 23, 2024, with updated content and photos.
Candice Minello
Absolutely love this website. Great Pizzelle recipe and tips. Especially happy to find out how to make Vegan Pizzelles. Now my DIL and granddaughter will have pizzelles along with the rest of the family.
Maria
Thanks so much Candice. My daughter just loves them! I hope “your girls” do as well ♥
Mary Luzi
Love your pizzelle recipe Maria but I’d like to make a bigger batch because they disappear too quickly ! Do I simply double or triple the recipe ?
Maria
Yes, you can definitely double the recipe. Thanks so much for sharing!
Robin Black
Thanks so much for your recipe I will be trying it out at Christmas & I was happy to see all of your pizzelles do not come out perfectly since I have been driving myself crazy for years trying to make them perfect. I was very excited to see your family is from Campobasso! My grandmother’s family is from Macchia Valfortore, Campobasso and we were lucky enough to visit there a few years ago and have a local give us a tour and meet with the Parish priest who allowed us to look through the archives for our family members. What a wonderful experience!!!!
Lucille
These pizzelles were nice & light compared to my old recipe that came with my “antique” pizzelle maker. I substituted melted unsalted butter for the oil in this recipe but otherwise, I made it as written with both anise & vanilla extract. I did find that I only got about 24 pieces, not 40 servings in one batch but it was a very nice recipe to make. Next time I’ll make some chocolate ones too.
Marsha
I’m a new comer to your blog, and I’m in love!!! Already made a few recipes and they absolutely wonderful. Easy and simple, with big returns. Love. I even made a few of your cookies recipes using King Arthur Gluten Free Measure for Measure flour! ( celiac disease). A quick question-would you recommend any specific brand or type of Pizelle maker? Any advice in buying one? Thanks so much! And so glad I stumbled onto your blog.
Gilda
One word….Wow! The chocolate pizzele were perfect and thin and crispy!
Thank you!
Maria
So thrilled to read this Gilda! Thanks for sharing!
Cathy
First time making and used this recipe. They were perfect and very easy. My family loved them!
Irene
After trying several recipes this one by far is the best. I upped the sugar to 3/4 cup and used both the vanilla and anise extract as noted. I have a non stick pizzelle maker and I think it’s the oil in the recipe that helped keep them crisp. Many recipes called for more baking powder which made them too puffy and this recipe was just right. I dust them with powdered sugar after they’ve set. Delicious!
Maria
So happy to read this! Thanks for taking the time to comment Irene!
Lisa C.
Today was my first attempt at making pizzelles. Thank you so much for sharing your recipe! I was so excited to use my grandparents’ pizzelle iron! They turned out wonderful!
Maria
How wonderful Lisa! Thanks so much for sharing.
Violet
I followed your receipt to the “T”
I made chocolate ones and later used to make a beautiful chocolate sundaes for my family and friends.
I’ll be using this recipe for years to come! Excellent!
Maria
I am so thrilled to read this! Thanks so much for sharing Violet!
Wanda
Now my go-to recipe!!
Maria
How wonderful Wanda! Thanks for sharing!
Betty Adamo
Do you dust them with icing sugar before you store them or when you’re going to serve them?
Maria
Thanks for your interest Betty. If desired, you can dust with icing sugar just before serving.