

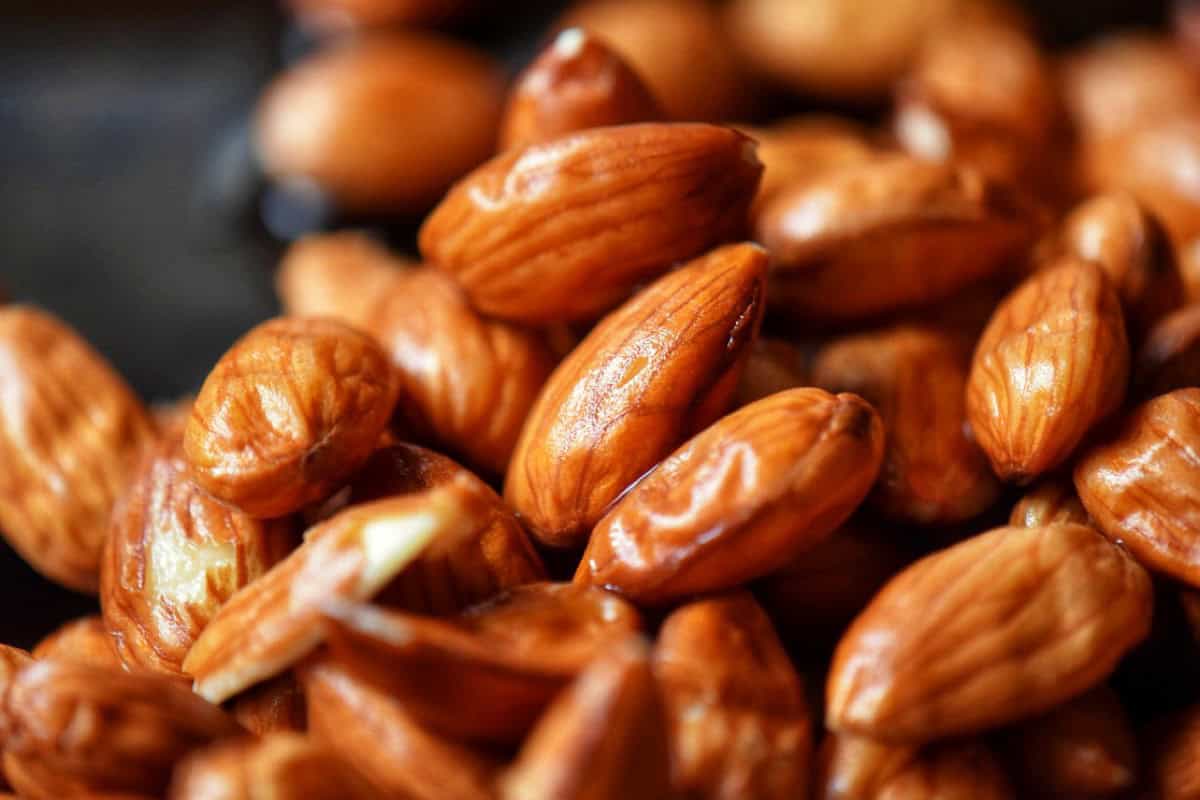
Learn how to blanch almonds quickly and easily at home. In just a few minutes, you can remove almond skins for baking, snacking, or making almond flour.
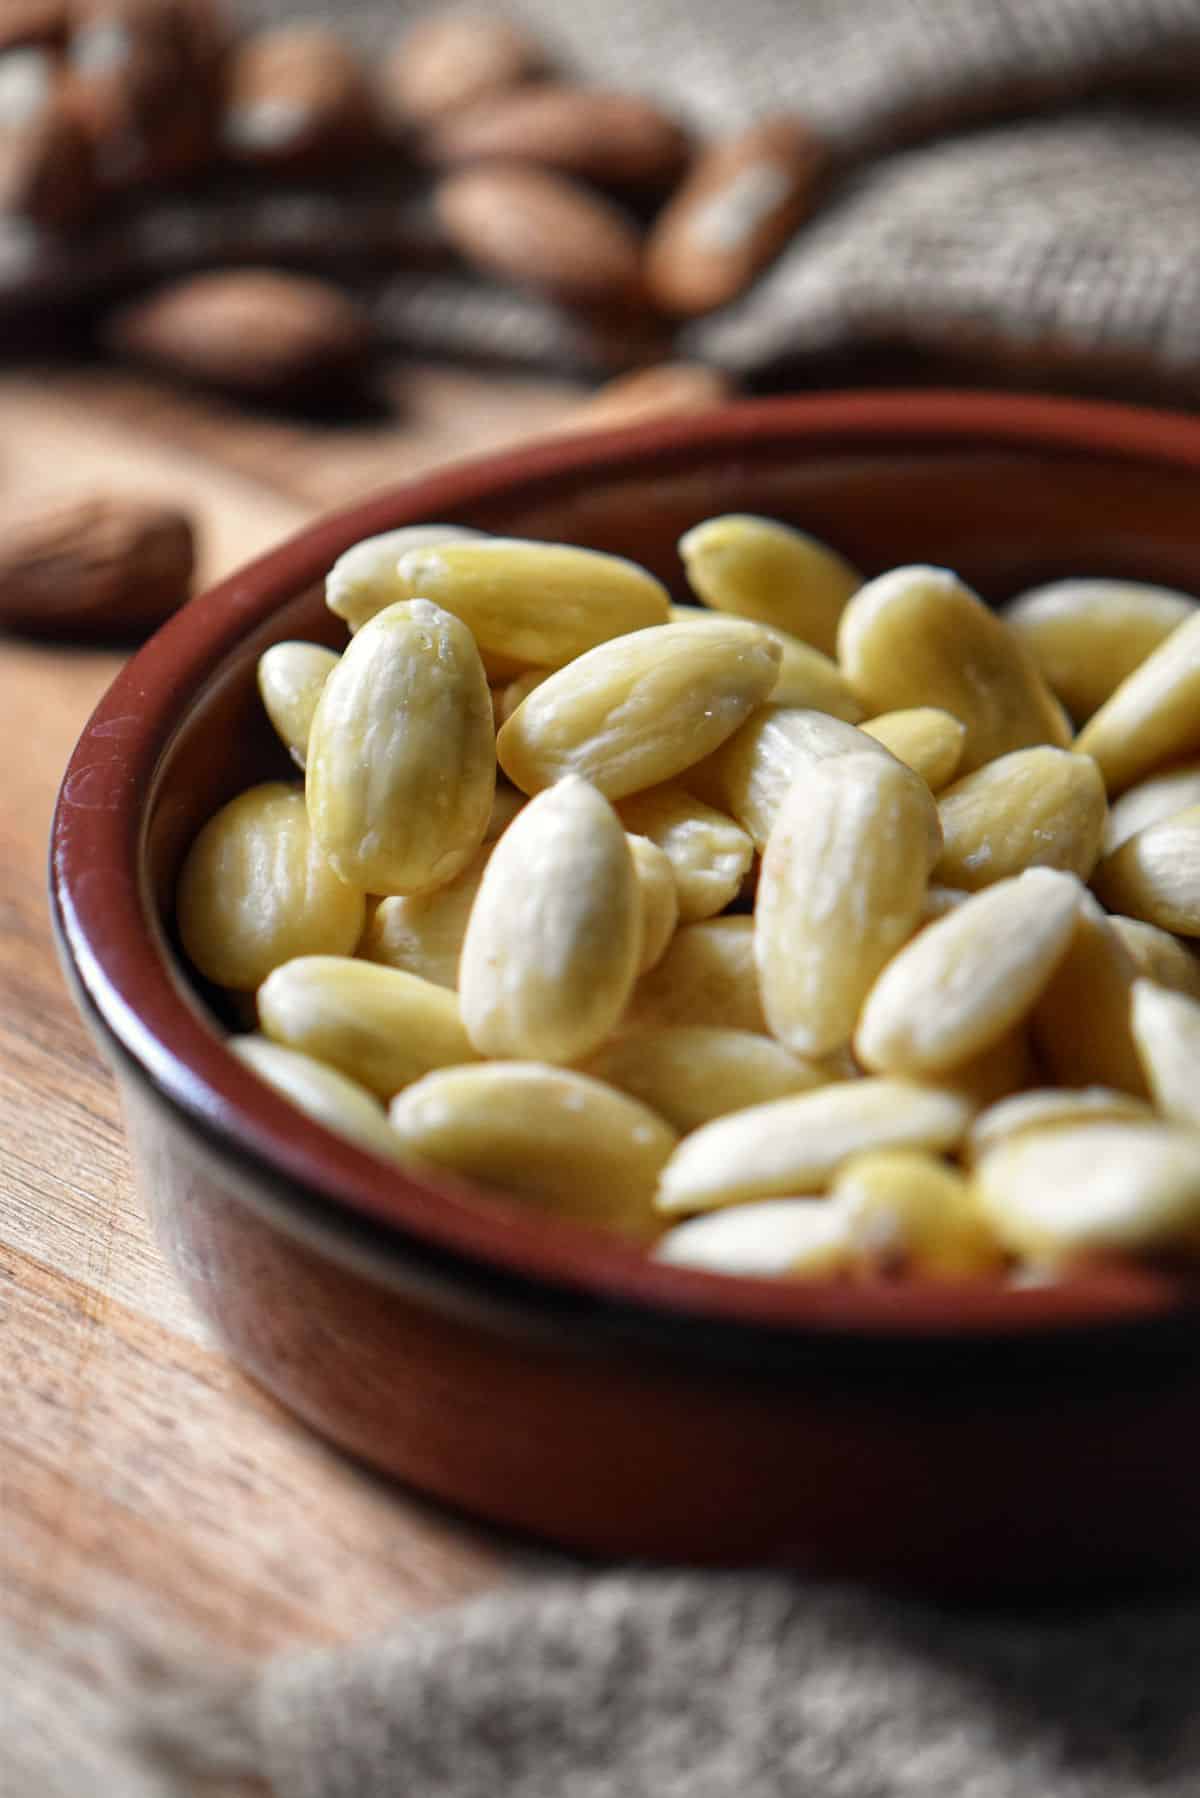
If you've ever wondered how to blanch almonds, you'll be surprised by how simple it is.
With just boiling water and a few minutes, you can remove the skins and reveal smooth, creamy almonds-perfect for baking, snacking, or making almond flour.
A blanched almond is simply an almond without its skin. Blanching them yourself is not only quick and economical, but it also gives you fresher, better-tasting results than store-bought.
Growing up, I often helped my mom peel almonds to make biscotti. I remember how easily the skins slipped off after boiling them. Still to this day, I start my holiday baking by preparing a big batch of blanched almonds.
Now that you know why it's worth blanching your own almonds, here's a quick look at what you'll need and how long it takes.
Jump to:
Quick Overview
- Prep Time: 5 minutes
- Cook Time: 1 minute
- Total Time: 6 minutes
- Yield: Any amount you like - the blanching method stays the same.
- Uses: Perfect for making almond flour, almond paste, or any recipe that calls for skinless almonds. They're also great for making almond butter cookies, cozonac and homemade almond butter.
What do I Need to Make Blanched Almonds?
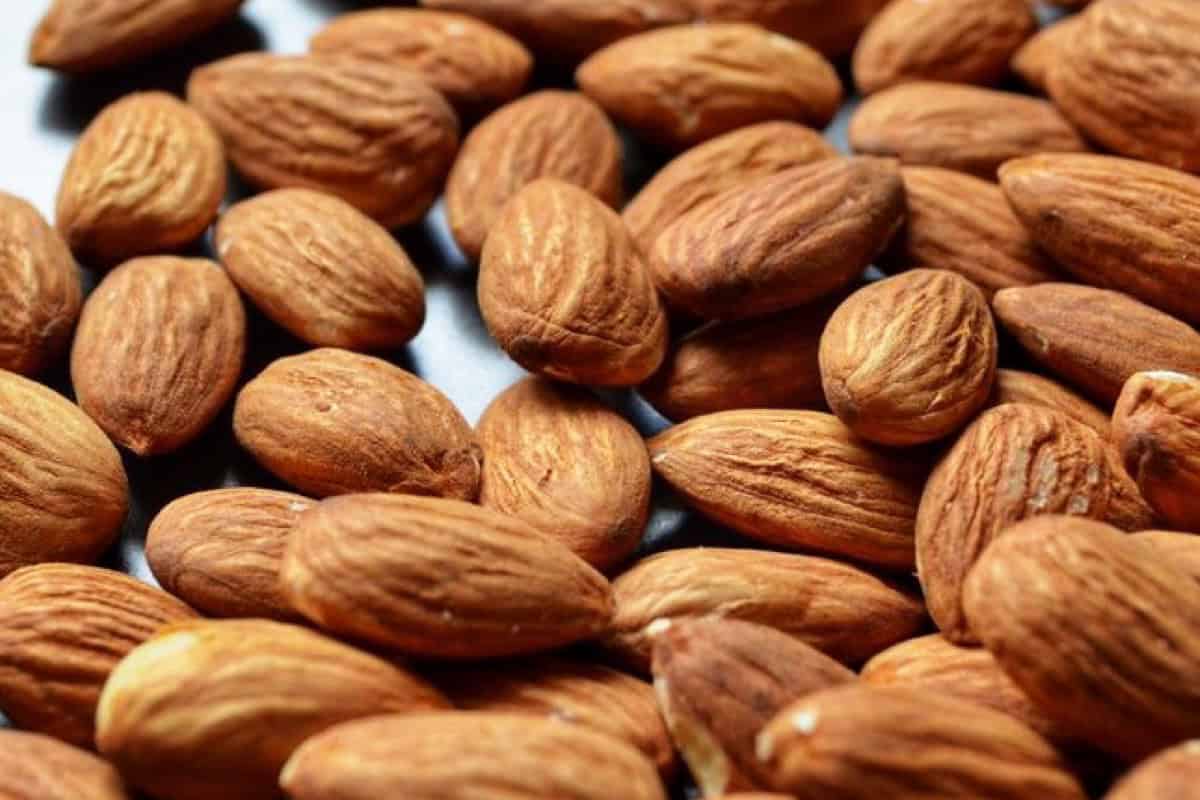
- Raw almonds: Make sure they're unsalted and unroasted. These are the only ones that will blanch properly.
- Water: Needed to boil the almonds and stop the cooking process by rinsing in cold water.
As for accessories, we need a medium pot, a colander or strainer, and some clean kitchen tea towels.
Blanching almonds is surprisingly simple, and it all starts with a pot of boiling water. Once you have your ingredients and tools ready, you're set to begin.
Are you ready? Let's dive in!
Blanching Almonds in 5 Easy Steps
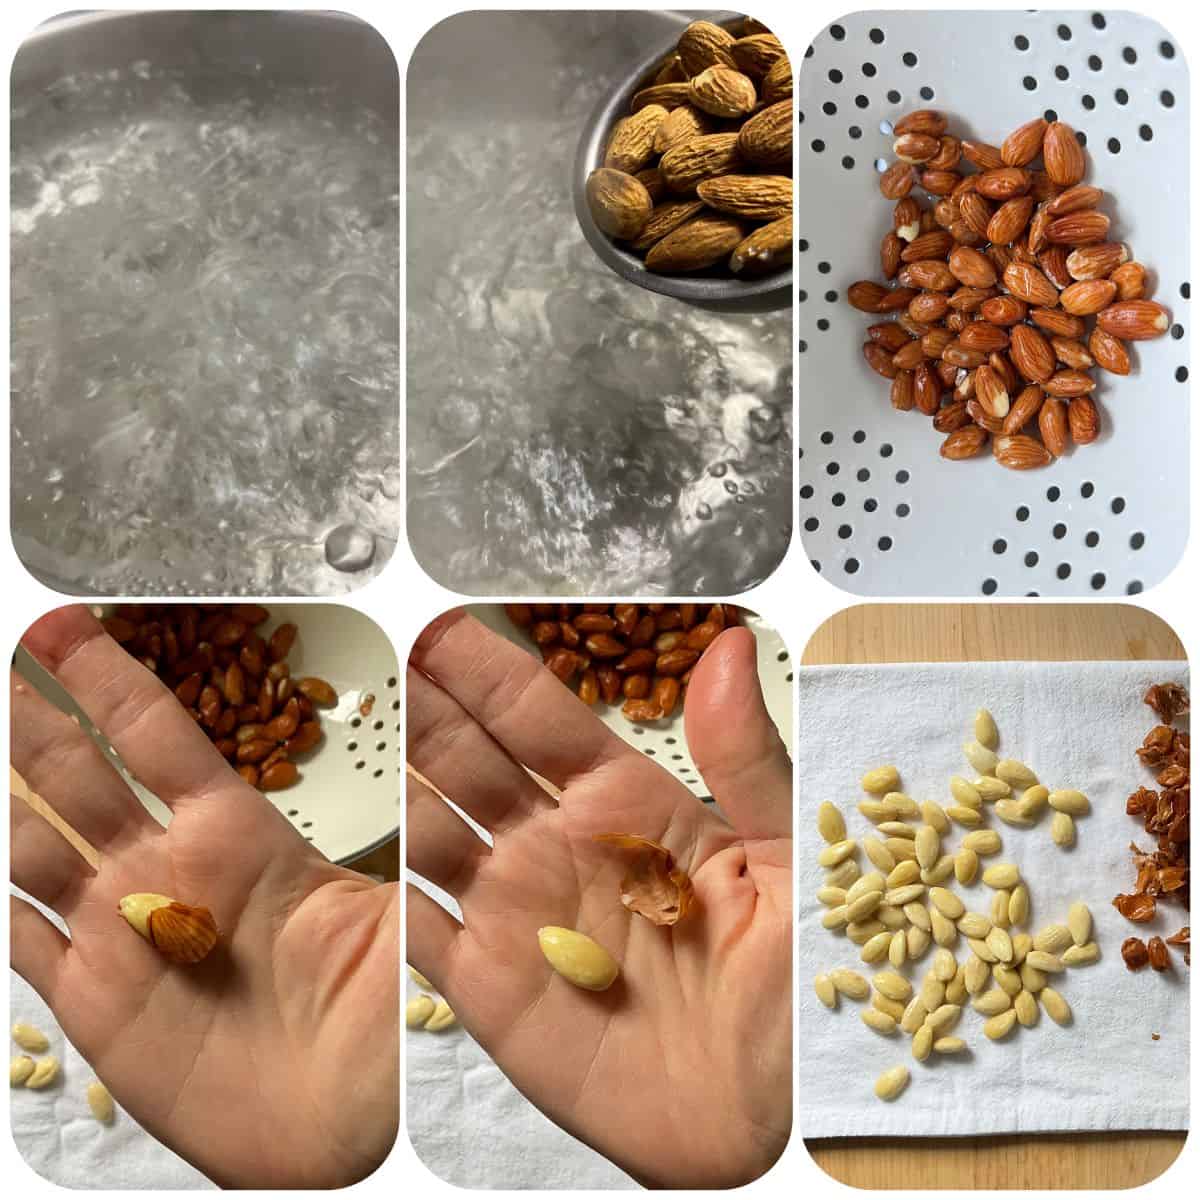
- Step 1: Fill a medium pot with water and bring it to a rolling boil. Make sure there's enough water to fully submerge the almonds.
- Step 2: Set your timer to 60 seconds. Carefully add raw almonds to the boiling water. Let them cook for exactly 1 minute - just enough for the skins to loosen, but not so long that the almonds start to cook through.
- Step 3: Drain the almonds in a colander and immediately rinse them under cold running water. This stops the cooking process and cools the almonds so you can handle them easily.
- Step 4: Time to start popping! Gently squeeze each almond from the base toward the point - the skin will slip right off. It's surprisingly fun (and a little addictive) to see how easily they pop out of their skins. If a few are stubborn, use your fingernail or a small paring knife to help them along.
- Step 5: Blot with a tea towel. Place your “skinless” almonds in a single layer on a sheet pan, lined with a tea towel and leave to air dry.
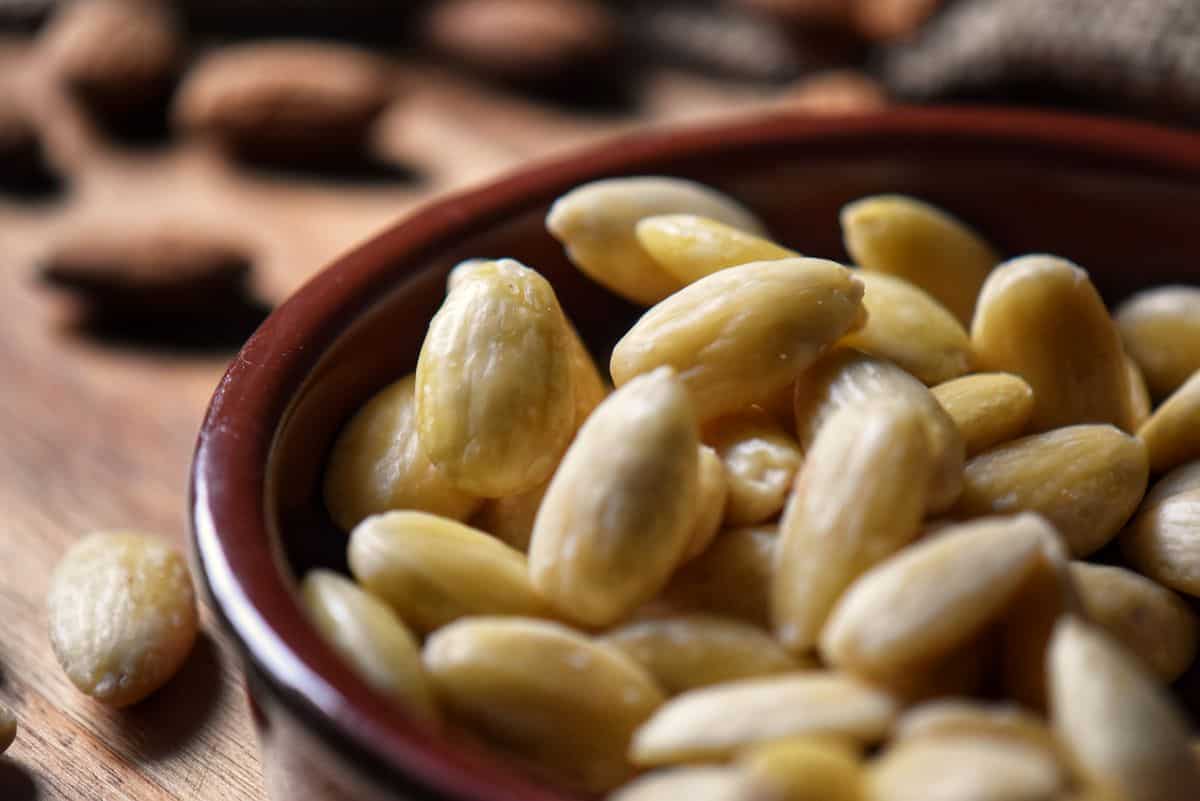
Et voilà, you can now transform fresh, perfectly blanched almonds into wonderful baked treats or savory dishes!
Tips for Perfectly Blanched Almonds
Blanching almonds is simple, but a few small tweaks can make a big difference in both texture and flavor. Here are some tried-and-true tips to get consistent, professional-quality results every time:
- Small batches: If you are planning to blanch a large quantity of almonds, start with small batches.
- Don't overboil. Keep almonds in boiling water for no more than 60 seconds - longer and they'll soften too much.
- Peel right away. Remove the almond skins as soon as you rinse them under cold water. The longer they sit, the harder it is to slip off the skin.
- Dry on a clean tea towel. Spread the almonds out in a single layer and pat them gently to remove excess moisture. Let them air-dry until completely dry to the touch.
- Oven-dry for almond flour. If you plan to grind them, dry completely in a warm oven (170°F / 75°C) for 10-15 minutes for the best results.
- Infuse flavor. Add a touch of vanilla, lemon zest, or other aromatics to the blanching water for subtly flavored almonds.
- Store smart. Once dry, refrigerate almonds in an airtight jar or freezer-safe container for long-term freshness.
FAQ
If you plan to use them within two months, store blanched almonds in a mason jar in the refrigerator. For longer storage, place fully dried almonds in a freezer bag and freeze for up to one year.
Yes! After blanching, simply place almonds in a blender or food processor and pulse until finely ground to a flour-like consistency. Be careful not to over-process, or you'll end up with almond butter.
Air-dry method: Spread almonds on a tray and leave overnight.
Quick oven method: Preheat oven to 225-250°F (107-121°C), spread almonds on a cookie sheet, and bake for 3-5 minutes. Let cool completely before grinding.
Once dried, almond skins can be pulsed into a fine powder and added to muffin or cookie batter for extra fiber and a subtle nutty flavor. You can also stir them into smoothies, oatmeal, or granola.
Yes. Almond meal is made from almonds with the skin on and has a coarser texture. Almond flour is made from blanched almonds and is finer, making it perfect for delicate baked goods like amaretti.
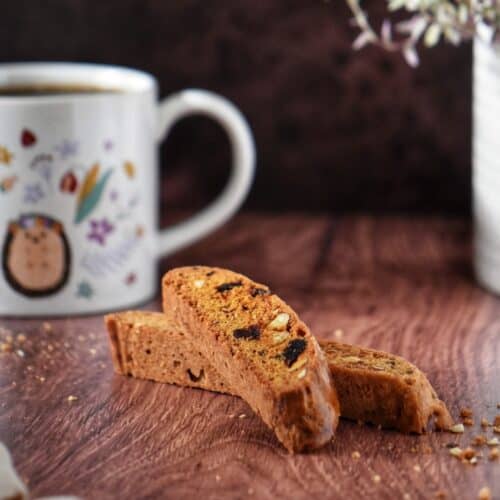
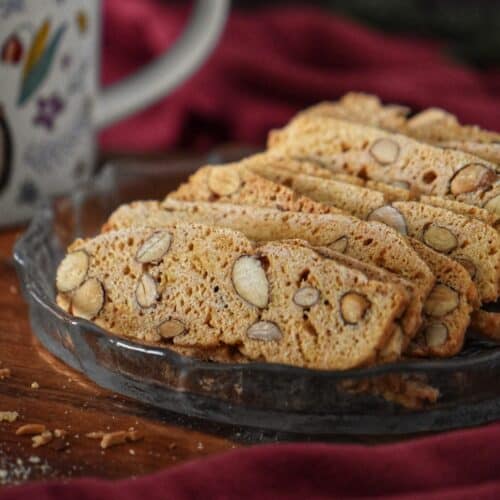
Italian Cookie Recipe with Almonds
Almonds are a key ingredient in so many Italian cookies. Whether you're baking with blanched or unblanched almonds, both work beautifully - it often comes down to the look and texture you prefer. Here are some of our favorite almond cookie recipes to inspire your next baking day:


And if you enjoy almonds as a snack, try my Chocolate Covered Almonds or these Cocoa Dusted Almonds for a simple homemade treat.
Blanching almonds at home is not only cost-effective, it gives you perfect, smooth almonds for any recipe.
What will you make with your skinless almonds?
I would love to hear about it!
Just for you! A printable baking checklist to help you keep track of all your baking needs.
If you love to bake, this is for you! Simply subscribe to my weekly newsletter and receive this FREE BAKING CHECKLIST PRINTABLE!
This way, you won't miss any of my new recipes, and it's FREE!
THANKS SO MUCH for following and being part of the She Loves Biscotti community, where you will find Simple & Tasty Family-Friendly Recipes with an Italian Twist.
Ciao for now,
Maria
★★★★★ If you make this method for blanching almonds, I would love to hear about it in the comments below and be sure to rate the recipe!
Recipe

How to Blanch Almonds in 5 Easy Steps
WANT TO SAVE THIS RECIPE?
Ingredients
- ½ cup almonds raw, unprocessed
- 6-8 cups water
Instructions
- Step 1: Fill a medium pot with water and bring it to a rolling boil. Make sure there's enough water to fully submerge the almonds.
- Step 2: Set your timer to 60 seconds. Carefully add raw almonds to the boiling water. Let them cook for exactly 1 minute - just enough for the skins to loosen, but not so long that the almonds start to cook through.
- Step 3: Drain the almonds in a colander and immediately rinse them under cold running water. This stops the cooking process and cools the almonds so you can handle them easily.
- Step 4: Time to start popping! Gently squeeze each almond from the base toward the point - the skin will slip right off. It's surprisingly fun (and a little addictive) to see how easily they pop out of their skins. If a few are stubborn, use your fingernail or a small paring knife to help them along.
- Step 5: Blot with a tea towel. Place your "skinless" almonds in a single layer on a sheet pan, lined with a tea towel and leave to air dry.
Video
Notes
- Small batches: If you are planning to blanch a large quantity of almonds, start with small batches.
- Don't overboil. Keep almonds in boiling water for no more than 60 seconds - longer and they'll soften too much.
- Peel right away. Remove the almond skins as soon as you rinse them under cold water. The longer they sit, the harder the skin is to slip off.
- Dry on a clean tea towel. Spread the almonds out in a single layer and pat them gently to remove excess moisture. Let them air-dry until completely dry to the touch.
- Oven-dry for almond flour. If you plan to grind them, dry completely in a warm oven (170°F / 75°C) for 10-15 minutes for the best results.
- Infuse flavor. Add a touch of vanilla, lemon zest, or other aromatics to the blanching water for subtly flavored almonds.
- Store smart. Once dry, refrigerate almonds in an airtight jar or freezer-safe container for long-term freshness.
- Air-dry method: Spread almonds on a tray and leave overnight.
- Quick oven method: Preheat oven to 225-250°F (107-121°C), spread almonds on a cookie sheet, and bake for 3-5 minutes. Let cool completely before grinding.
If you plan to use them within two months, store blanched almonds in a mason jar in the refrigerator. For longer storage, place fully dried almonds in a freezer bag and freeze for up to one year. Please keep in mind that the nutritional information provided below is just a rough estimate and variations can occur depending on the specific ingredients used.
Nutrition
I originally published this article on November 8, 2015, and republished it on November 1, 2018, and again on November 10, 2025, with updated content and photos. Thanks for watching and sharing!
Marie
I have a way of removing the skins that goes a little faster than individual removal on each almond. After they have been in the boiling water and drained pour them out on a clean tea towel. Fold over the towel and them roll under your hands rubbing them together. Open the towel and remove all the almonds that are free of the skin and just continue doing it. I have found that it is quicker than peeling each one.
Maria
That’s such a great tip — thank you for sharing! I’ll definitely have to try your method next time.
Ausilia Piperni
Thank you for these instructions. Won’t be worrying about finding blanched almonds anymore. Too easy!
Maria
My pleasure Ausilia! It really is… not to mention a lot cheaper too!
Tulsi
Thank you Maria for the simple instructions. I will no longer be paying the extra high prices for blanched almonds since they are this easy to make myself. I love all your biscotti recipes!
Maria
Thank you so much, Tulsi!
Nicoletta Sugarlovespices
I am going to do that! I brought back a lot of almonds from Italy and I don’t have any of the blanched ones. This seems so easy and with a fantastic result! Thank you!
Maria
My pleasure Nicoletta! With the holiday season right around the corner, these blanched almonds are handy to have around. Thanks for stopping by ♥
Paula Barbarito Levitt
Well done Maria – a specific and concise lesson. I will be doing the same shortly as I am unable to find skinless almonds anywhere this year.
Maria
Well, at least you will know that they are fresh. Thanks so much for stopping by Paula 🙂
TRIPTO
THIS IS GENIOUS. THANK YOU FOR THIS SIMPLE TUTORIAL. SHOULD HELP SAVE SOME
MONEY FOR THE HOLIDAY BAKING THIS YEAR!!!
Maria
My pleasure. Thanks so much for stopping by 🙂